Do you want out of nowhere to carve out at least some useful space in your small kitchen? This is possible if you use the window sill - replace it with a table top and integrate it into a working or dining area. From this article you will learn how to do this as efficiently as possible, what technical nuances you need to take into account when modifying and what variations of sill-tops there are.
General rules for reworking a window sill-countertops and practical tips
- The main condition for the arrangement of the sill-table tops of any configuration - air should circulate freely around the radiator.
The heat from the battery should flow up to the window unhindered, and the cold air from the window should go down. Otherwise, the kitchen will be cold and damp and, what is even more dangerous, the kitchen windows will start to fog up constantly. If the latter happens, then the slopes of the window, and then the walls of the kitchen will be covered with mold.
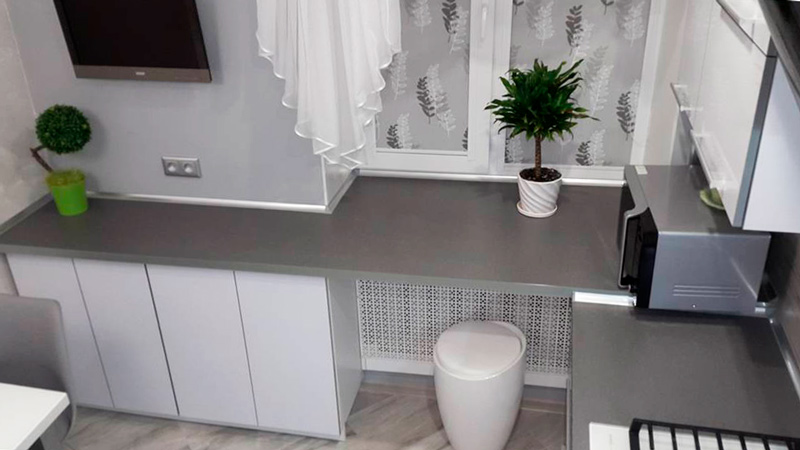
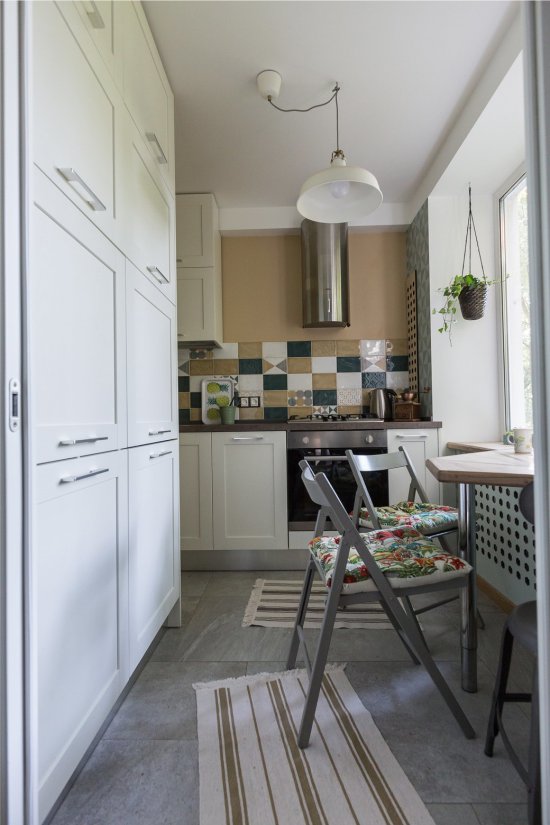
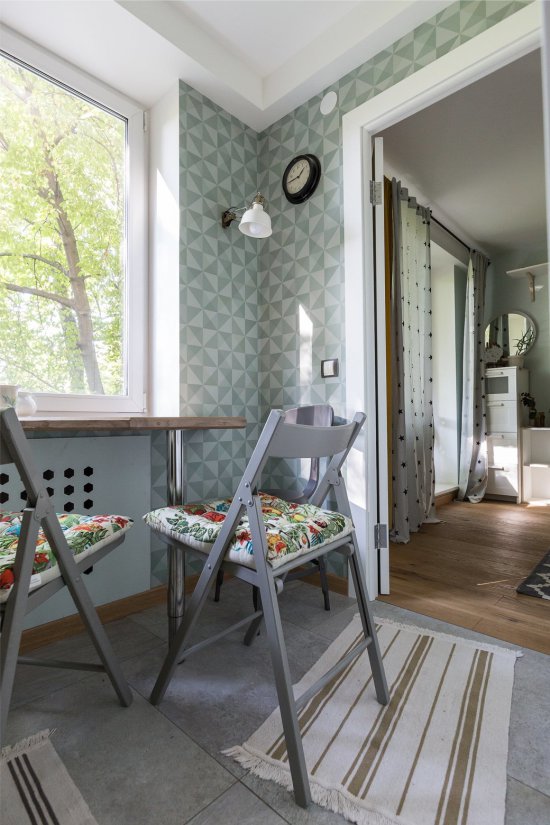
What to do? If you plan to use a table-top sill as a table or a cabinet with open shelves, then for normal air exchange it is enough to make several holes in it or to build in a ventilation grill as shown in these photo examples.
Air vents in the tabletop-sill
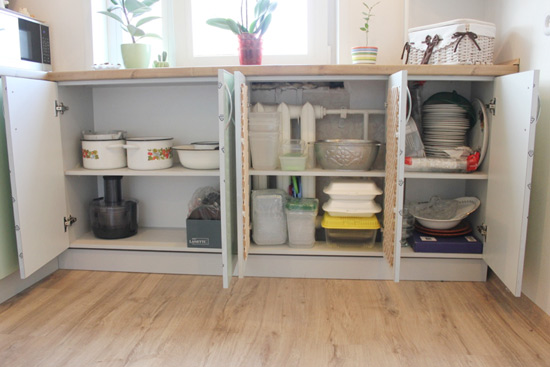
If you plan to equip the underframe of the windowsill-tabletop with cabinets, then their doors should have perforations or lattice inserts, as, for example, in this photo.
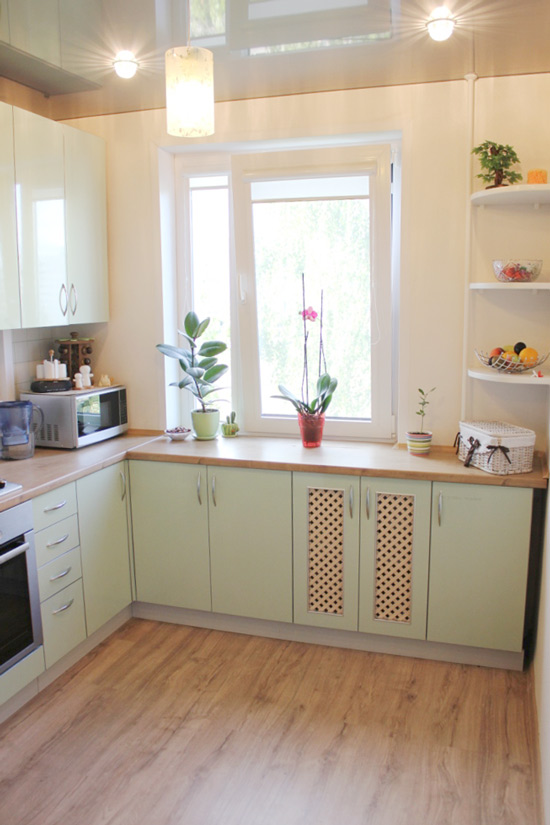
An example of the arrangement of the cabinet with lattice doors under the window-sill
See also the material: How to use windows in kitchen design
- Keep in mind that the window-sill-table-top and, moreover, the cupboard built over the radiator (even with lattice doors) will worsen the heating of the kitchen (by 2-3 degrees). It is possible to compensate for heat loss by installing an additional radiator or underfloor heating systems. In addition, the battery from under the window sill can be moved to another place on the same wall or on an adjacent wall. The transfer of the radiator ideally requires an agreed project and thermal calculation, but in practice it is often enough to have the consent of the Management Company at home. And another nuance - since the transfer / replacement of the battery requires disconnecting the riser and draining the water, this should be done during the non-heating season.
- The window must be at least 1.5 cm above the window-sill.
- To avoid mold growth on window slopes, do not forget to treat them with an antiseptic primer. And so that the slopes can often be cleaned from random stains and splashes, they should be painted with moisture-resistant paint.
- In no case should you install a slab on a table-top.Firstly, it is prohibited by sanitary and construction standards, and secondly, it is simply impractical, because the spray of oil during cooking will certainly be on the windows.
- Planning to leave the battery under the table-sill in sight is highly desirable cover it with a decorative screen, paint in a bright color or in tone of the wall. However, sometimes it is enough to replace a large and outdated radiator with a more compact and modern one.
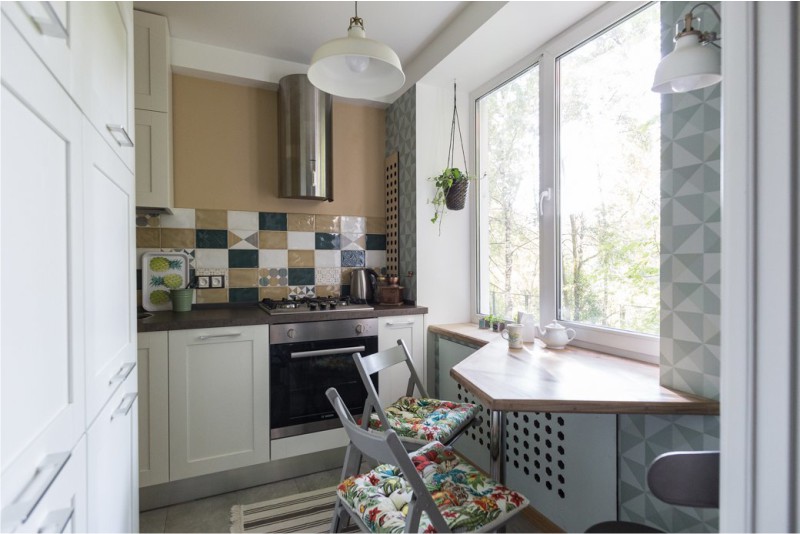
Radiator with a perforated screen under the table-top
- Due to the proximity of the window and adjacency to the outer wall, the window sill-countertop must be made of a super-wear-resistant material. Perfect option - fake diamondwhich is not afraid of either moisture or culinary work and, moreover, allows you to create a seamless surface. If the outer wall of the kitchen freezes and leaks, the windows are prone to fogging and the mold once “bloomed” in the room, then you should be safe and choose an artificial stone for the arrangement of the window sill.
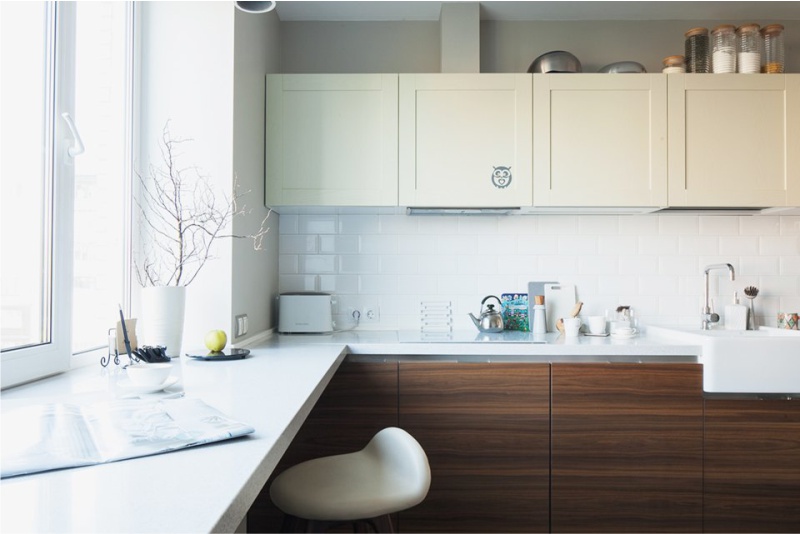
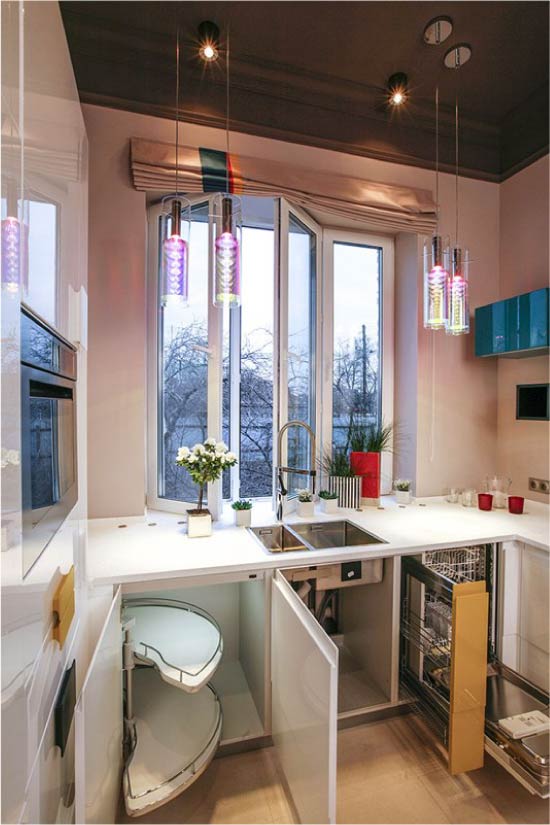
- No matter how you arrange the space under the window, it should be well illuminated. For this you can use wall sconces or pendant lights. If the table-sill performs the function of a bar counter, then the hanging lamp can be hung at a height of 70 cm from its surface. Lamps above the working area can hang above, the main thing is to place them directly above or in front of the workplace, and not behind it (otherwise, the person standing behind the tabletop will just close the light from the lamp with his back).
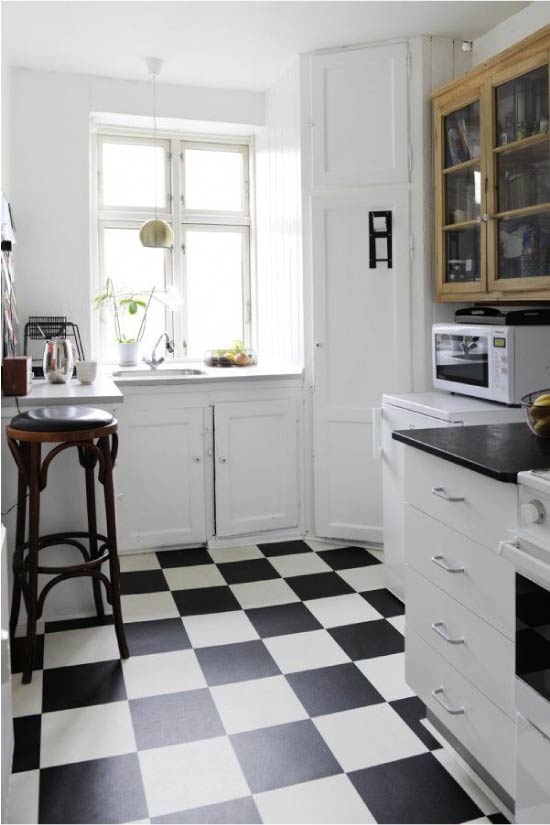
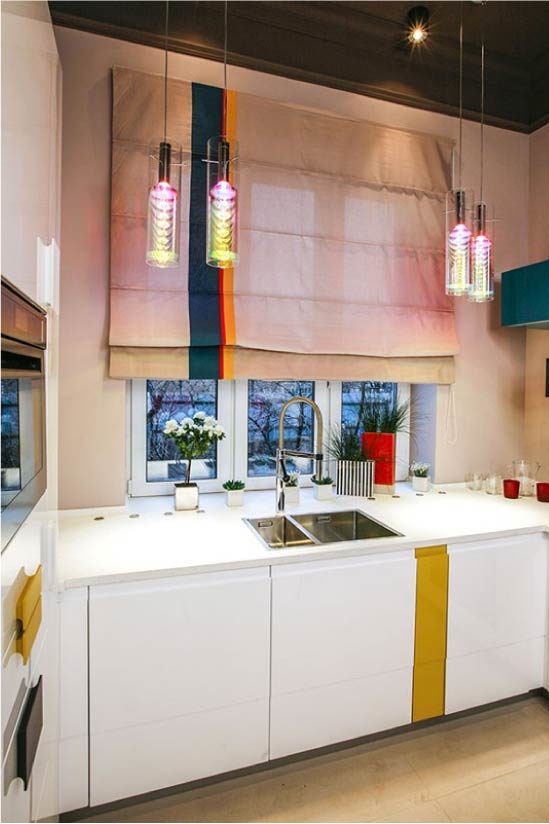
- The window above the window-sill is practical to make out cassette. roller blindsmounted directly on the sash. Also for window decoration fit all types of short curtains: Roman curtainsstandard "rolls" horizontal blinds, curtains, cafes or classic curtains.
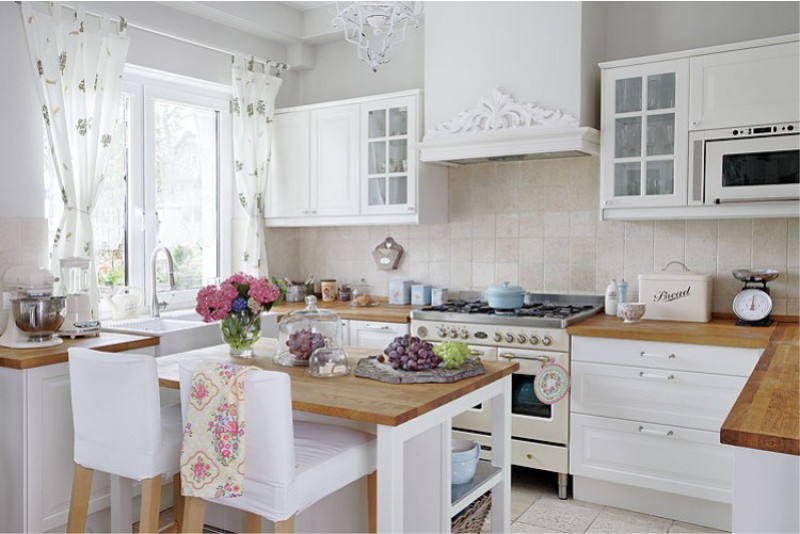
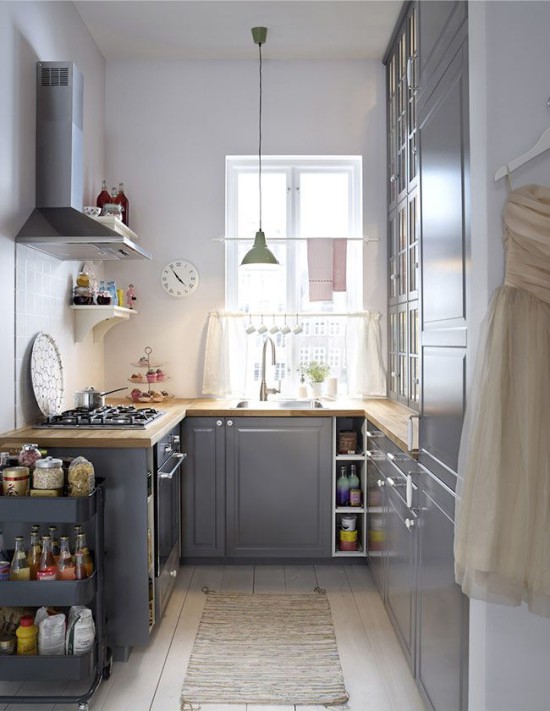
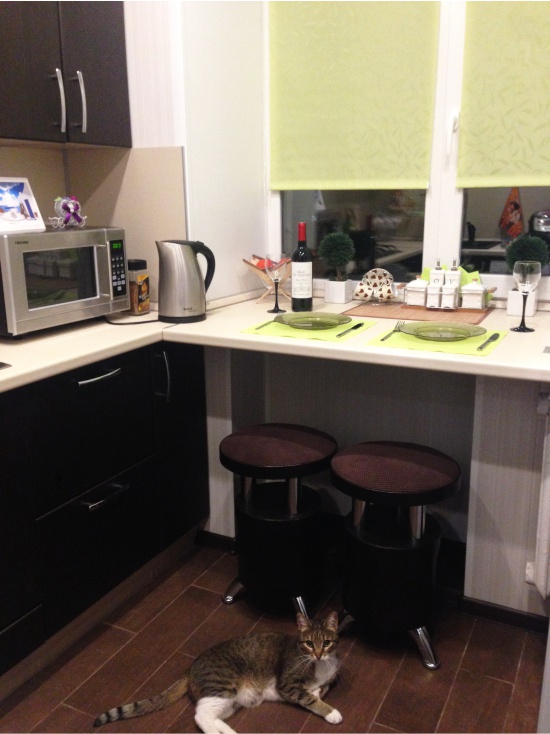
- Sometimes, to squeeze the most out of the mini-kitchen, you need a sill-countertop with an irregular canopy. So, for example, it can narrow in the zone of increased traffic (say, at the refrigerator) and expand where it is more spacious.
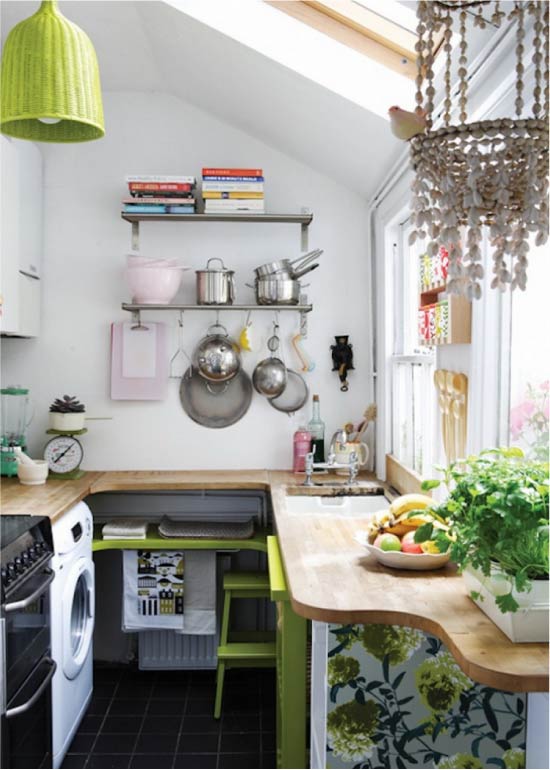
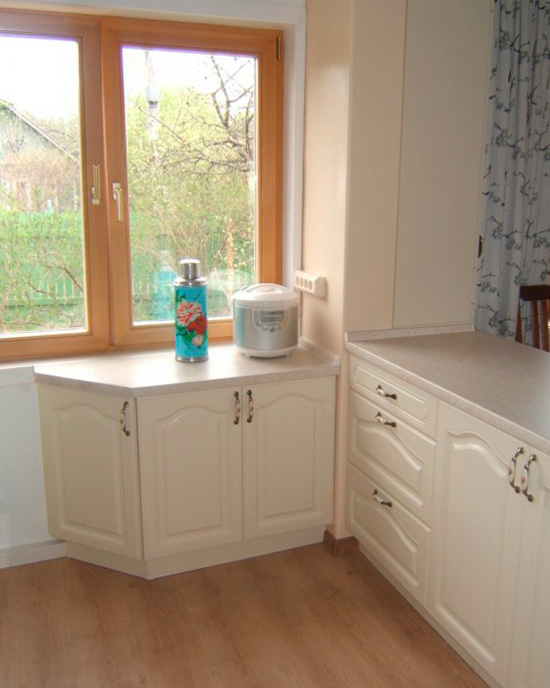
It is also very good when the corners of the table top of the windowsill are not sharp, but rounded.
- When arranging a working window-sill can be a problem built-in dishwasher search suitable height, because Most PMM models are designed for a 82 cm height of the lower tier of the kitchen.
- If the window sill has very wide slopes, then it is desirable to narrow down its new countertop (and the cabinets offered to it and, possibly, a sink). After all, if you summarize the depth of the wide window sill with the depth of a standard 60-centimeter tabletop, it turns out too much distance from the window to the edge of the table.
Options for arranging windowsill-countertops
Sill-tabletop can be equipped and used as:
- Work area with a sink under the window;
- Work surface for the preparation of products (without washing);
- Dining area or bar counter for breakfast and snacks;
- Additional storage of equipment, products and utensils.
Let's look at each of these options in more detail.
Sill-tabletop as a work surface (without washing)
Alteration of the window sill in the worktop allows you to increase the working surface with minimal clutter in the kitchen, allows you to cook under pleasant daylight and with a view out the window. Also, the table-sill provides a bonus –– the ability to use it as a bar table or to equip the underframe with additional storage places. However, the sub-window work surface has some minuses:
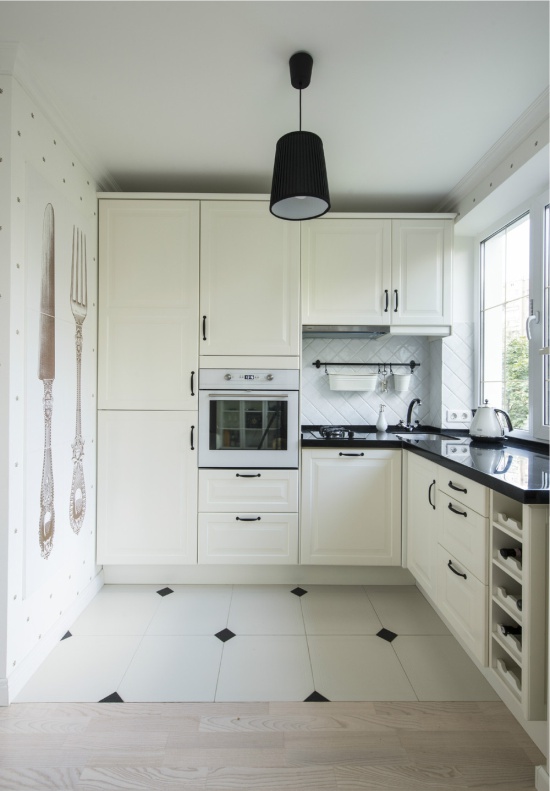
Since most often the window sill-tabletop implies association with the set, the question arises - what to do if the height of the window sill and floor kitchen stands do not match? Here are some solutions:
- If the window sill is higher than the thumbs of the headsetthen everything is simple: the kitchen worktop and cabinets are arranged under the window.In this case, the gap between the window sill and the table top is protected by the same material with which the apron is trimmed or the ventilation grille closes. In this case, the canopy of the window sill can be trimmed, the window sill can be replaced with a shield matching the tabletop and used as a shelf.
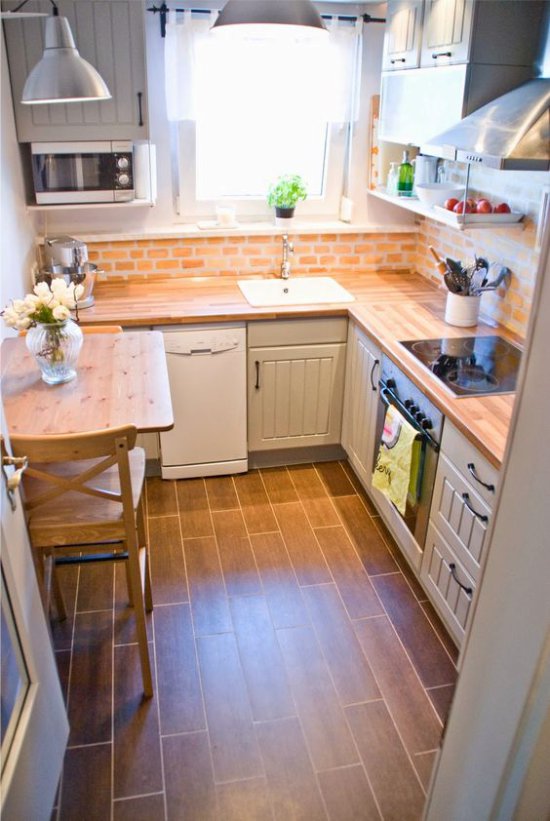
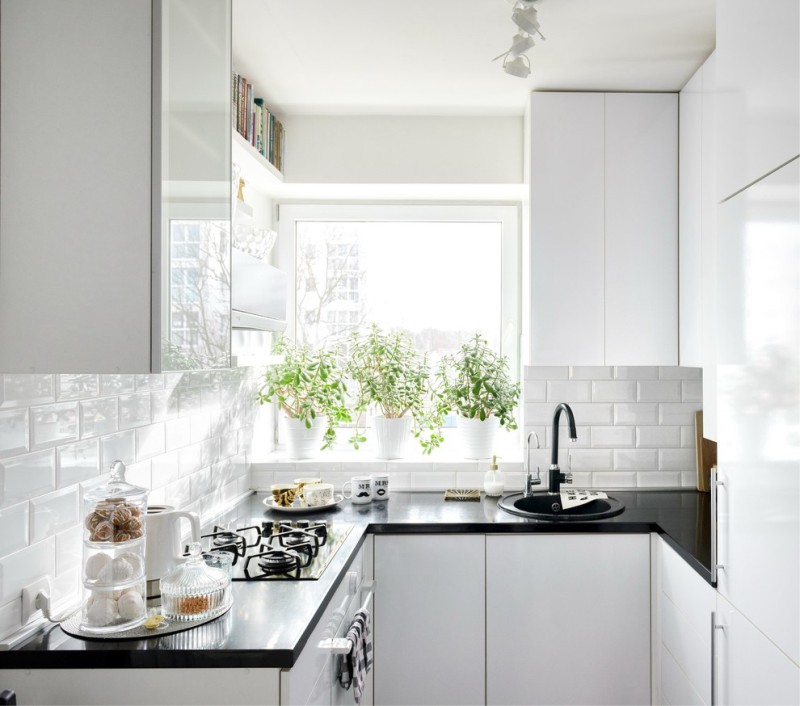
- If the difference between the window sill and thumbs is small, the kitchen furniture is customized under the window sill at the expense of the basement and legs, less often due to the height of the thumbs and the floor height. Here are some useful numbers:
- The standard height of the pedestals of the headset (without the table top and base) is 72 cm.
- The base has two sizes - 10 cm and 15 cm.
- The height of the kitchen window sill in a city apartment can vary from 72 to 90 cm (excluding the worktop).
- The standard thickness of the kitchen worktop (it must be taken into account in calculating the final height of the kitchen) is 4 cm or 2.5 cm (less often).
- Ideally, the height of the working surface should be 15 cm below the bent elbow of the owner / hostess of the kitchen.
- If the window sill below the kitchen furniture, then remodel it into the countertop more difficult. The most radical way is the following: the window sill is built up to the height of the furniture, and the window is set to a smaller size. However, this is only possible in a private house, and in a city apartment such intervention in the bearing wall and the facade of the building is prohibited. However, if the window goes to the loggia, then it is theoretically possible to “lift” it. The second way: the size of the window opening does not change, but the window design changes - it is complemented by a horizontal impost (additional frame profile). As a result, the lower part turns out to be deaf and is closed by the cabinet, while the flaps above the sill open as usual. Outside, the blind part of the window can be hidden behind the floral balcony "pot."
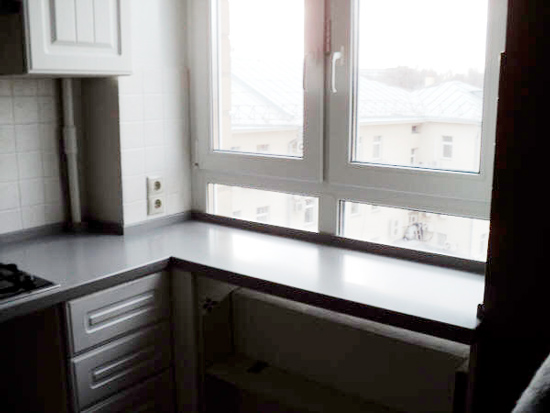
This window-sill could look even better if the window impost passed directly above the table.
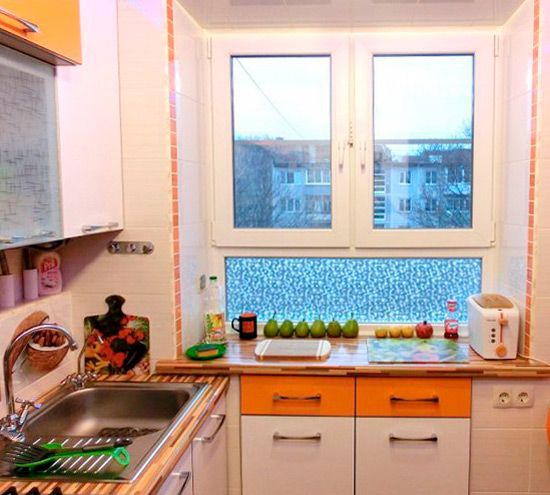
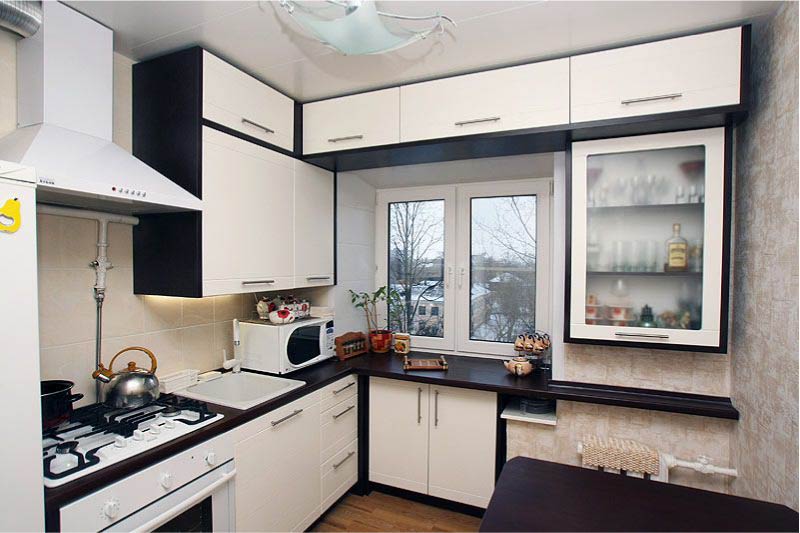
The third and easiest way: the kitchen is simply installed on top of the window sill (see photo below), and the niche formed behind it is used to store household chemicals or houseplants. Unfortunately, this solution is not ideal: you can no longer open the window openly, it will not be easy to tidy up a niche, room insolation will worsen, and from the point of view of fire safety the idea is not very successful. However, these inconveniences are not so critical.
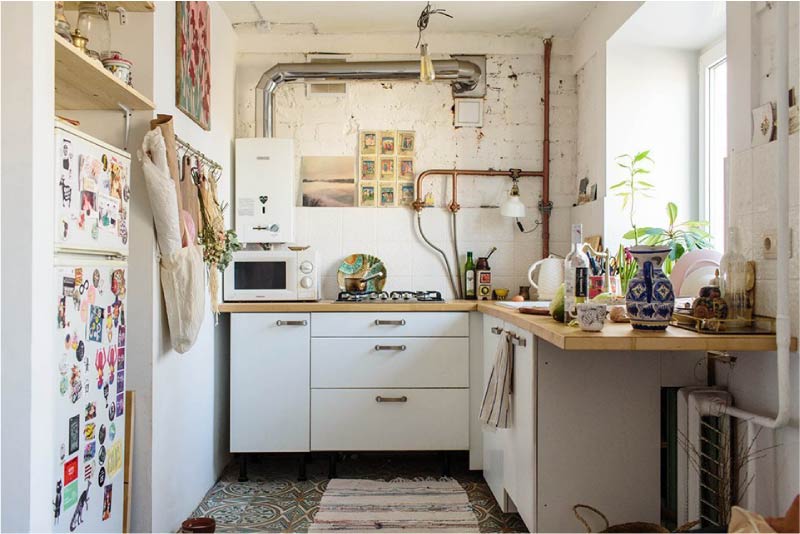
And finally, the fourth method: the window sill and furniture are combined, but not adjusted to each other in height, but the kitchen worktop is adjusted to them. To beat the difference between the surfaces in different ways. For example, different levels of the kitchen can be simply revetted with the same counter tops. As a result, the interior will turn out, though not so harmonious, but in general it will look good.
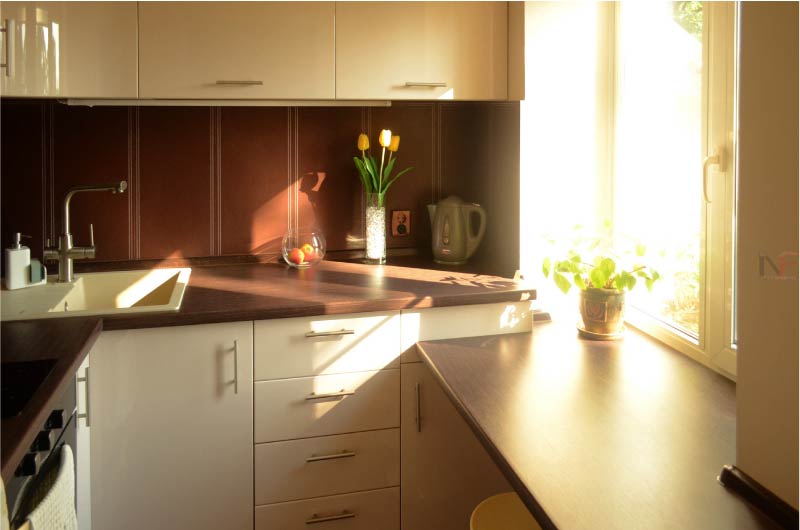
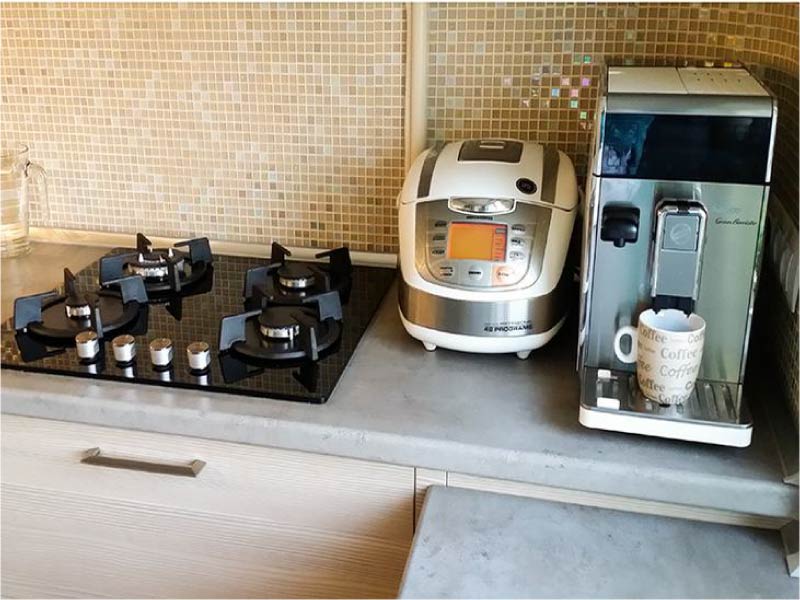
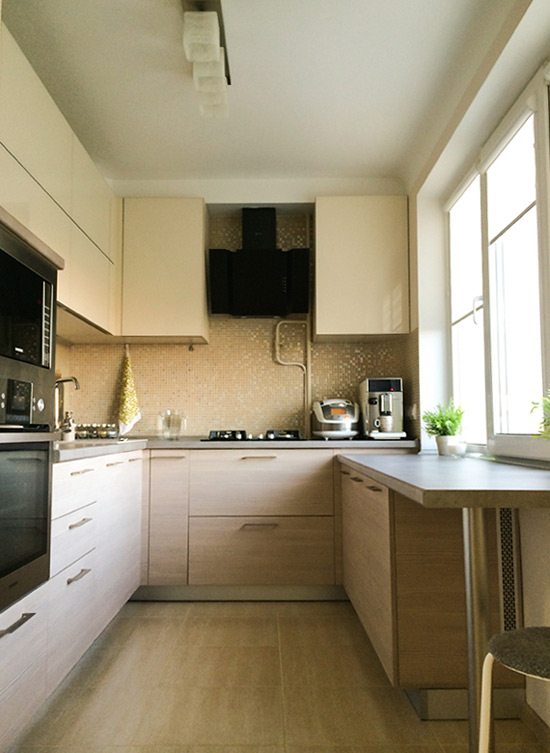
Also, different levels of the kitchen can be combined with a single worktop with invisible seams (in this case, it should be made of wood, and preferably of artificial stone of a contrasting color).
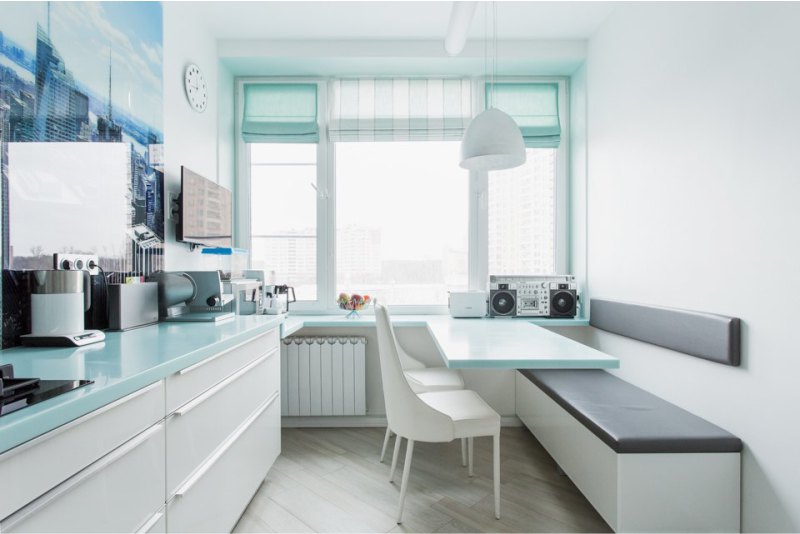
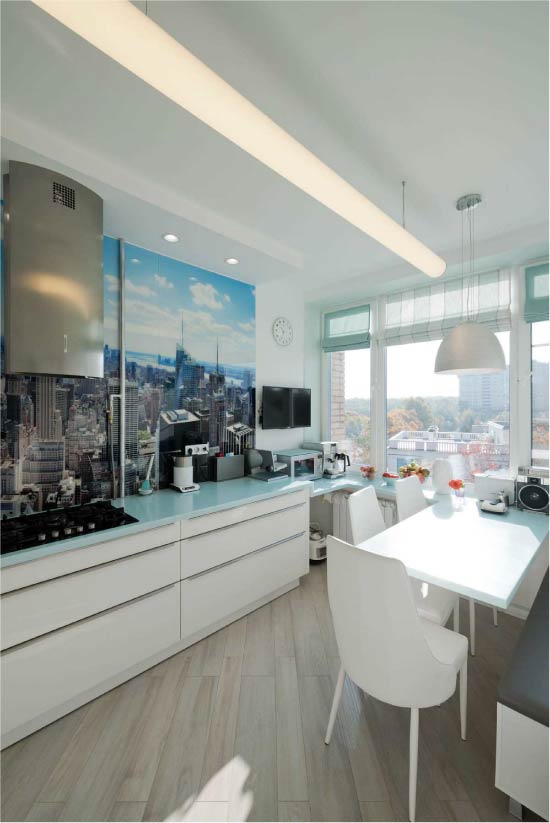
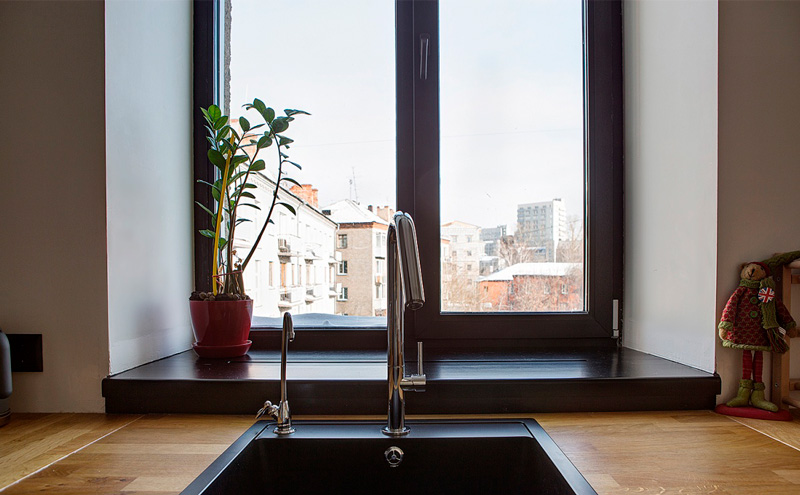
Sill-tabletop with sink
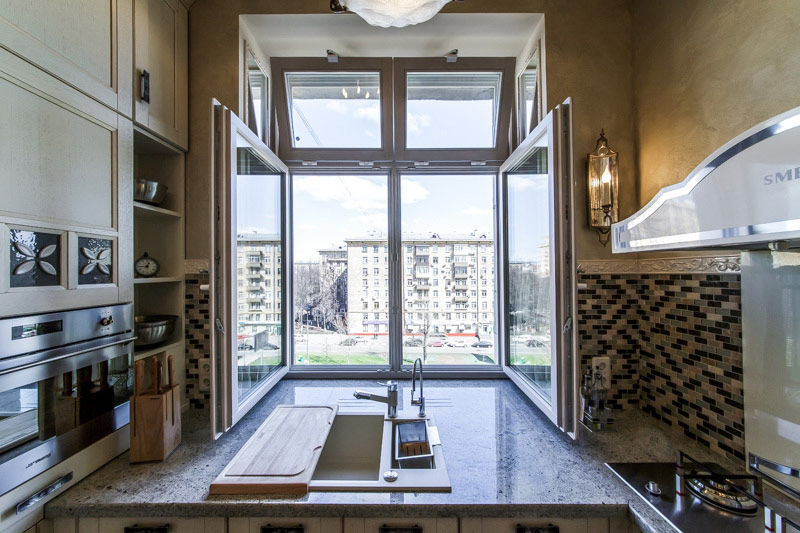
Sill-tabletop with sink - this is the most desirable, complex and costly project to implement. Indeed, in addition to the problems described in the previous chapter, the issue of supplying water to a window to the water supply and drain pipes is added. In addition, washing in the windowsill even brightens up the home routine with pleasant lighting and views of the surroundings, is not always convenient in practice. First, if the window slopes are not too wide, the window will often be splattered. Secondly, the sink mixer will prevent the opening of windows.
How to move the sink to the window and bring water communications to it?
With the supply of hot and cold water pipes, problems, as a rule, do not arise, but with the supply of the drain pipe from the sink to the riser, you will have to be confused - install it at an inclination of 2-3 cm per each meter of length.At the same time, all communications should be hidden, for example, inside a kitchen unit, in a drywall box or a runway.
Now it is a little about coordination of transfer of a sink. If you move the sink along the “native” wall, then the project development is not required. Moving the sink to the opposite or adjacent walls already requires the development of the project and its legalization in the housing authorities.
And here are other useful tips on the arrangement of the windowsill-countertop with a sink:
- It is desirable that at least one sash opened 90 degrees, then you can easily wash the window completely. To do this, you need to place the sink is not in the center of the opening, but closer to the edge.
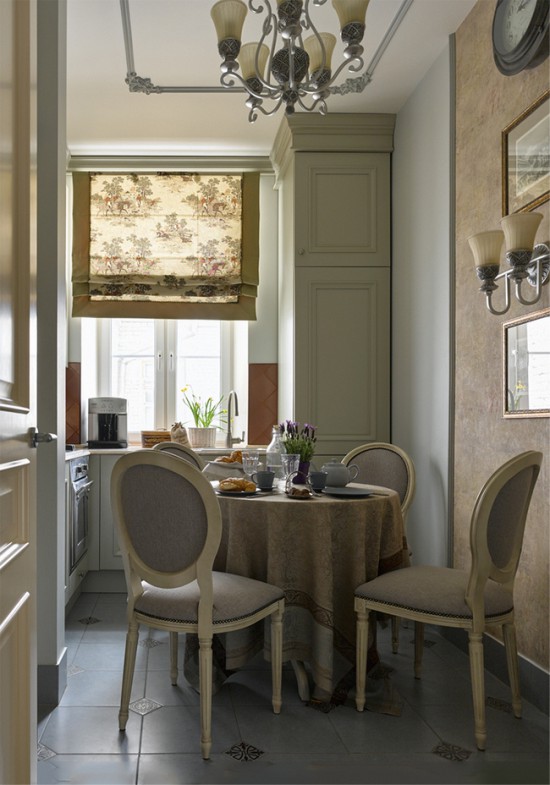
Sink under the window in a small kitchen
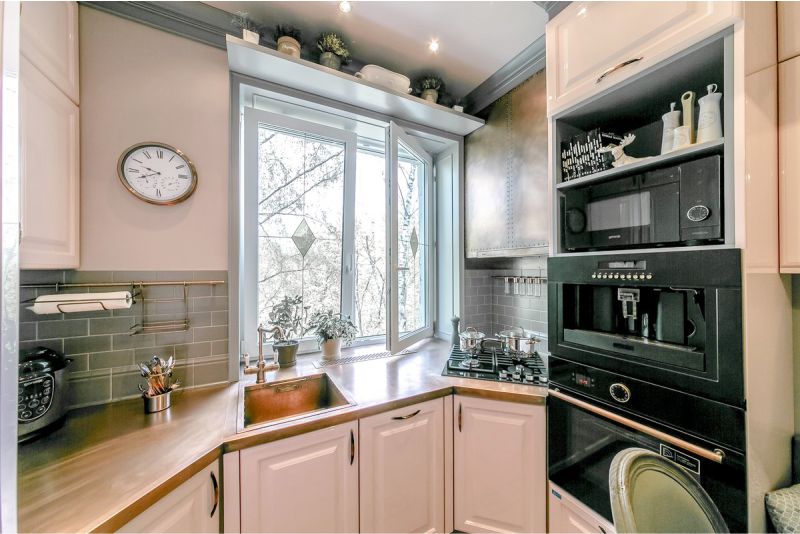
The exception is tricuspid windows - in this case, the sink is placed opposite the central blind door.
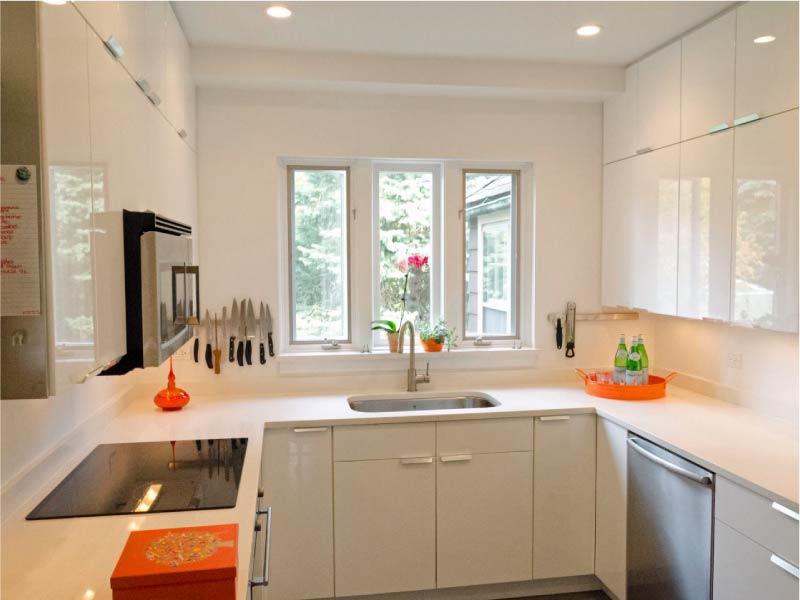
- To splash water on the window panes as little as possible, choose a deep sink, and it is better to choose a mixer with a medium or deep spout.
- If possible, install instead of a conventional folding mixer (with bayonet fastening). Such models are more expensive, but they allow you to open the windows of the window-sill wide open without problems.
- Since there can be no locker for storing dishes above the sink by the window, it should be provided on the side of the sink or under it. For the same reason, the sink should be chosen with a wing for drying dishes.
See also:
Sill-table top as a dining area or a place for snacking
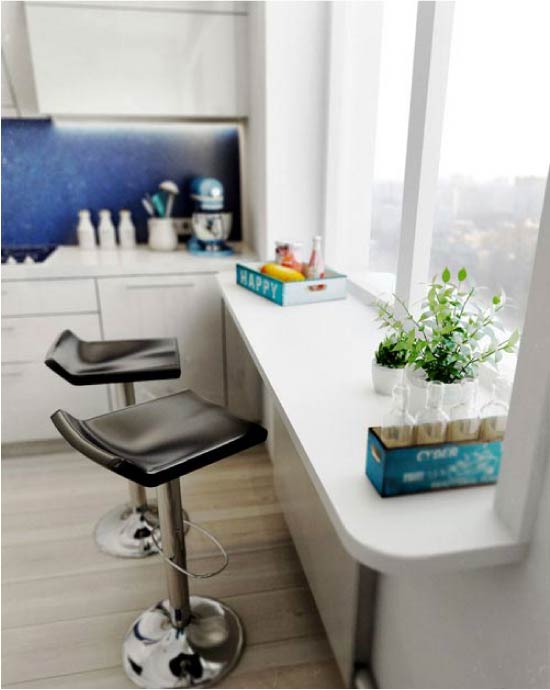
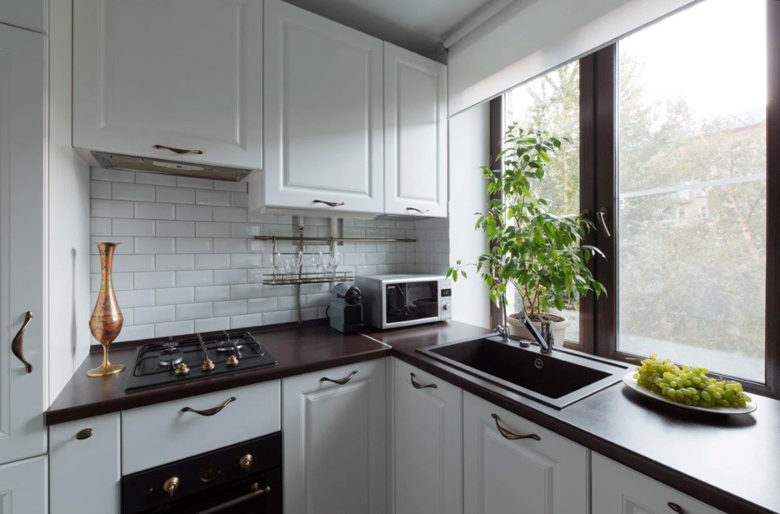
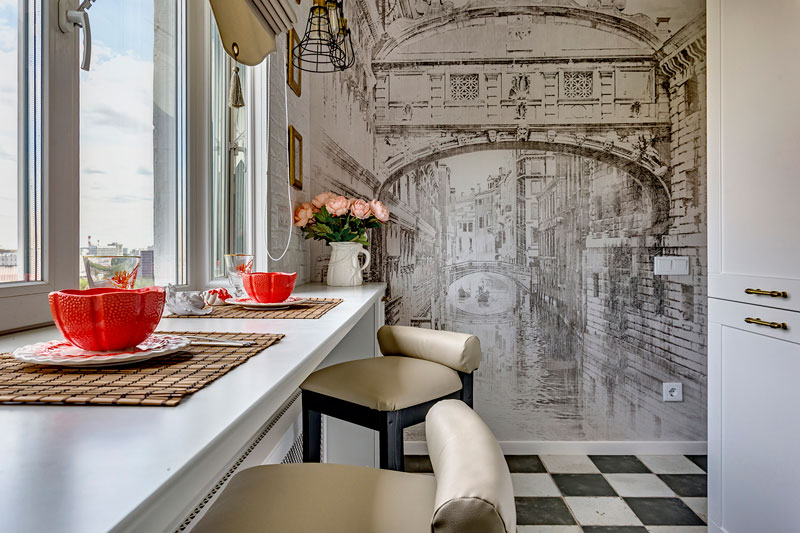
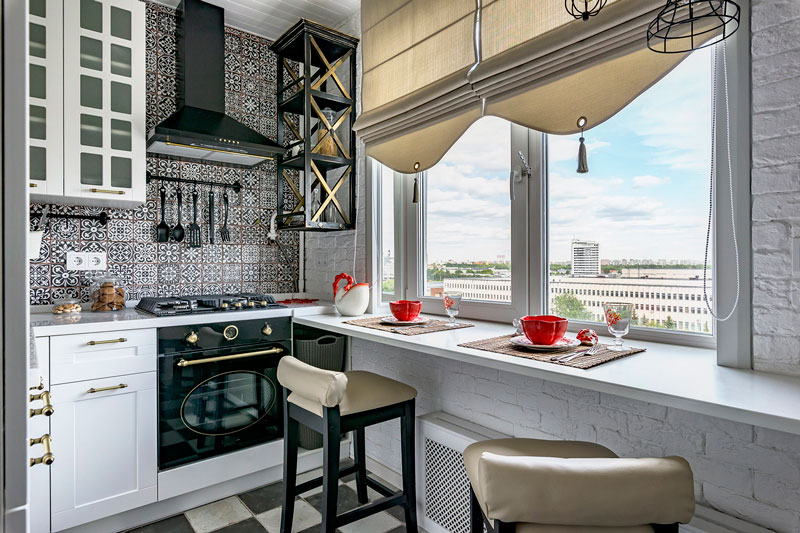
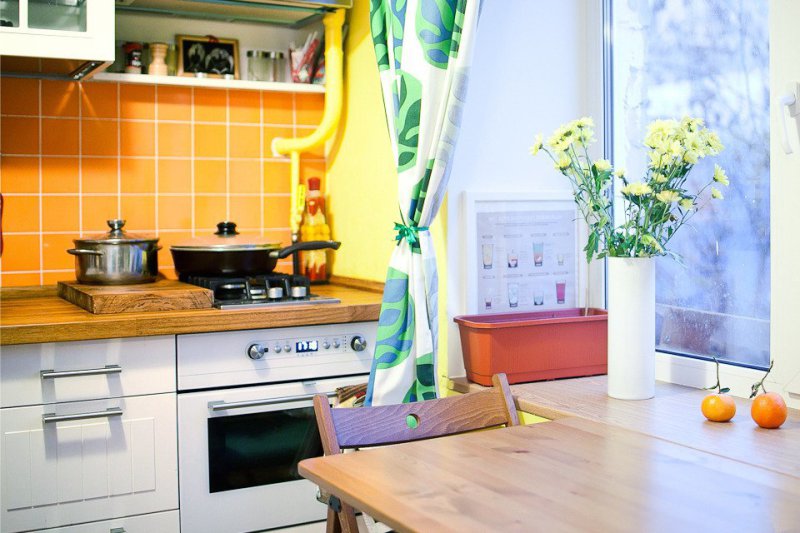
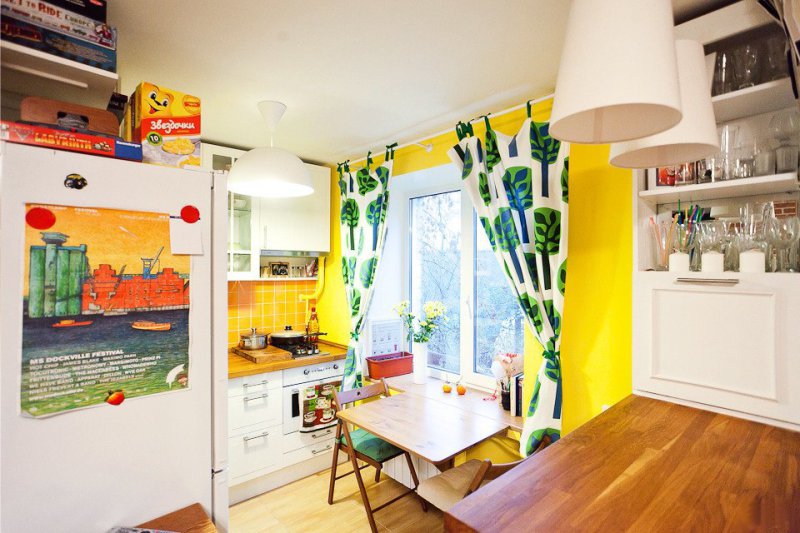
It is easiest to change the window sill to a bar or dining table - all you need to do is to replace the table top, add one or two pillars or a basement to it (if necessary) and select suitable chairs. As a result, the dining area is compact, well lit and very comfortable.
- Keep in mind that from the front edge of the window sill-bar counter to the radiator / wall there must be a distance of at least 25 cm, otherwise the feet of those sitting will rest on them.
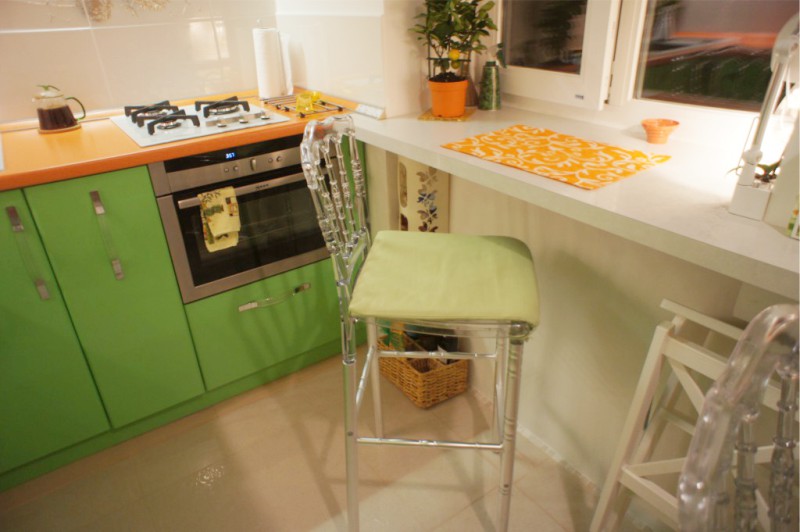
- The shape of the table-sill may have an irregular shape as shown in the photo below.
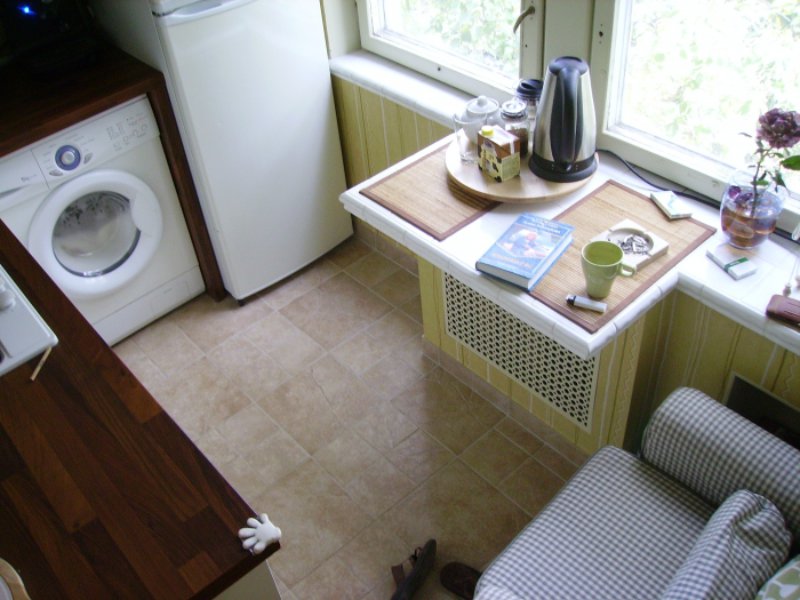
- If the window sill is too low, the countertop of the bar counter can be installed at the desired height with the help of brackets or supports.
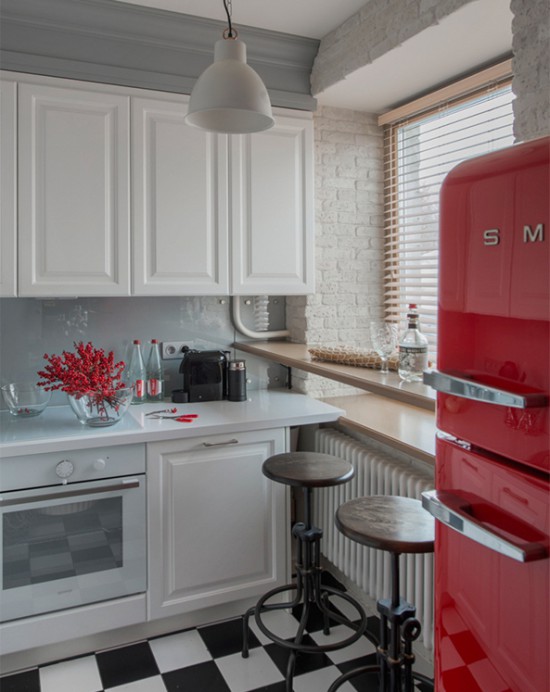
An example of a bar counter installed on top of the windowsill in the interior of the kitchen in the Khrushchev
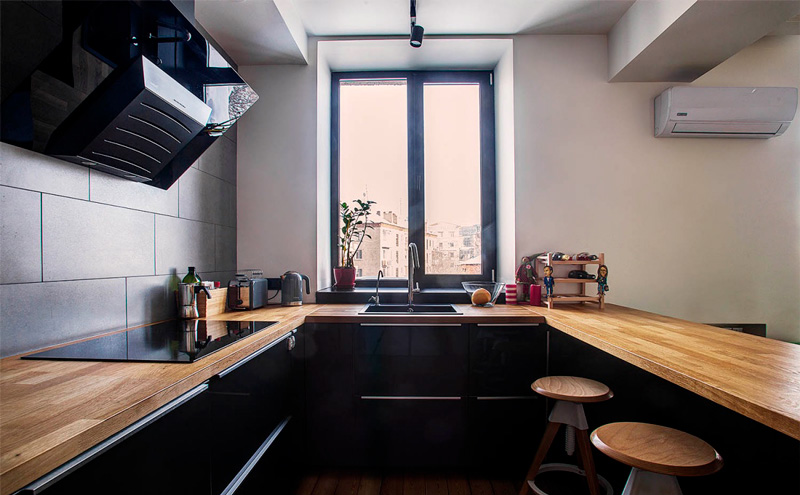
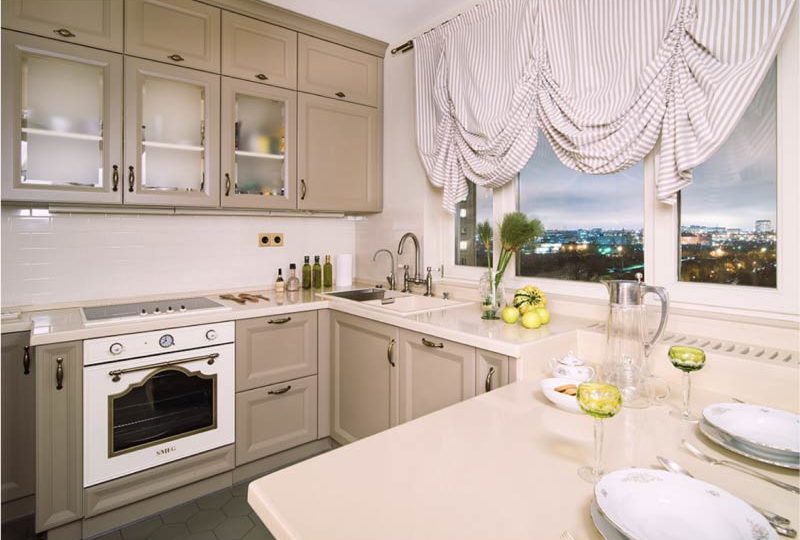
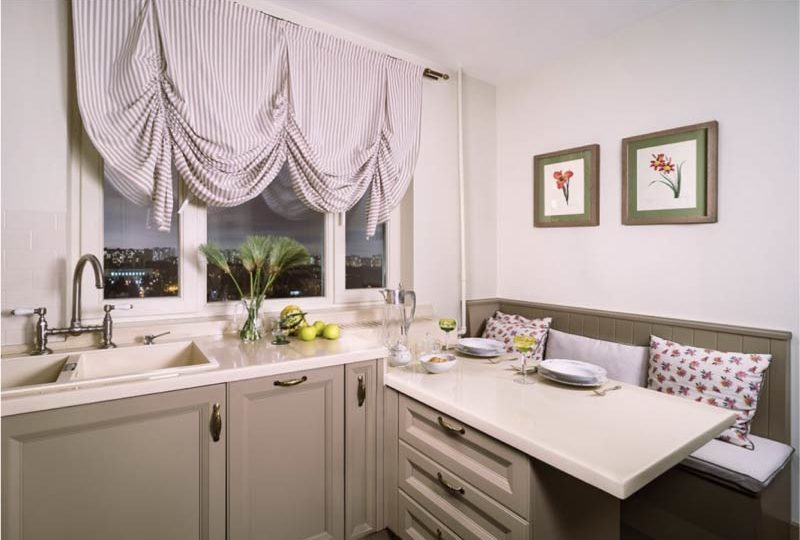
- A table on the basis of a window sill can be part of a single kitchen line, built by G-, C- or P-shaped.
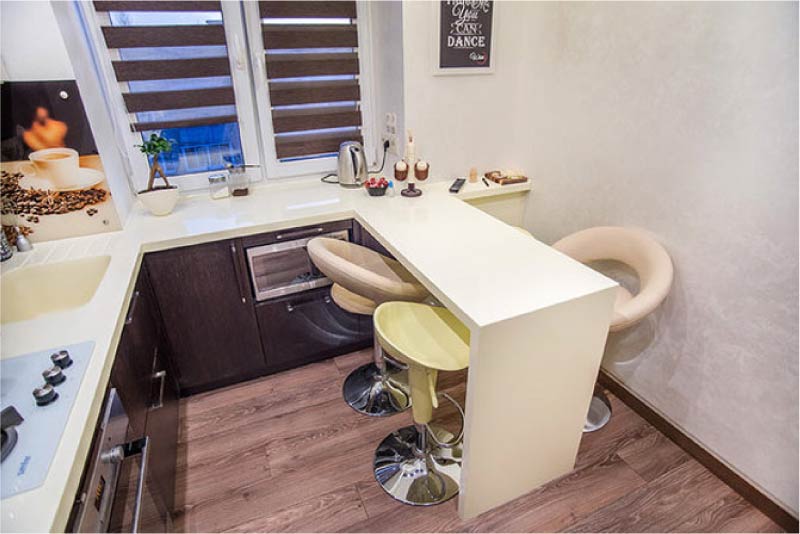
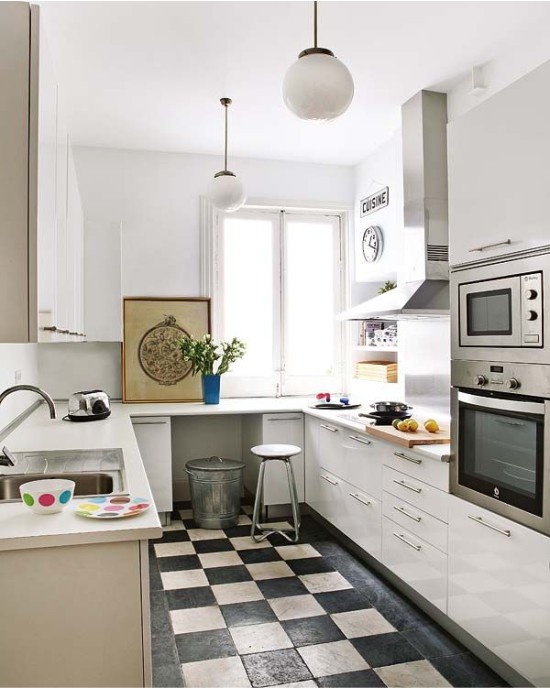
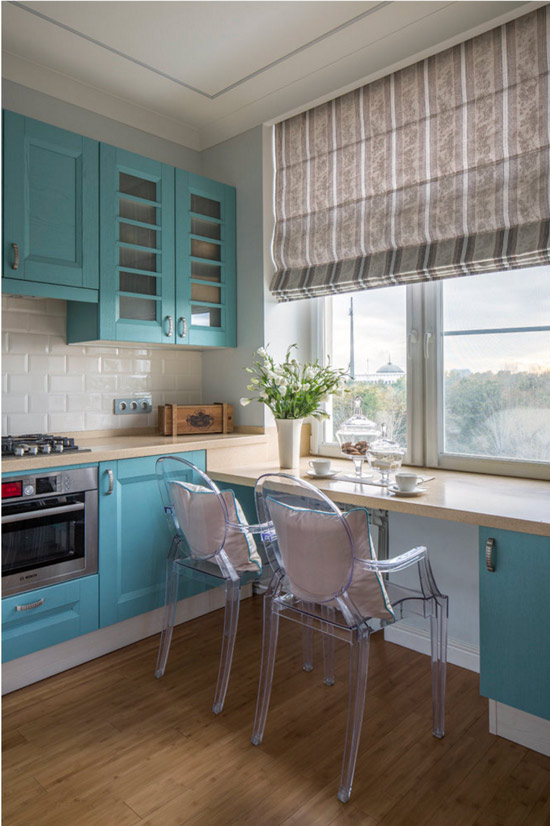
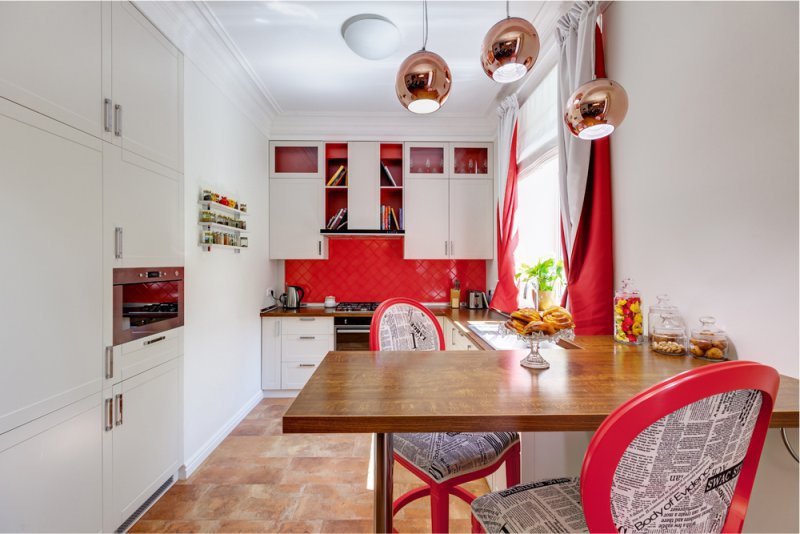
C-shaped kitchen with window-sill-bar
- How to make a dining table-sill with your own hands? Just set on a level with it a folding wall table as in the photo below.
See also: Everything about the kitchen with a bar.
Sill-table top with a small storage system
Both on the table-top and under it can be stored things, products and equipment.
- Ideally, nothing should stand on the windowsill except for a couple of light and small objects. After all, its clutter will reduce the lighting of the kitchen and make the interior a feeling of confusion. However, when the kitchen is very small, there is no place to go - you have to use the window sill as a storage for culinary gadgets.
- If there is a radiator in the cabinet under the sill, then it is undesirable to store food in it, since they will deteriorate faster in the heat. But in the cabinet with a battery, utensils will feel good - appliances, molds, pots, etc.
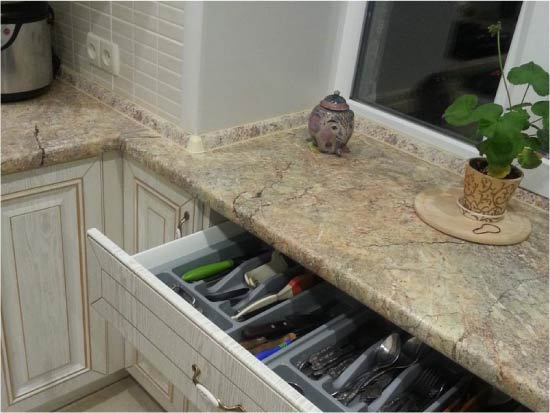
- Under the table top of the window sill you can equip a small storage system, for example, from open shelves or cabinets.
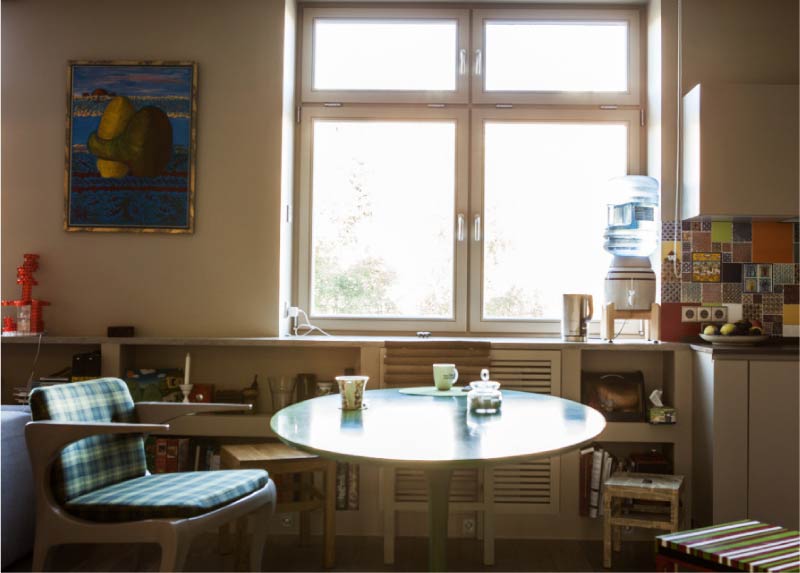
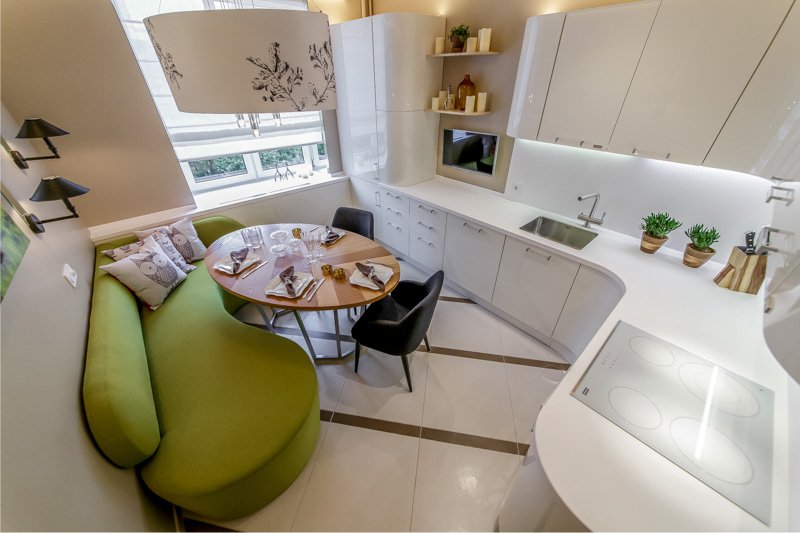
Sill table with their own hands
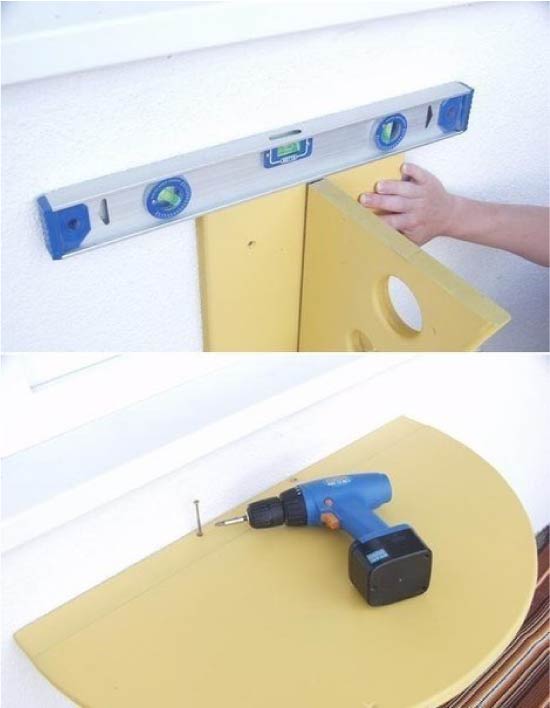
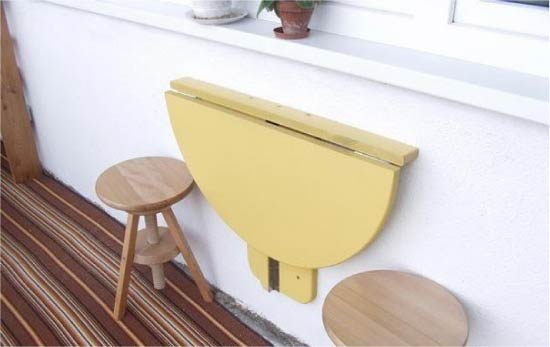
When the repair in the kitchen has already been made, and the window sill requires rework, it is easiest to attach a folding table to it. The design will be compact and mobile - if necessary, it can be folded in a narrow shelf. You can buy a similar table in a furniture store (for example, in Ikea), or you can do it yourself with the help of our photo workshop.
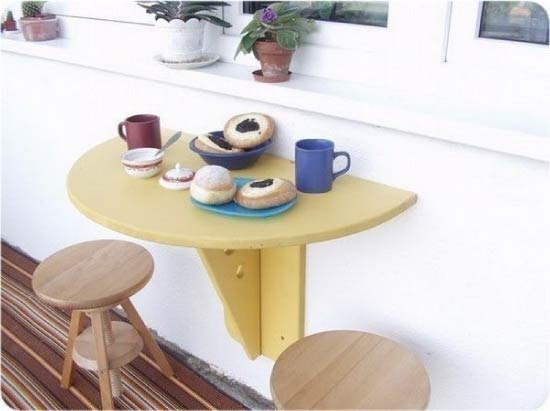
Having made the same table with your own hands and setting it on the same level with the window sill, you will get a functional window sill
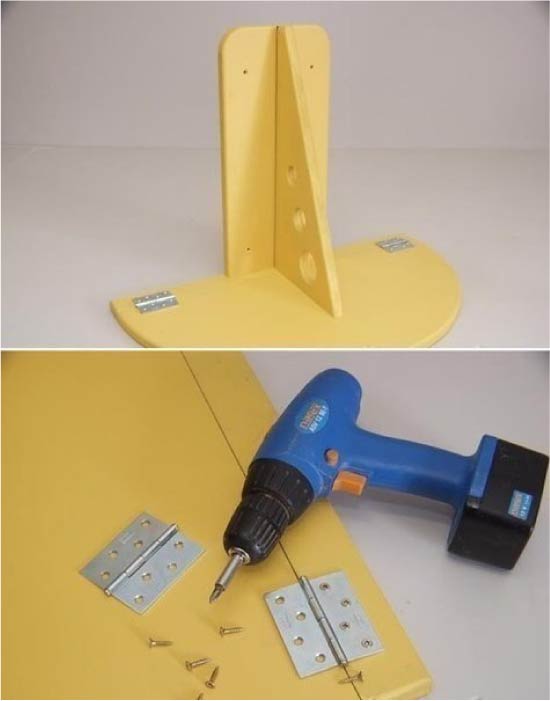
To work you will need: thick plywood sheet, jigsaw, screws, primer, paint, matt varnish or wax (preferably), brush, level, screwdriver, puncher, wood saw, and furniture card hinges 2 pcs. and piano hinges 1 pc.
Instruction: first cut the table top of the desired size and shape (for example, it can be a rounded rectangle or a semicircle). Then the support and its base are cut, if desired, decorative perforation can be cut out in the stem. Next, the ends of the workpieces are polished, all parts are primed, and then painted, coated with varnish or wax. In the next stage, the leg is connected to the base (on the piano hinges), and the table top is connected with a narrow rectangle (on the card loops). Finally, the support is installed on the wall, and then the table top is fastened to it (into three self-tapping screws).


- Self-installation of kitchen countertops - from cutting to insertion sink
- Sizes of kitchen countertops made of laminated chipboard, solid, artificial and natural stone. What you need to know before buying?
- The choice of kitchen countertops - the advantages and disadvantages of popular materials
- Wooden Counter Top Guide
- Kitchen design and repair in Khrushchev - 13 tried and tested solutions
- All about the design of a small kitchen - 16 super receptions and 70 photos



 (Rate the material! Already voted:38 average rating: 4,66 from 5)
I read this helpful article and
I understand that the window sill in my kitchen walks idle. But it will turn out
beautiful bar counter. Thanks for the advice, very creative.
Handsomely. I like how we will get to the balcony, I will also make a functional window sill there.
Now I think on the question of how to combine the window sill and countertop in the kitchen. I want to put wooden windows with glass, and the window sill is made of stone.
How to be if the window sill is more than two meters?