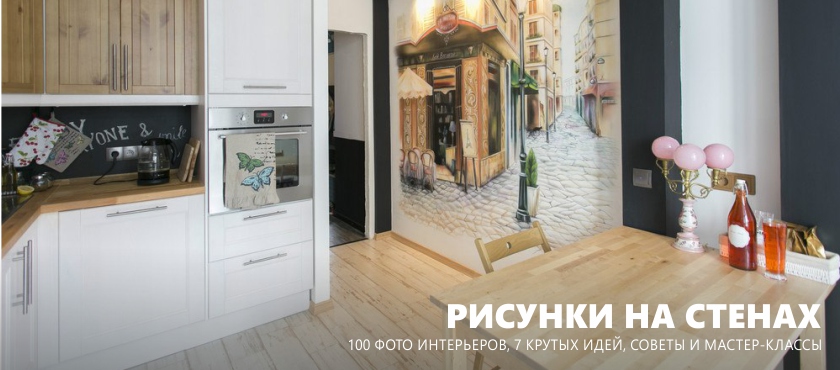
Revive the walls of your kitchen, bedroom, living room, nursery or hallway with drawings, following one of our workshops and being inspired by a selection of 100 photo ideas.
General recommendations
- Water-based acrylic paints are best suited for wall painting, as they are bright enough, do not smell, dry quickly and are amenable to adjustment during the painting process.

- To drawings on the wall are not afraid of wet cleaning, they should be covered with matte varnish.
- Under the painting it is best to take one or a maximum of two walls, otherwise the interior will be overloaded, and the space will visually decrease.
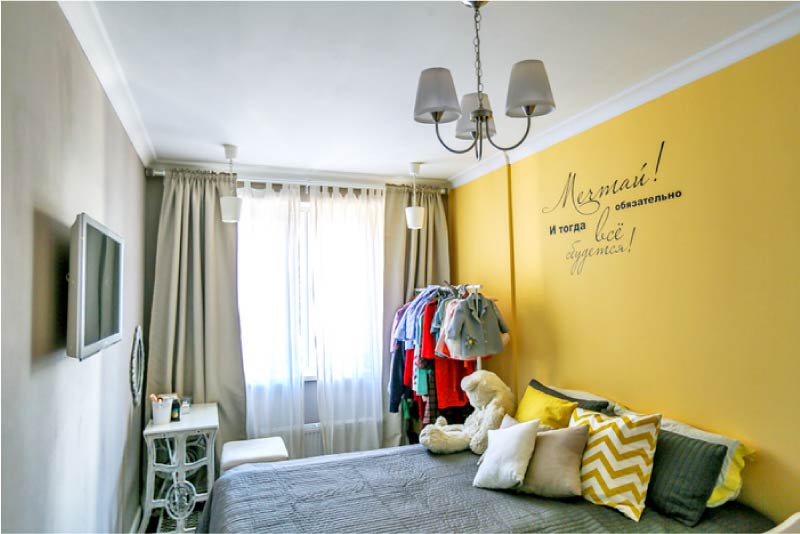
- When choosing a drawing for a wall, consider the orientation of the room on the cardinal points. If the windows of the room face the south side, then cold colors (blue, blue, turquoise) can be safely used for murals. If there is not enough light in the room, then we advise you to bet on warm shades (yellow, orange, brown, red and others).
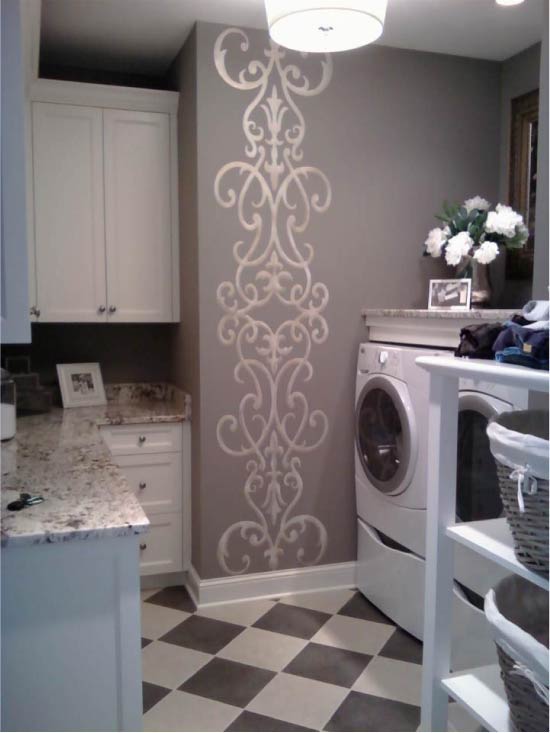
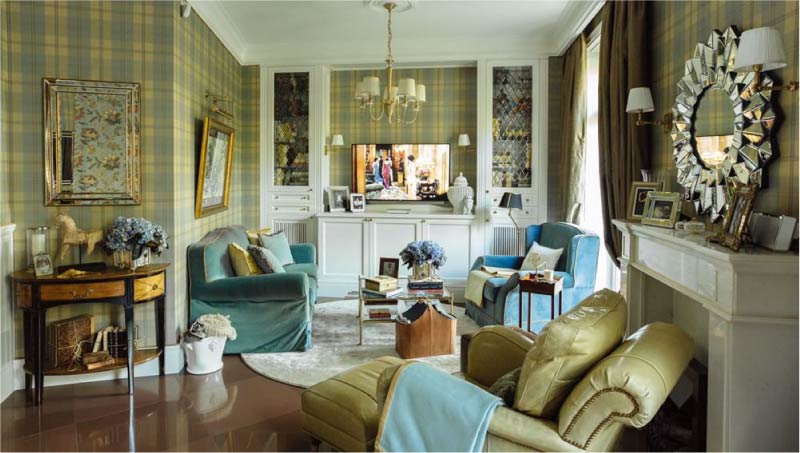
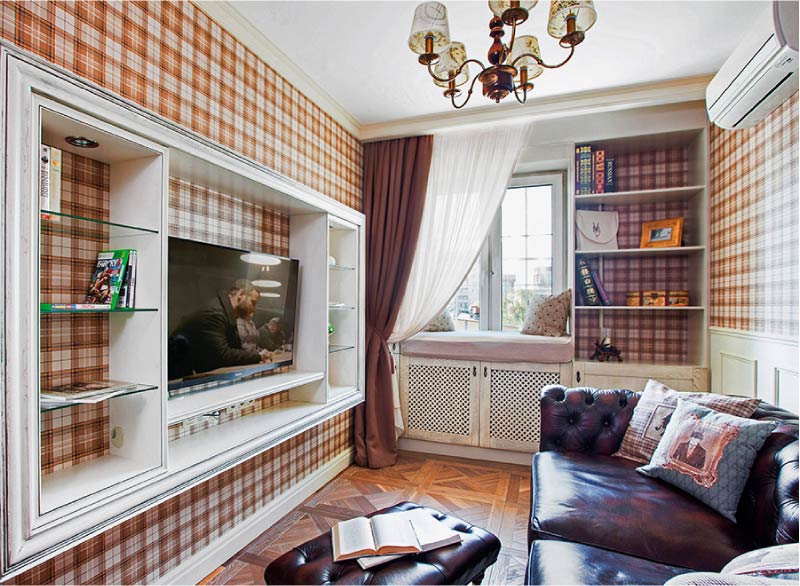
- Drawing on the wall should fit into the interior of the room in style, colors and themes. So, for example, in classic interior patterns in the style of Damascus, heraldry, cell, floral and floral motifs will be nice.
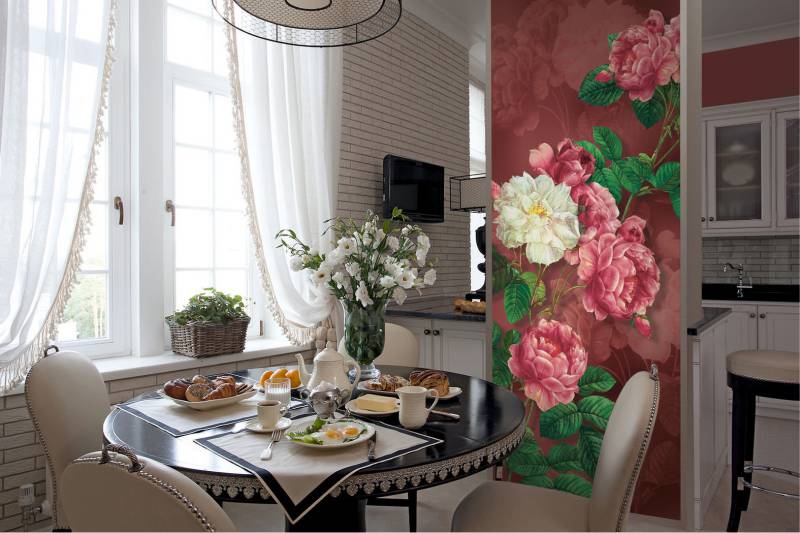
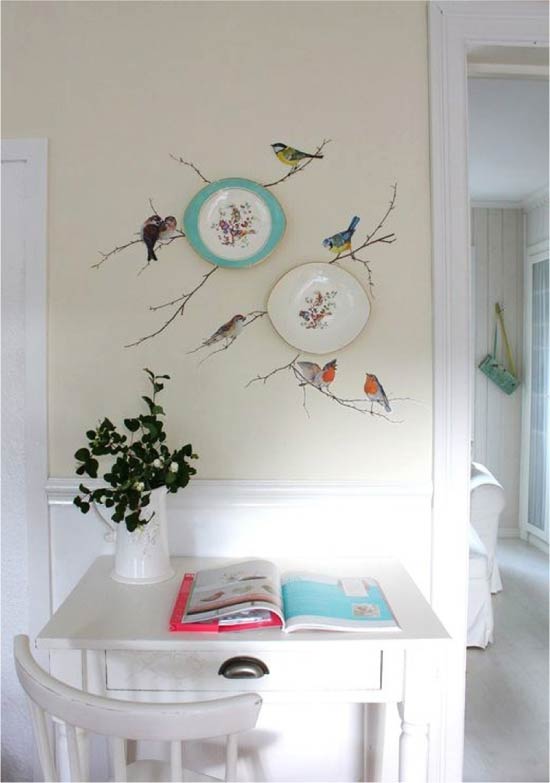
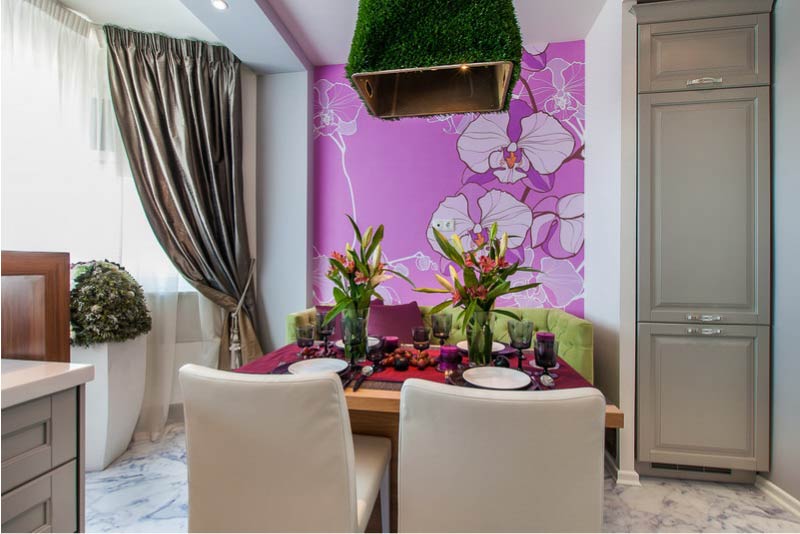
Flowers on the wall of the kitchen in a classic style
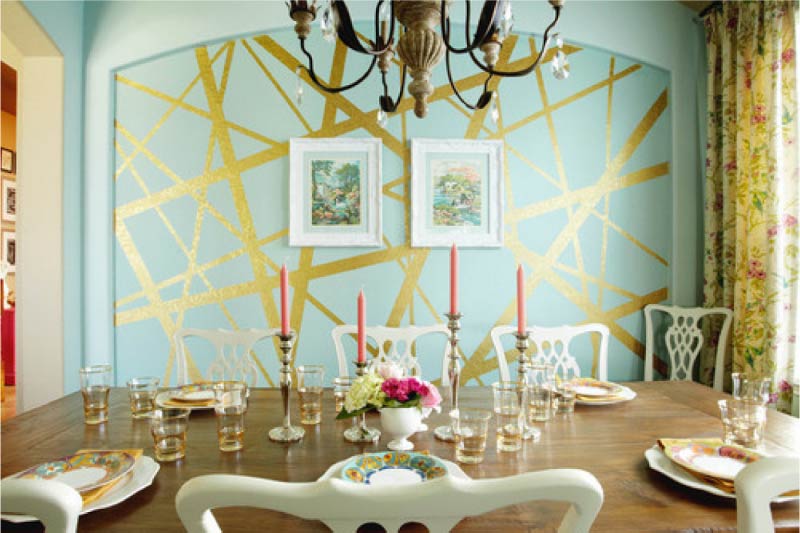
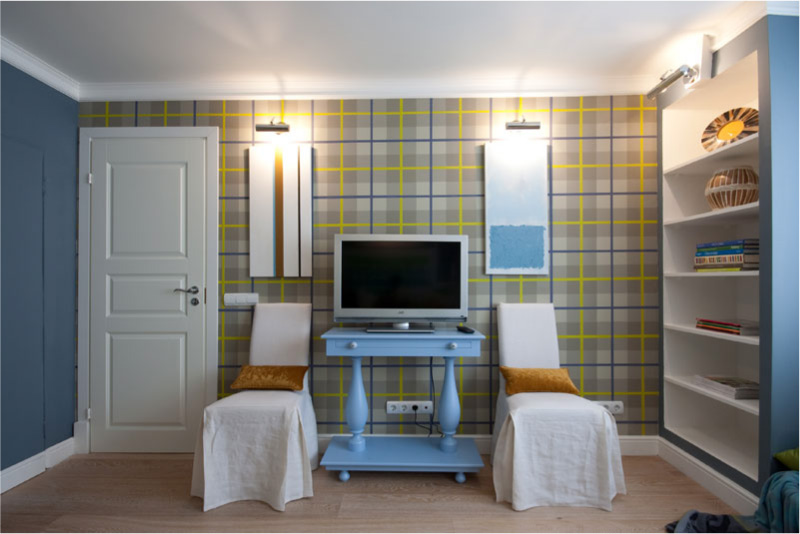
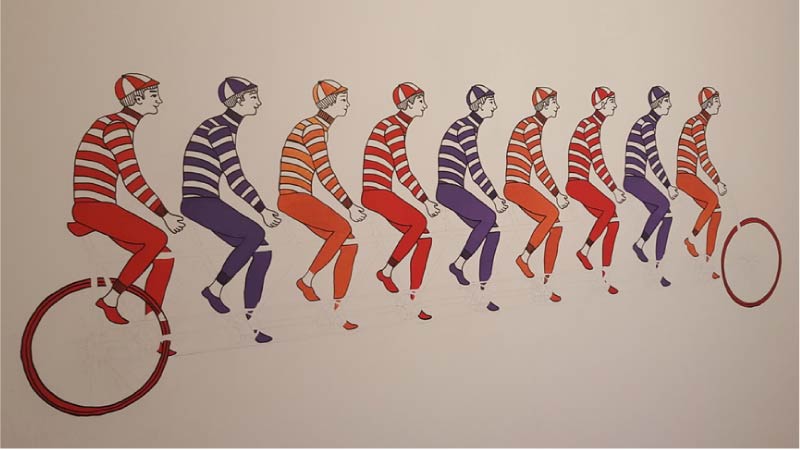
AT modern interior geometric prints, chevron, horizontal stripes, abstract images will be more appropriate.
The most versatile prints for painting walls are: a Vichy cell or tartan, stripes, rhombuses, floral motifs, Moroccan patterns (pictured below).
Can't find a trendy Moroccan print wallpaper? Order the stencil of the pattern on the Internet or make it yourself by following our master class.
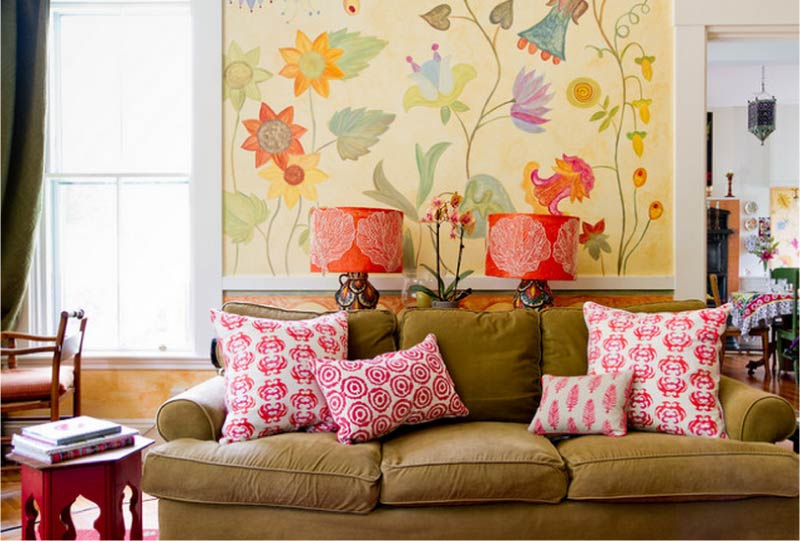
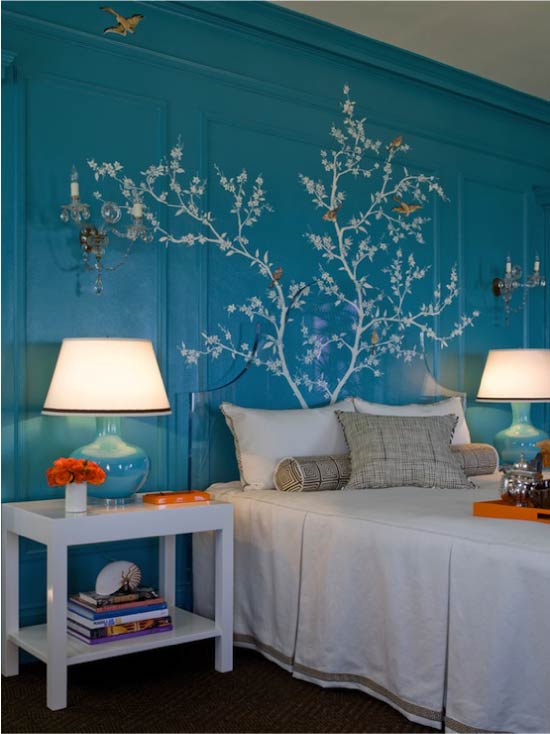
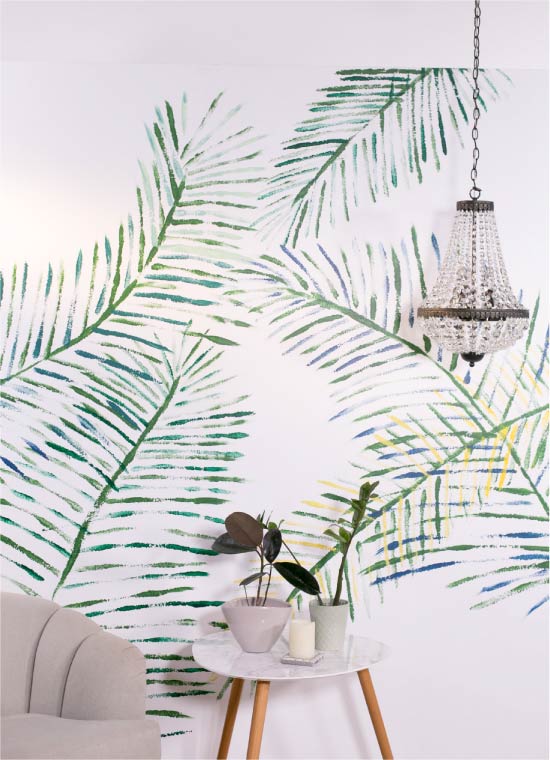
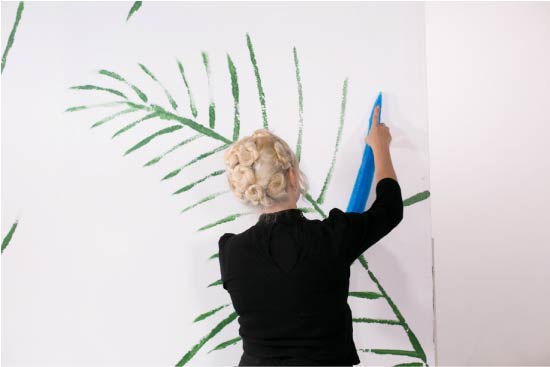
Images of trees (for example, cherry blossoms), flowers and plants are also quite versatile.

Painted Sakura on the bedroom wall
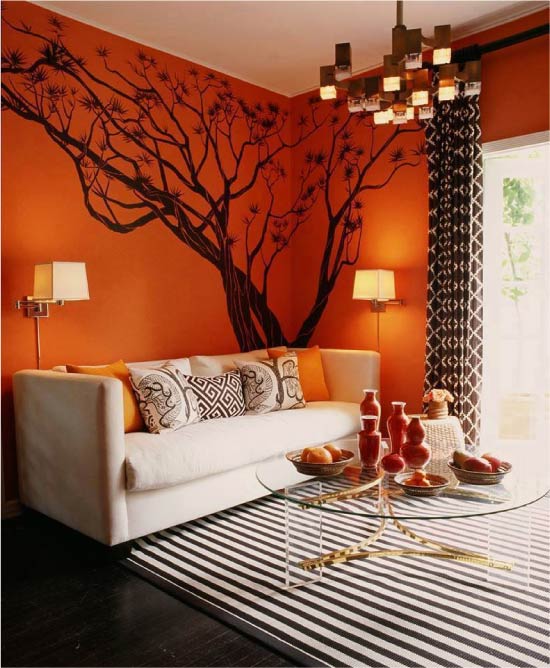
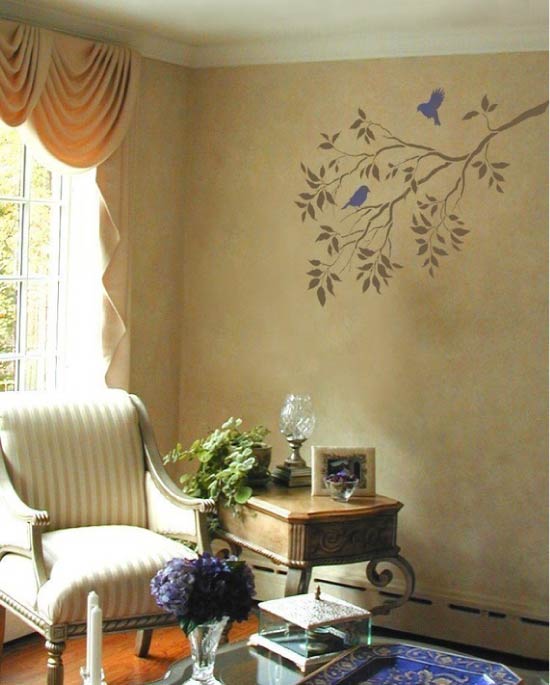
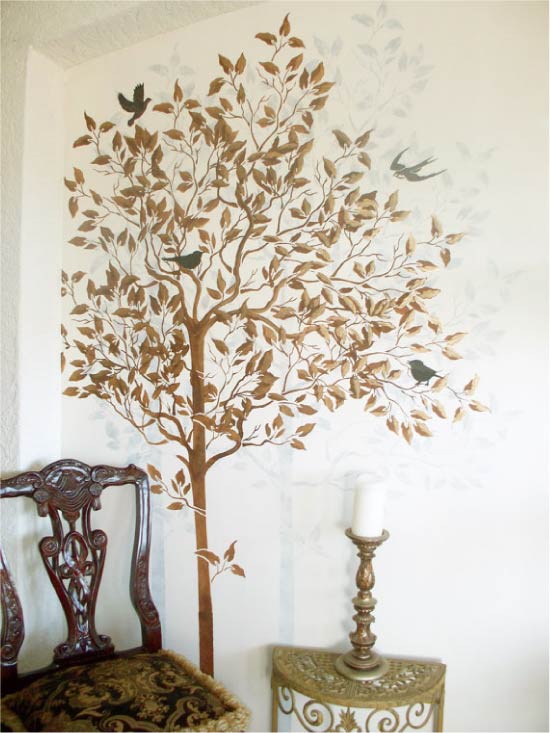
Painted tree on the living room wall
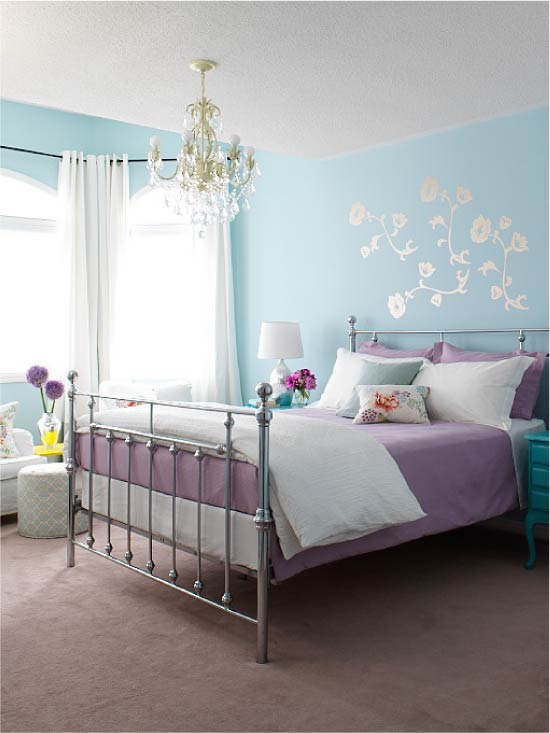
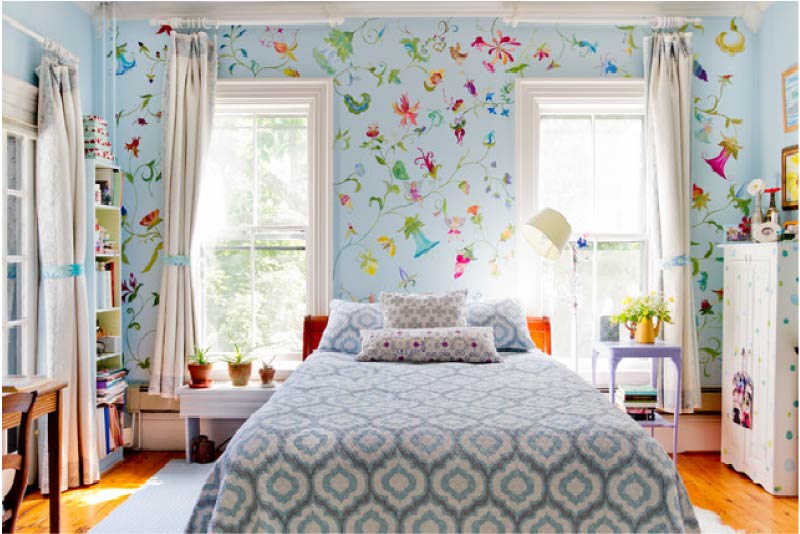
Painted flowers on the bedroom wall
It is desirable that the wall picture echoed with any elements of the interior, for example, with pillows on the couch, a picture on one of the walls, a carpet, curtains or tablecloth.
Thematic picture on the kitchen wall
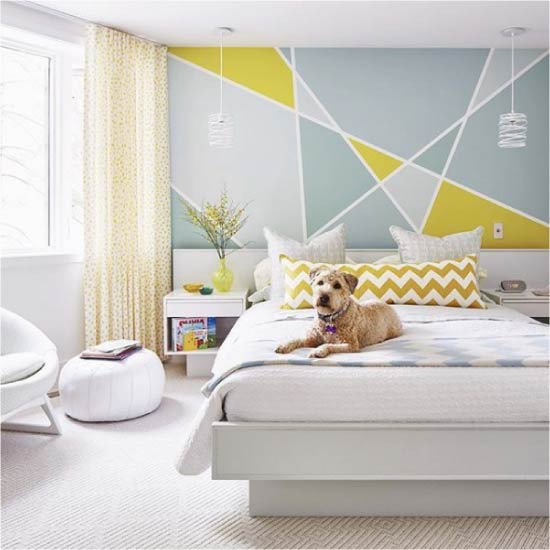
- Remember that the vertical lines of the picture visually draw the walls, but narrow the room. Horizontals, on the contrary, pushing the walls apart, but below the ceiling.
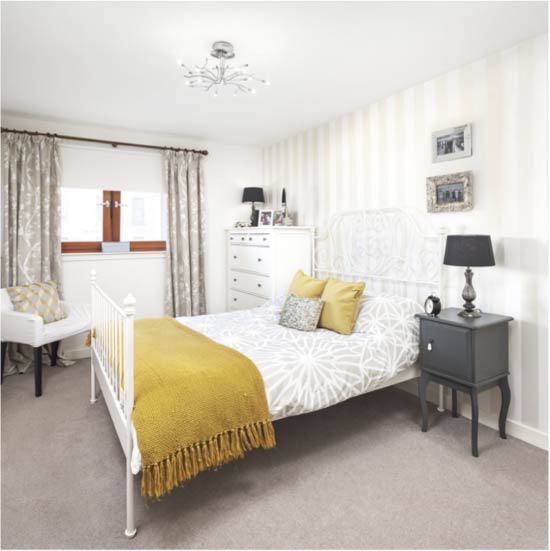
Striped wall in the bedroom
- If a small room, the picture is best to choose not too large, detailed and colorful. Also it is necessary to refuse from too bright or dark shades in favor of light.
Drawing on the wall of a small kitchen in Khrushchev
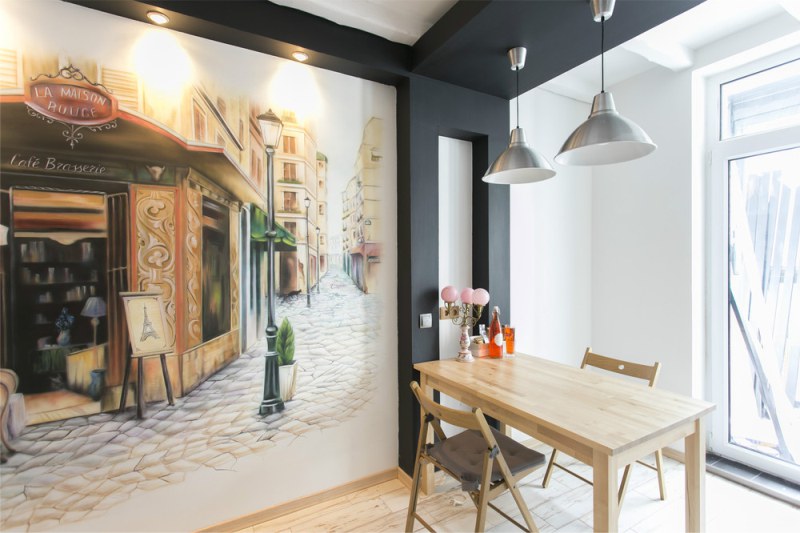
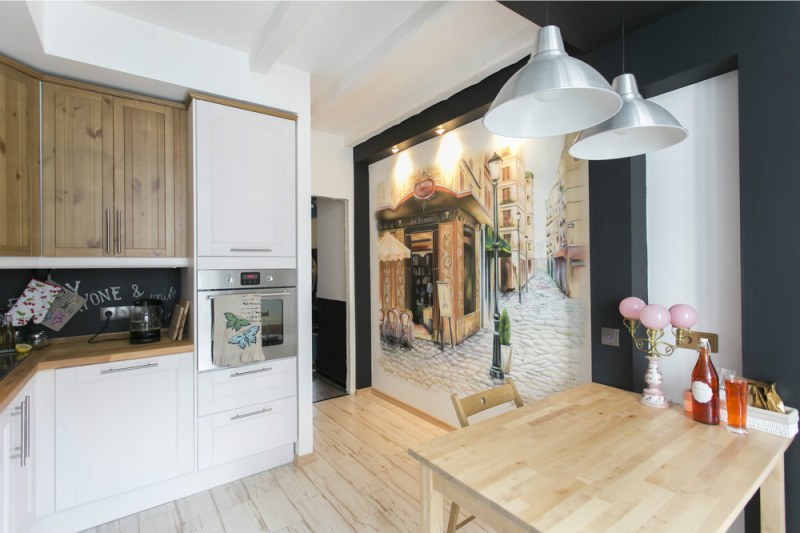
Visually increasing a small room will help wall-drawing with a perspective, for example, the image of a city street, leaving the distance as in the photo below, forest paths, roads, etc.
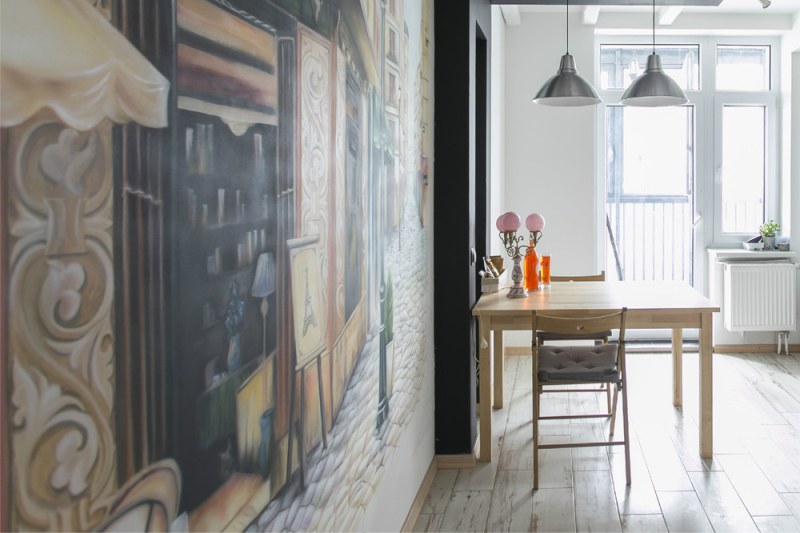 Example of painting the wall with an airbrush

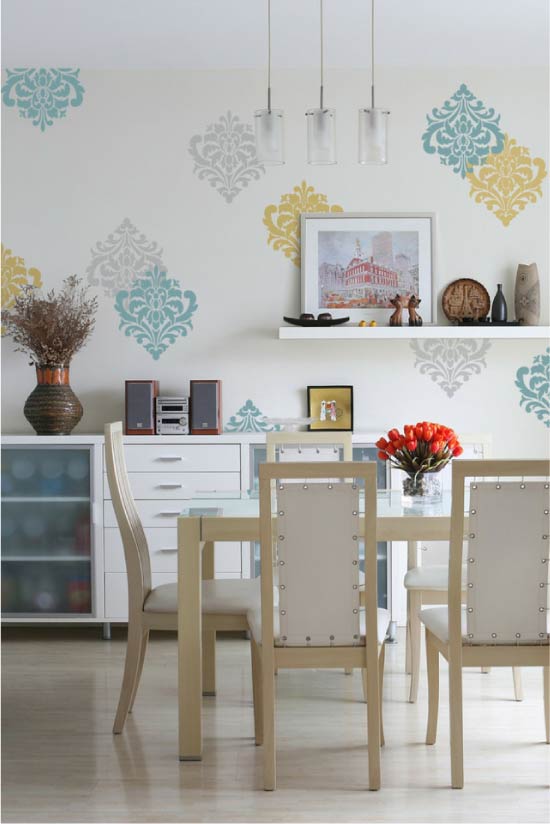
- Which wall or fragment of the wall should be chosen for painting? Any empty or most visible wall in the room, a niche or ledge, a wall in any functional area (or opposite it), as well as a section above any table, chest of drawers, console, fireplace, headboard, etc., will do. For example, in the kitchen you can paint an apron or a section above the sink, a wall near the dining table or in front of it.
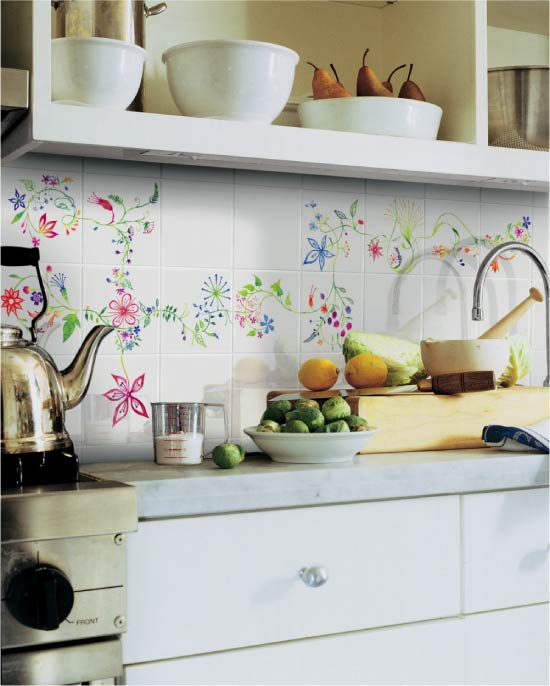
Painting ceramic tiles on the kitchen apron
By the way, using the picture on the wall, you can divide the space and mark the boundaries of a zone.
Also for painting great doorways, corners, space under the ceiling.
See also the material: Kitchen wall decor - 12 super ideas
Idea 1. Wall painting using a stencil (+ master class)
Stencils help out when you want to outline the contours of a complex image, draw letters, numbers, or any repeating patterns.
For wall painting, you can use a pre-made template or custom-made printing. Such stencils can be flexible or rigid, single- or double-layered (to create a multi-color pattern), self-adhesive or glue-free. As a rule, they are durable, fit snugly to the wall and are intended for multiple use.
- Want to get a super-trendy and unusual stencil? We advise you to look for it in the international online store Etsy on request "stencil" (price from $ 10 to $ 100).
However, a simple single-layer stencil for painting walls can be made with your own hands, following our step-by-step instructions.
What you need to make a stencil: office paper, plastic film or heavy paper (for example, drawing paper or wallpaper), a pencil, scissors, a chancery knife or a special knife for cutting stencils, masking tape and transparent tape, as well as a printer and some graphic editor (vector or raster).
What you will need for the stencil wall painting: paints (best water-based acrylics), a synthetic round brush (7 cm in diameter for painting large drawings and smaller ones for finer work), a sponge (instead of brushes) and paper napkins for removing excess paint.
Instruction:
Step 1. Find the appropriate vector (!) Stencil on the Internet. Please note that it is advisable to select the image contour (or make it so), because the colored areas only waste the ink when printing.
- It is also important that the stencil does not have too thin bridges, otherwise the paint under them may leak and spoil the design. Or they may just break.
Step 2. The selected image must be scaled to the desired size and print. It is very easy to make if the size of the stencil does not exceed A4 format. However, if you need to print a large template, it should be divided into several parts. Then you will only collect the picture as a mosaic.
- If you are using transparent vinyl, then you just need to put it on the original drawing, circle its outlines with a felt-tip pen or pen, then cut out the unnecessary segments (see photo).
 1
1
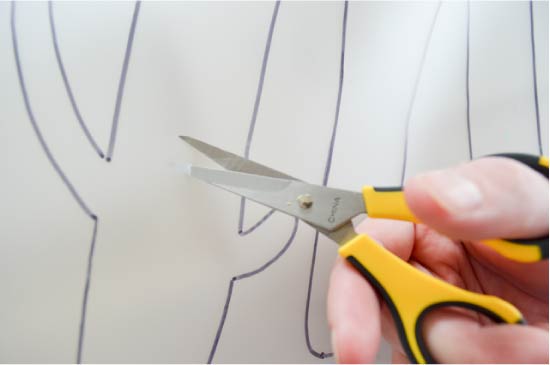
Step 3. At this stage, A4 paper stencil should be pasted over with transparent tape on both sides and overlapped (!) To protect the paper from being soaked. And finally, cut with the help of the chancellor's knife all the segments intended for painting.
If you have printed several A4 sheets for a large stencil, then at this stage you can start cutting immediately, but keep in mind that you will have to paint the stencil with a practically dry brush so that the paper does not soak. But in order not to risk, it is desirable to laminate the picture or copy it onto a more dense base (for example, vinyl wallpaper). To do this, you can:
- Use copy paper (put it between the base and the printouts, and then draw around all the lines with a pencil).
- Cut out all the holes for painting from the printed pattern, and then transfer its contours to the base. Next, you need to take up the knife again and cut the segments for painting now on the basis.
When cutting out the stencil, do not forget to protect the table from scratches by placing a substrate, such as glass, on it.
Step 4. It is time to glue the stencil to the wall. To do this, try on your template to the selected place, align it to the building level and glue on the tape. If necessary, for example, if it is necessary to draw repeating elements with equal spacing, you first need to make a markup using the building level.
- If the stencil has thin and movable bridges, fix them on small pieces of double-sided masking tape (you can twist a ring of ordinary masking tape with a ring).
- A more convenient way to fix the stencil is with a low-adhesion glue spray that allows you to remove the template easily and completely (sold in stores for creativity).
Step 5. Hurray, the most time-consuming work left behind, it's time to start painting.
- If you use a sponge: dip the sponge in the paint, remove the excess on the napkin, then start dyeing the stencil with tamping movements.
- If you use brushes: dip the brush in the paint, then move it a little over the napkin to remove the excess (the bristles should be almost dry), then start painting in circular motions. Be careful to paint the area near the very edges of the stencil so that the paint does not leak under the holes and does not spoil the contours of the pattern.
- If you use paint in a can: spray paint carefully, in thin layers and in several approaches to avoid smudges.
- If you use a roller: having lowered the roller in a trough with a paint, wipe it with a napkin, then proceed to painting. Along the edges of the stencil, move the roller from side to side, not up and down.

Step 6. When the drawing on the wall is completely dry, cover it with a matt varnish to protect it from moisture.
See also: The decor and design of the dining area
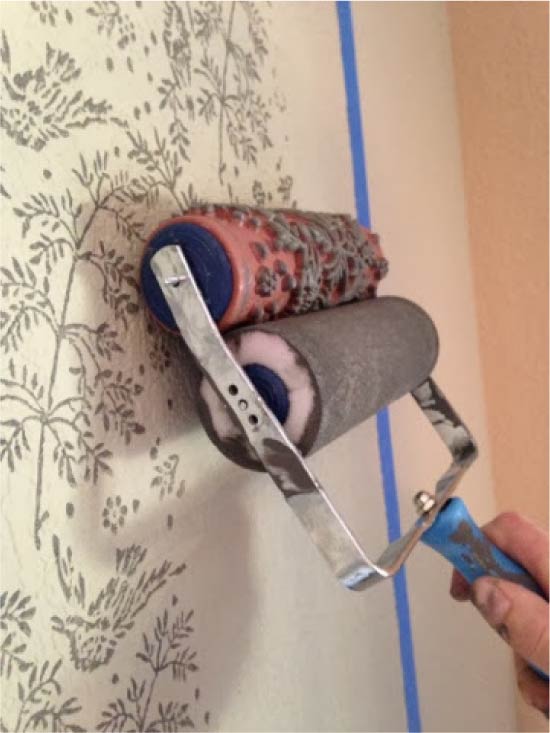
Idea 2. Painting the walls in a cage (+ master class)
As you know, the cell is the most versatile print that never goes out of fashion. It fits perfectly into both the classic and the modern interior, both in the kitchen and in the children's bedroom. You can decorate one or more walls with a cage using wallpaper or painting.
- It is somewhat more difficult to paint the walls in a cage with your own hands than to glue on the checkered wallpaper, but the painting gives the best result: the painted surface can be washed, repainted, and most importantly - it does not have seams that risk peeling off.
The easiest way to paint the walls in a large cell Vichy as in this selection of photos.

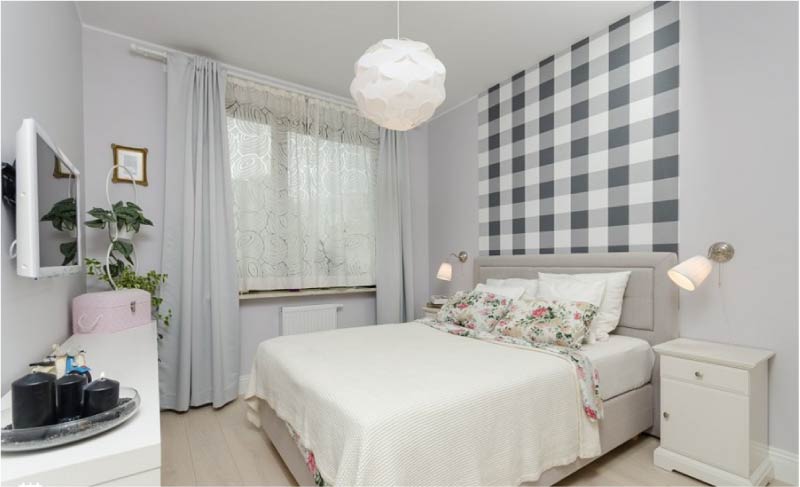
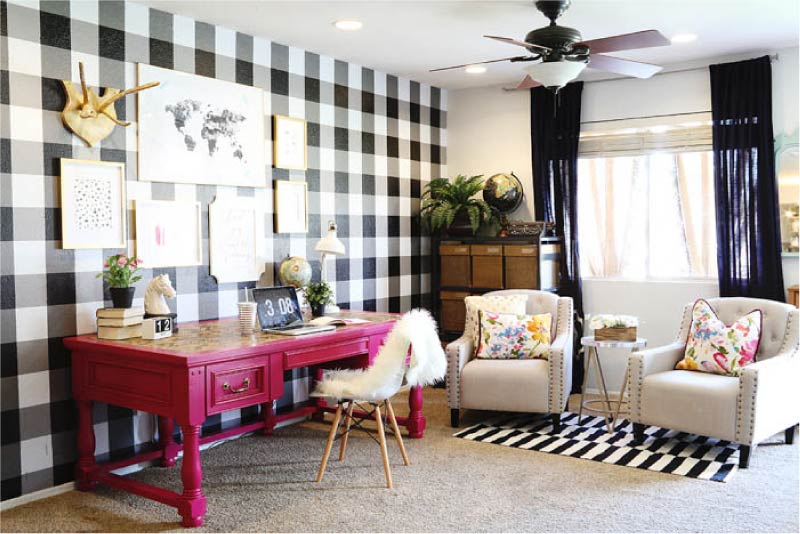
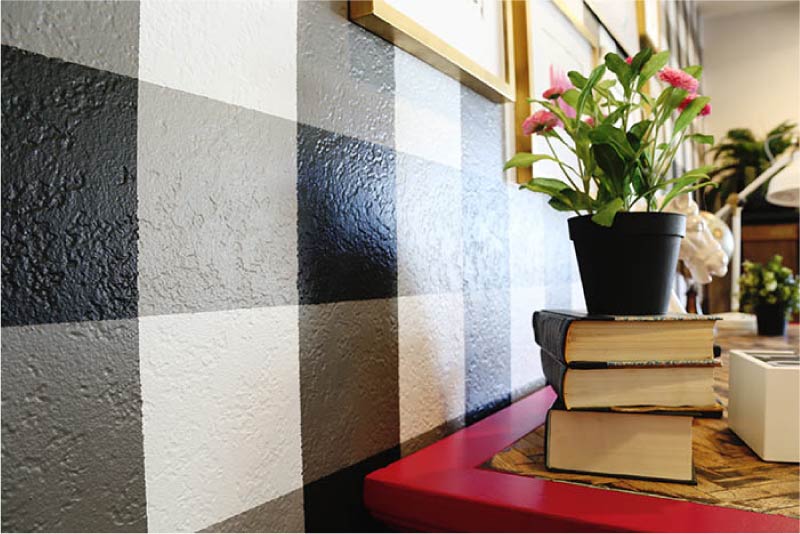
Painting the walls in a Scottish cage tartan requires a little more effort, but still, it is available even for beginners - after all, accuracy is more important than marking, and not painting skills.

And now we offer you to familiarize yourself with the step-by-step instructions on painting the walls with your own hands into a tartan cage as in the photo below.

What you need: 4 paints of the same color, but different tones (in this project, light olive was used for the background, a slightly more saturated swamp color for the vertical and horizontal stripes, even darker for the intersection of the stripes, as well as two paints of contrasting colors), brush, roller, paint scotch and laser level, stepladder and other basic accessories for painting.
- It is best to use blue masking tape for wall painting, which can be removed without a trace, without damaging the wall covering and marked “for clear lines”.
Instruction:
Step 1. Prepare the wall for painting, then paint it with a background color using a roller. In this master class, a light olive color of paint is used as a background. Allow the background layer to dry before proceeding to the next step.
Step 2. Mark vertical stripes of equal width on the wall using a laser level and masking tape.Then paint them darker than the background and let them dry.

To make the lines even and clear, and the paint does not flow under the masking tape, use a small brush to paint along the belt and a larger brush to paint the bulk of the strip. It is important to ensure that there are no excess paint on the brush. Movement of the brush should not be up and down along the tape, but to the right and left (across the tape).
Step 3. Now mark the horizontal stripes in the same way, fill them and leave to dry.

Step 4. Place the intersection of the stripes in an even more saturated shade to create the effect of stratification of the threads of the same color in the checkered fabric (as if the cells were darker than the stripes).
- By the way, if you want to paint the walls in a Vichy cell, then at this stage the work can be considered finished.

Step 5. It is time to draw a contrasting thin stripes, mandatory for the Scottish cells.
To do this, again use the laser level and masking tape, mark the line along and along the center of the vertical stripes. Next, paint them and let them dry. Then paint the same paint along the horizontal thick stripes.

Step 6. Finally, we draw cells of another contrasting color (in this master class it is blue). The technology is still the same, but the cell becomes larger as the stripes are drawn along the lines of the first background layer.

Step 7. It remains only to cover the painted wall (s) with a matte varnish to enhance its moisture resistance and strength.
See also: We decorate the walls with plates - a master class and 100 photos for inspiration
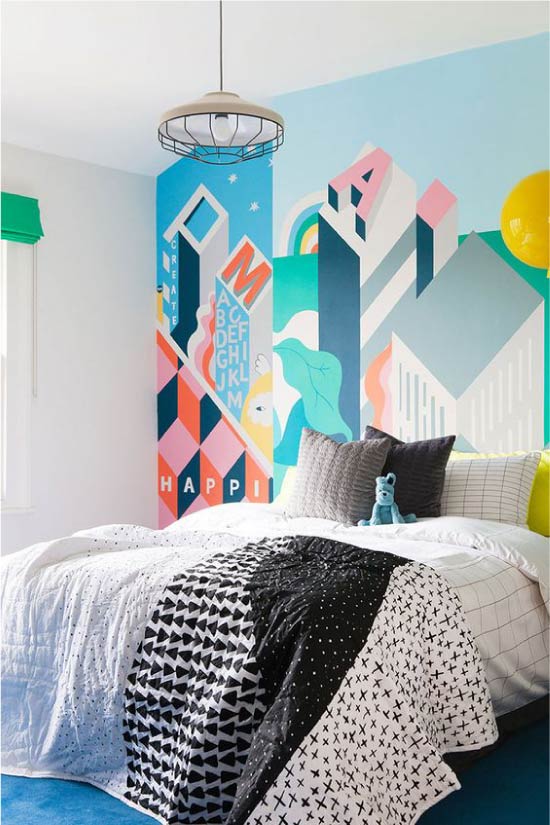
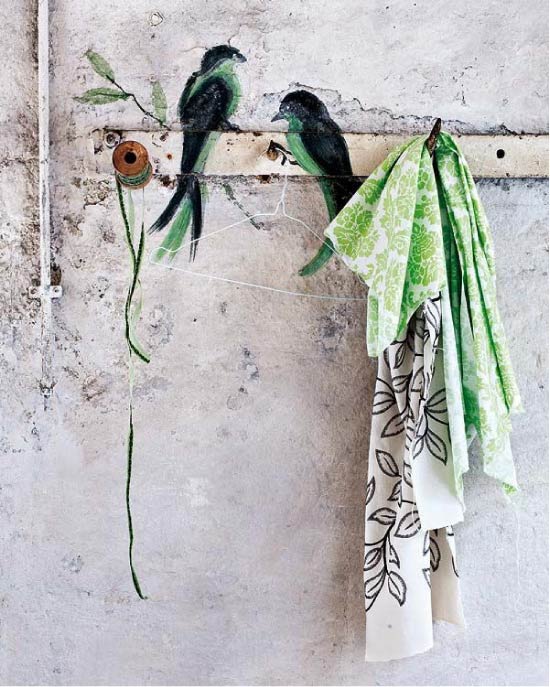
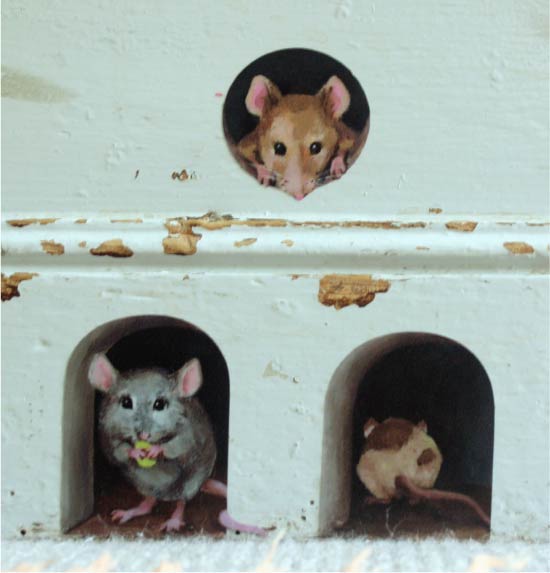
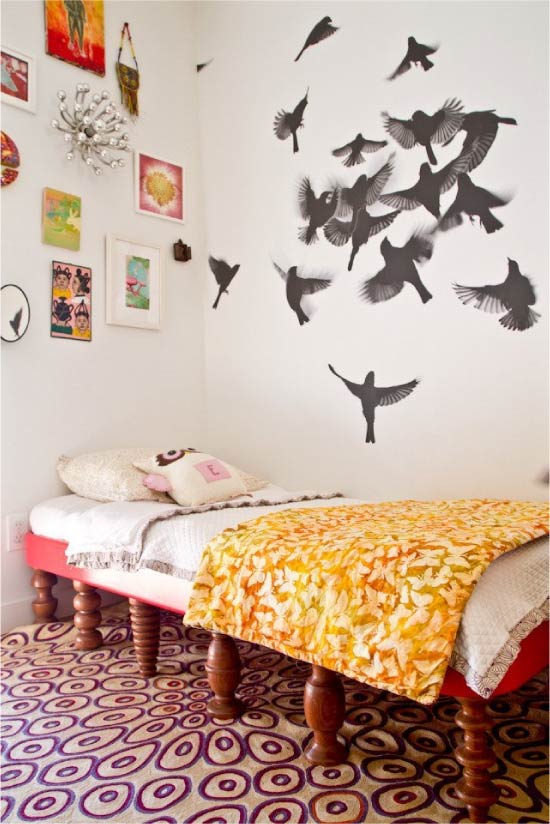
Idea 3. Hand-painted walls
Hand-painted walls allows you to create unique and personalized interiors, embody the wildest fantasies and design ideas.
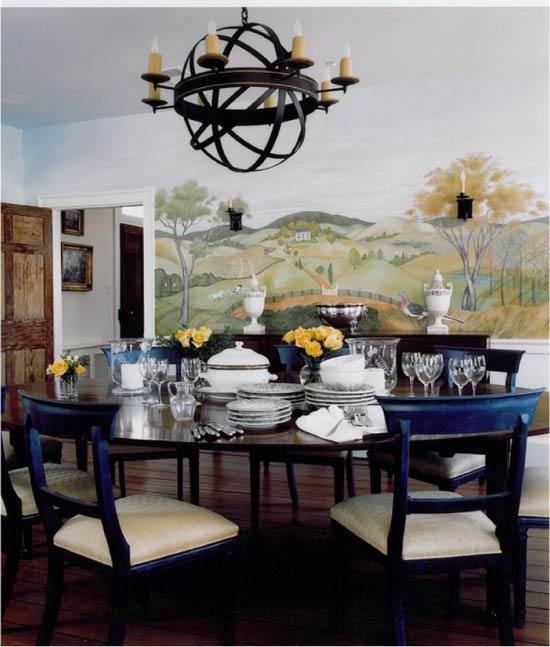
Landscape
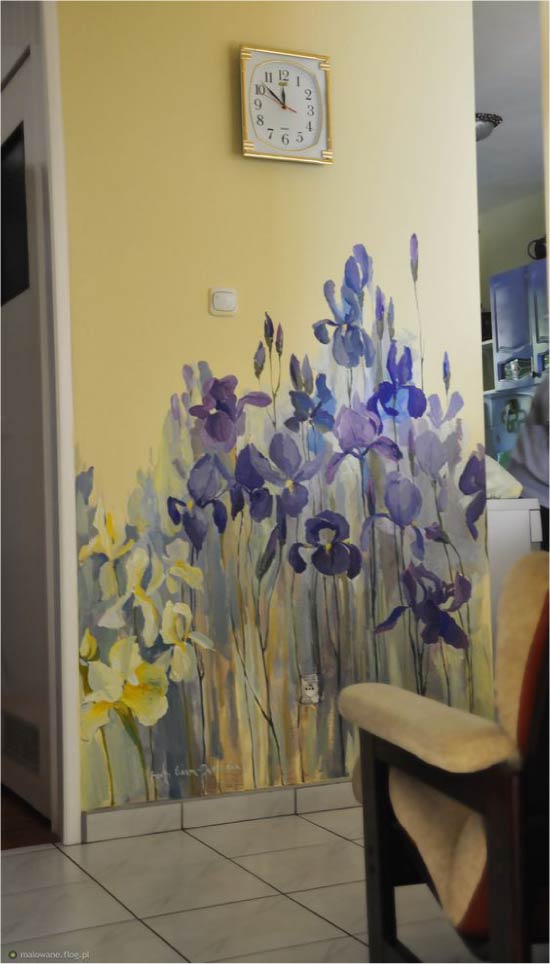
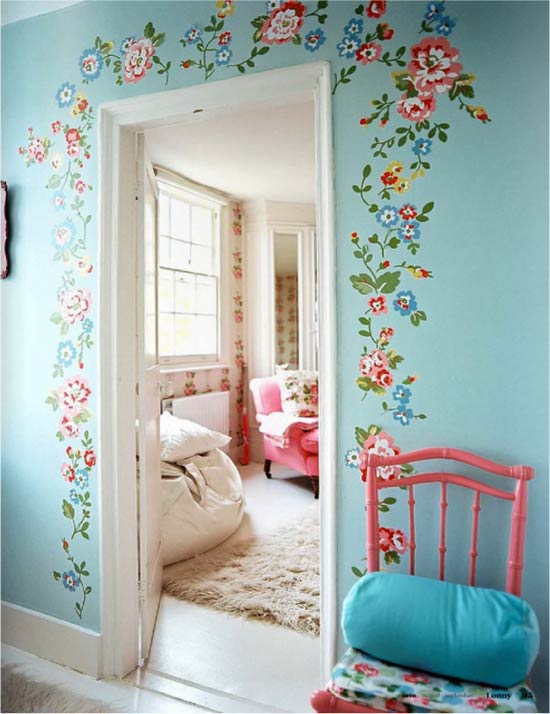
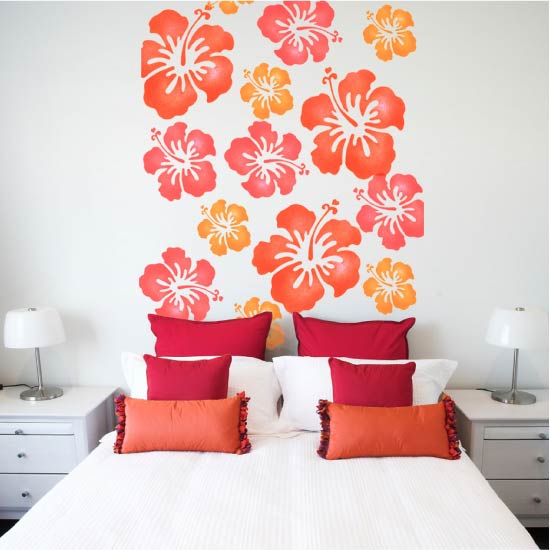
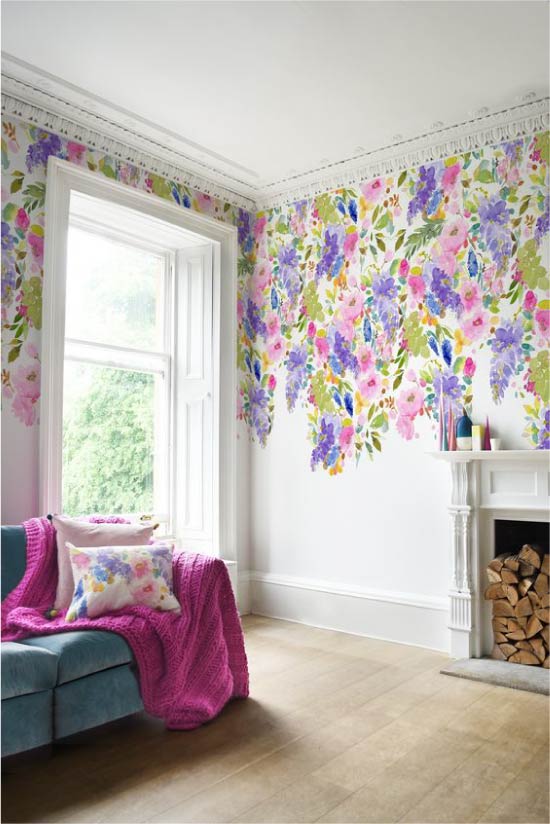
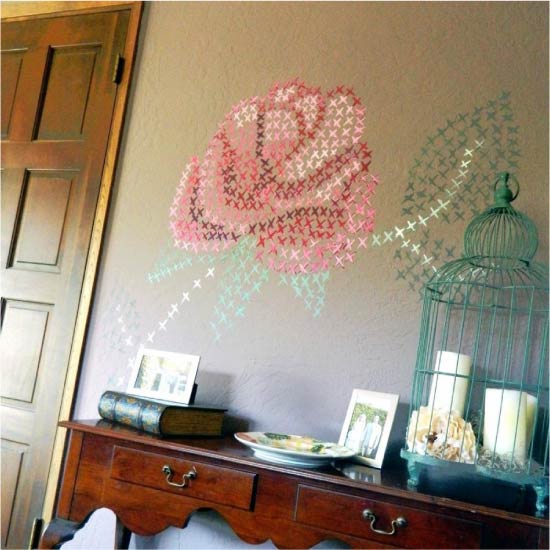
Flowers on the wall
Flowers on the wall
Flowers on the wall
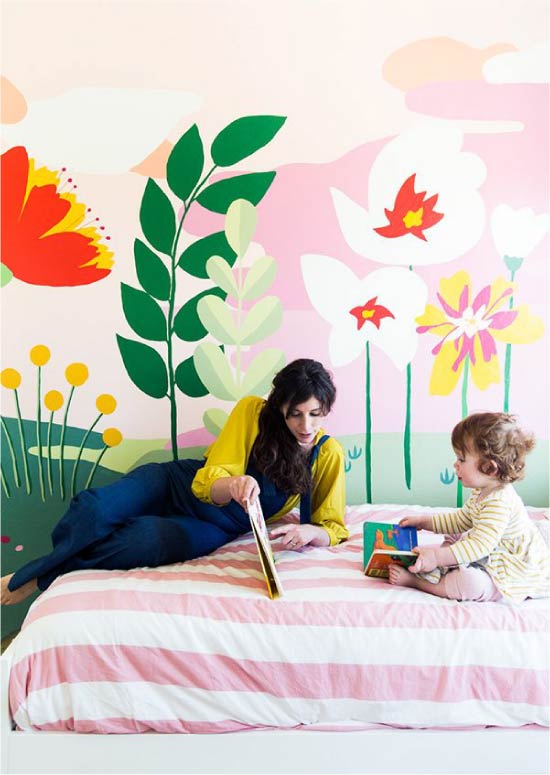
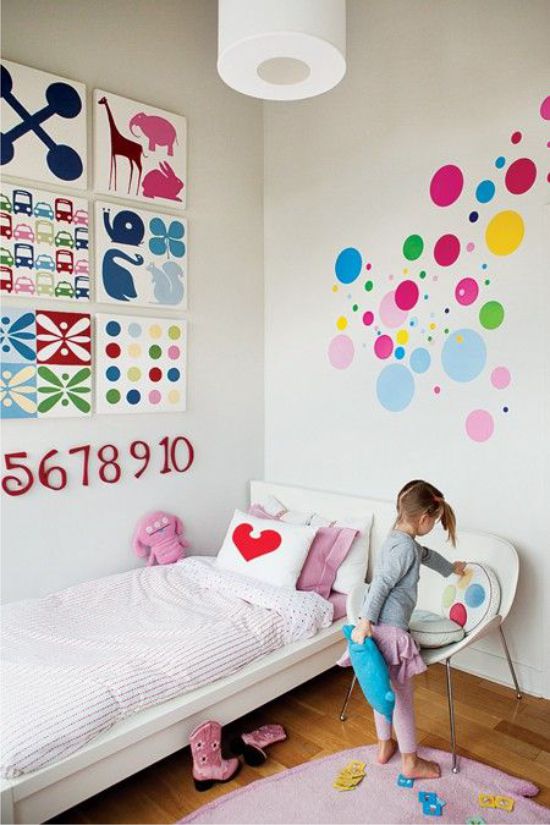
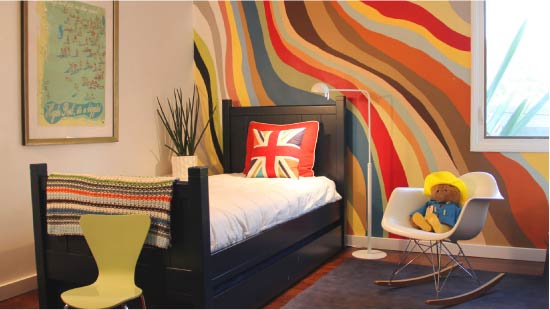
Painted walls are especially good in children
With the help of hand-painted, you can fix, disguise or beat some of the shortcomings of the room. For example, draw a missing window, pieces of furniture or accessories, paint a spot on the wall, and so on.
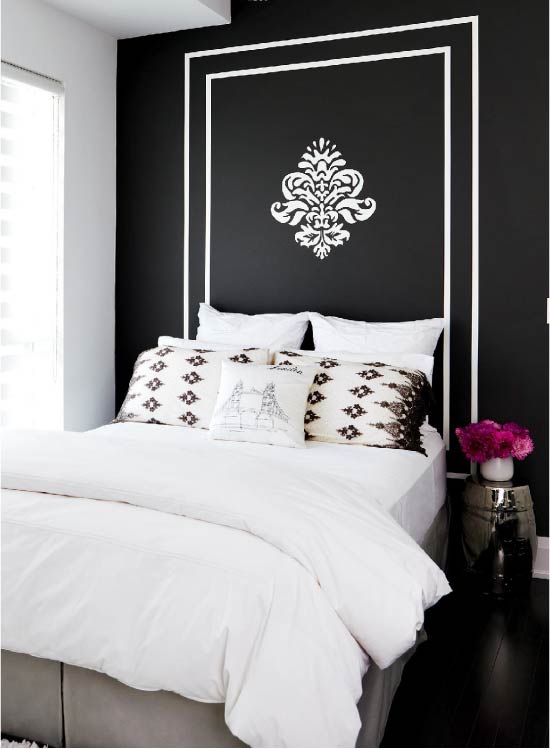
Painted headboard and vase
Hand-painted walls are best to be trusted by professionals, but simple drawings are quite possible even for beginners, if you have at least a small drawing skill. Here are some examples of simple images.

The steps of painting the walls with your own hands are as follows:
- We are looking for the idea, the motive of the picture, suitable for the interior
- We plan the composition, develop sketches and select the final version of the future painting, print out the image in color. It is also advisable to “try on” the drawing on the selected wall using a photo editor (that is, after taking a photo of the wall, put a sketch on it and scale the composition in the required size);
- We cover the walls with artistic acrylic primer (preferably);
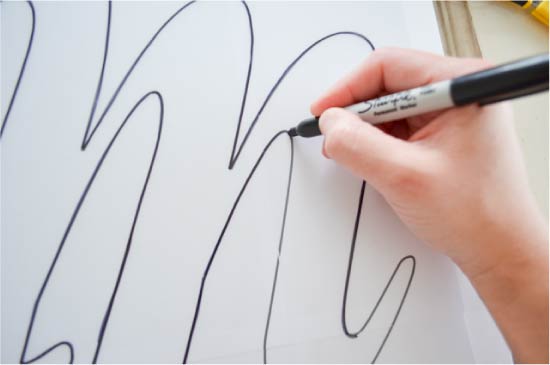
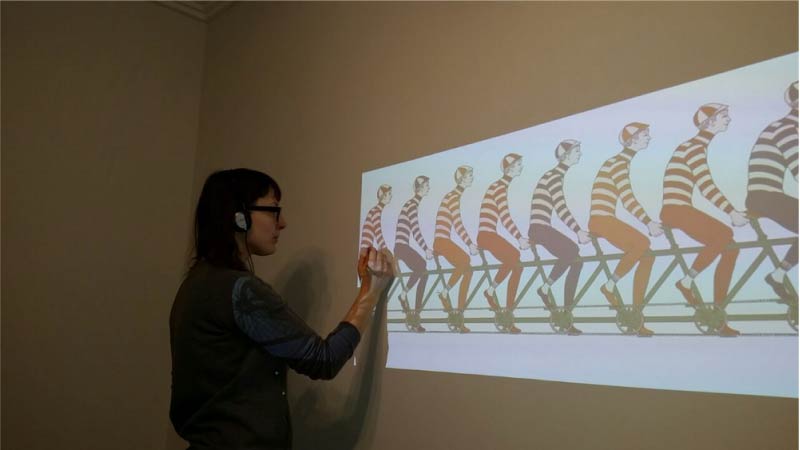
- We transfer the sketch to the wall with a pencil with the help of:
- The projector (the image is displayed on the wall, then its outlines are simply drawn).
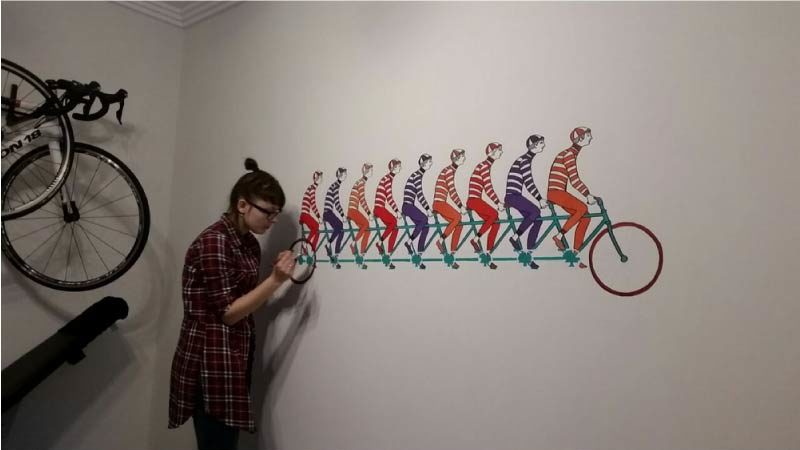
The process of painting the wall from drawing contours to coloring with acrylic Molotow markers:
 1
1

- Grids (a section of a wall for painting is divided into 100 equal squares, then each square is manually drawn according to a sketch on a scale with the same grid).
- "Stencil" (in Photoshop from the desired image, outlines are selected, then the sketch is scaled, broken into pieces and printed on A4 sheets, then the sheets are glued together as a mosaic, the resulting canvas is glued onto the wall and all lines of the drawing are drawn on the principle of stencil).
- We paint the image with paints, paint over large spots of the composition, work through the details. The painting should be carried out according to the principle “from the general to the particular”.
- We cover the finished painting with matt varnish. This step is optional, but desirable to add extra strength to the pattern.
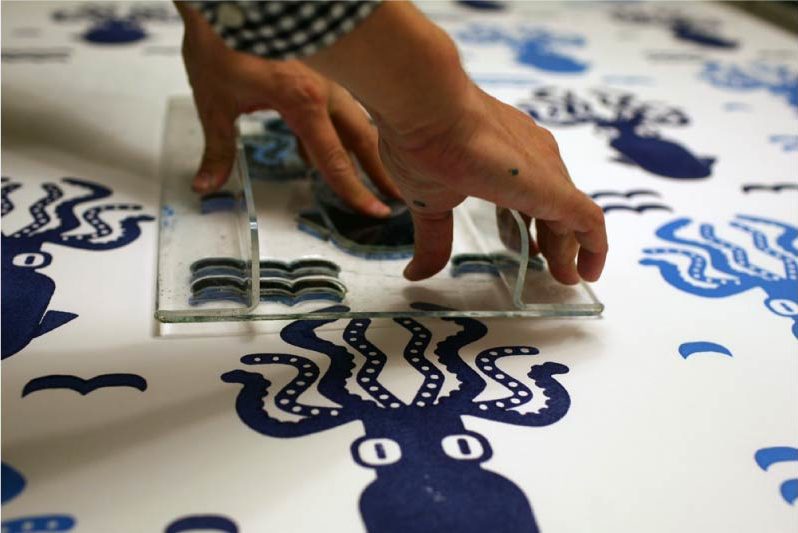
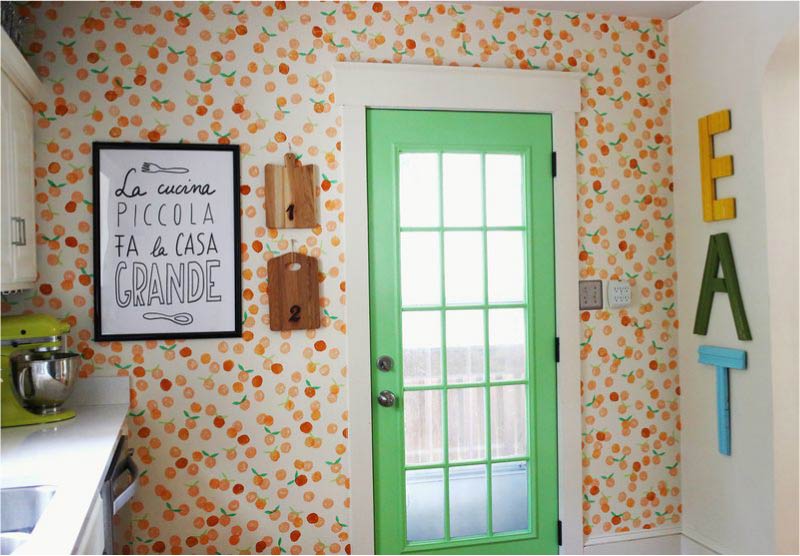
Idea 4. Stamping (+ master class)
Doing the walls with your own hands will quickly and easily enable the stamping technique when drawings or patterns are stamped.In the role of a stamp, you can use both ready-made painting stamps and roller-rollers, as well as available tools - sponges cut in the shape of a circle or other shape, brushes and even your own fingers.
 1
1
 Wall stamps
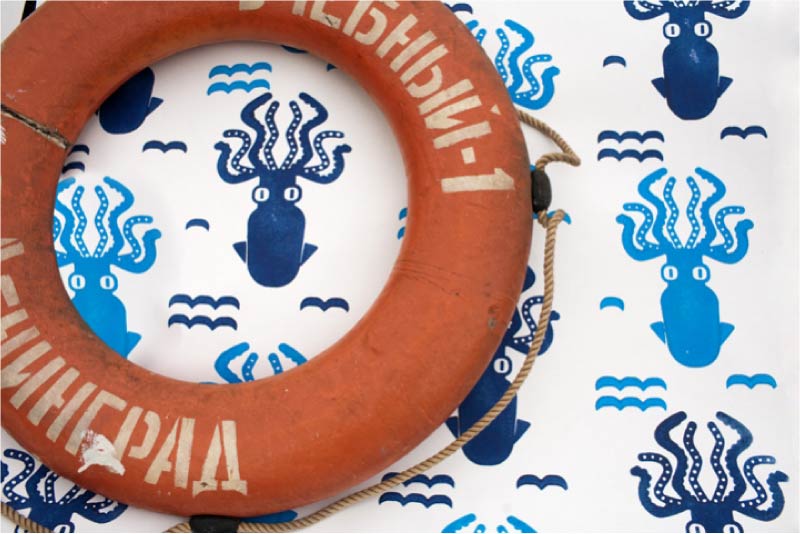
- Ready stamps are sold in construction markets, they can also be ordered in specialized online stores.
 Drawings on the wall, made by roller dies
Also, a stamp for painting a wall can be made with your own hands from microporous rubber (foam, foamed polymer, or simply “foam”) and a piece of cardboard.
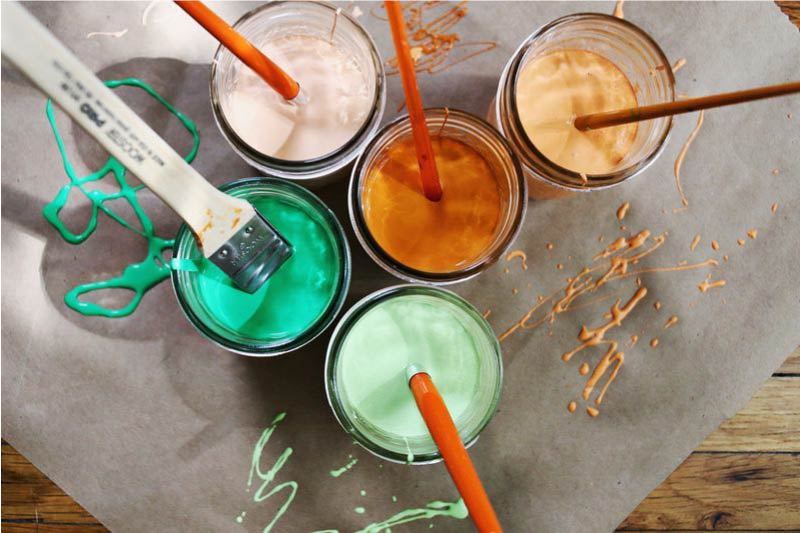
What you need: foam microporous rubber (often it is sold in the departments for children's creativity in the form of colored sheets), cardboard, pencil, a sharp stationery knife, scissors and glue, as well as acrylic paints.
Instruction:
Step 1. Cut out any shape or shape from a sheet of porous rubber. For example, it could be a circle like in our master class, a letter, an asterisk, an autumn leaf, a butterfly, a flower, etc.
- You can make several different stamps to create any composition, say, a fruit with a handle (in the photo). In addition, for each color, you must make a separate stamp.
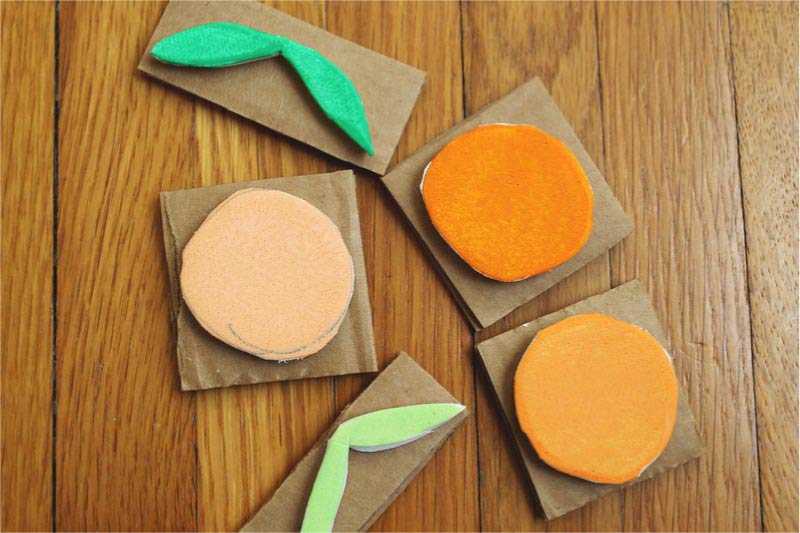
Step 2. Glue the resulting blank on a piece of cardboard. Voila, the stamp is ready!
- If you want the stamp to be reusable, then instead of cardboard you should use a plastic base.
Step 3. To begin painting the wall, dip the stamp into the paint plentifully enough, but so that the paint does not flow from it, then apply it to the wall. If you want the print to be as sharp as possible, you need to press the stamp evenly.
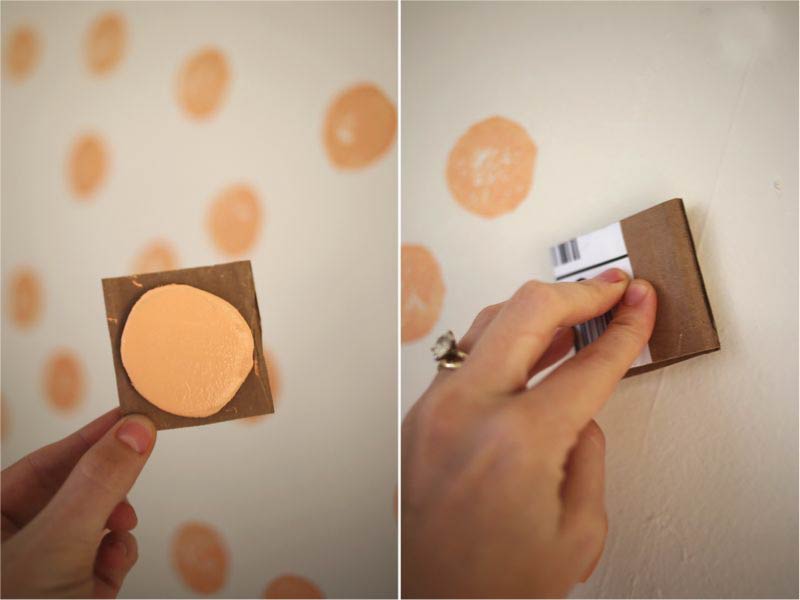
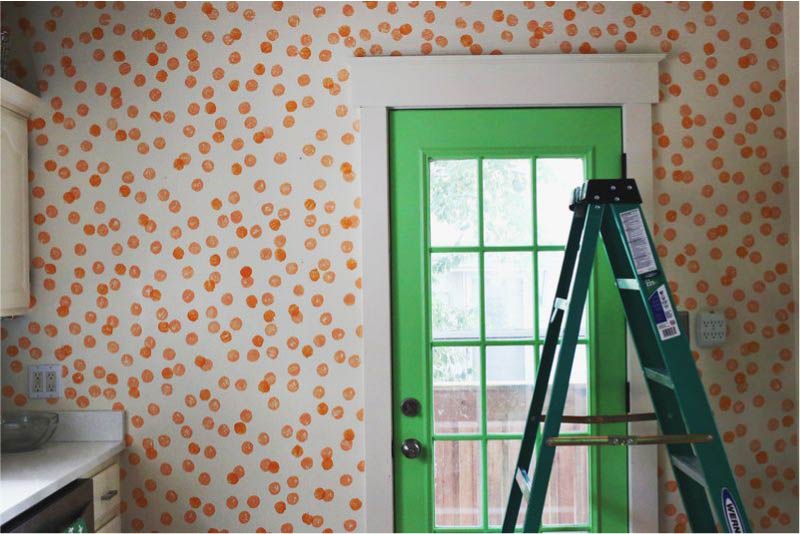
Next, in the same way, place prints all over the wall, keeping the same spacing. To avoid mistakes, it is advisable to pre-apply the markup on the wall. In addition, before starting work it is worth practicing to put stamps on any draft.
- A bad print can be carefully wiped off (provided that you use water-based paint).
- Additionally, prints can be drawn. For example, draw contours, add colors and interesting details.
Step 4. When the stamped patterns are dry, cover the decorated wall with matt varnish.

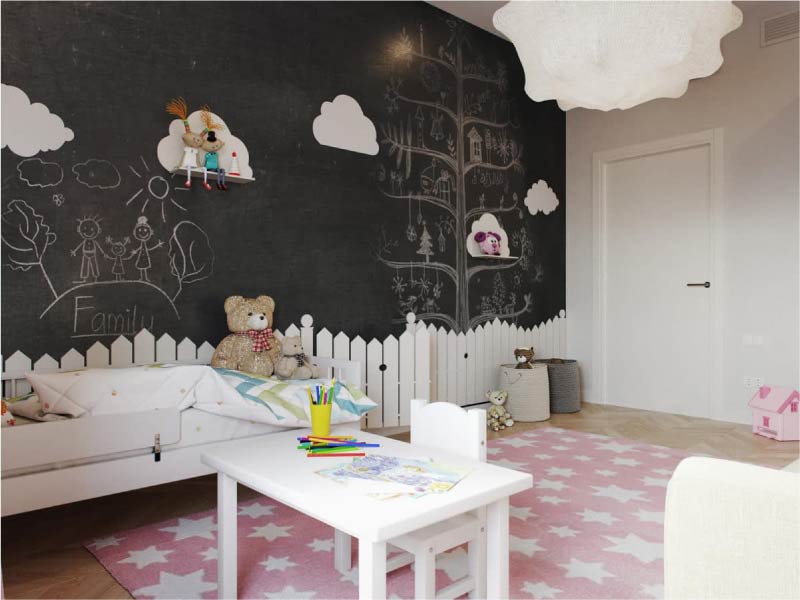
Idea 5. Painted with chalk on the slate wall
Having decorated one or two walls with chalky wallpaper or slate paint, you will have the opportunity to change the pictures on the wall at least every day, to record foreign words, to-do lists and products, instructions for household members, motivating or just funny phrases. Especially cool chalk wall looks in the interior of the nursery and kitchen.
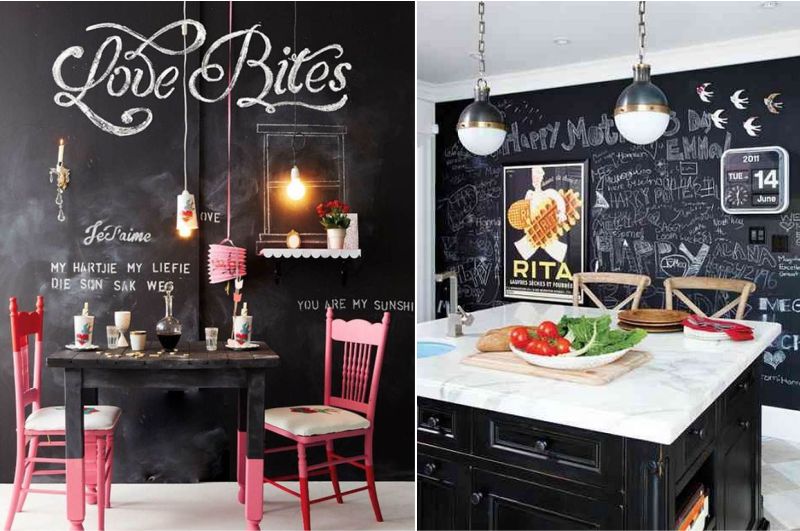
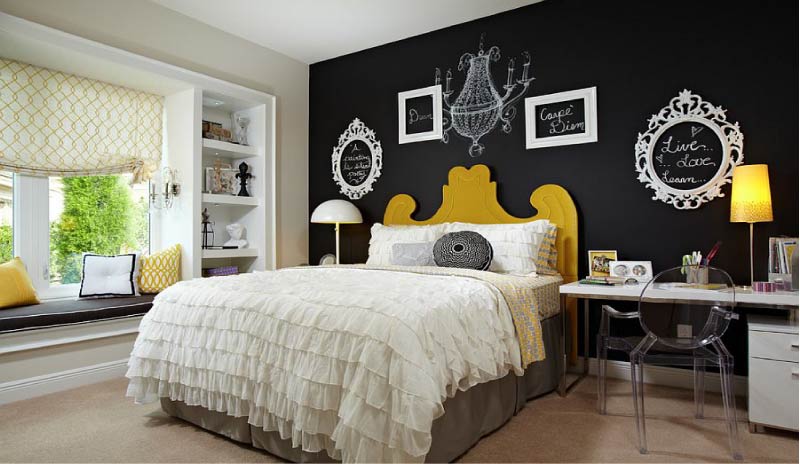
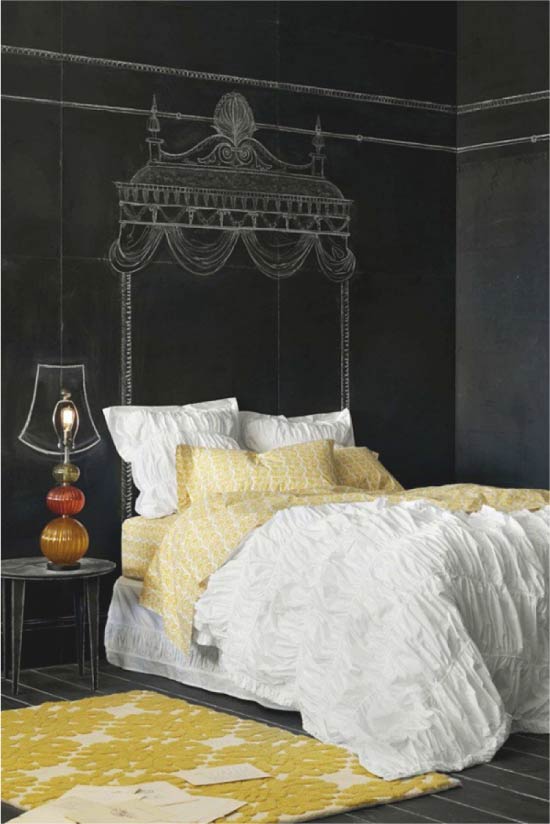
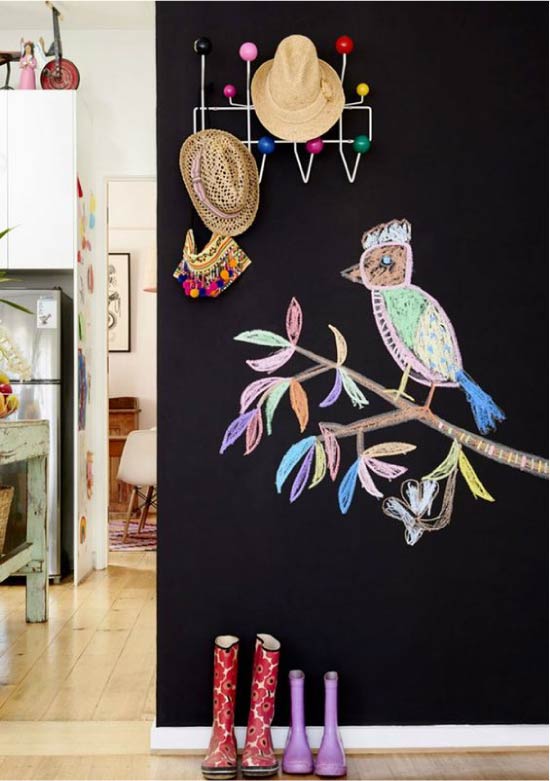
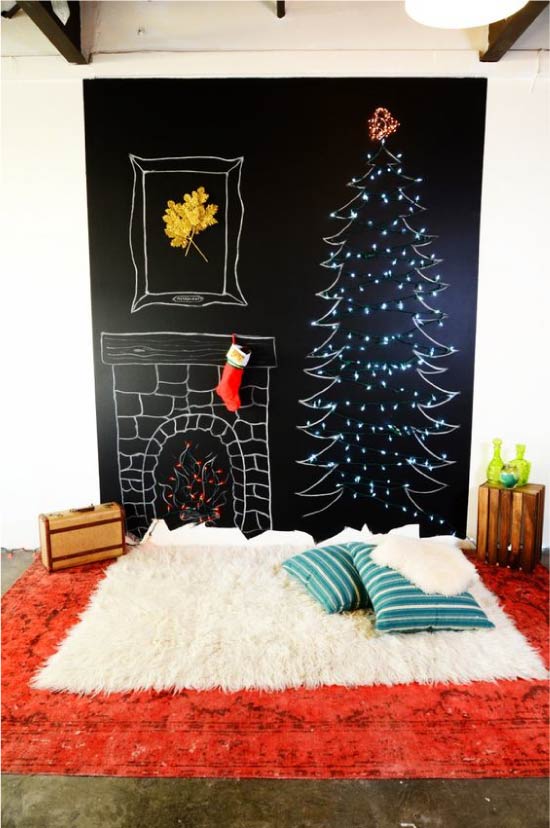
- If you want to leave the picture painted with chalk forever, you just need to cover it with a matte varnish.
- It is possible (and necessary!) To draw on the slate surface not only with crayons, but also with chalk pencils, markers and paints.
- Particularly impressive on a dark wall is lettering (the so-called painted words). True, if you are not a professional font designer and not an artist, then it is unlikely that you can write beautiful words, but you can do it with a home-made stencil. The main thing is to find a suitable blank on the Internet.
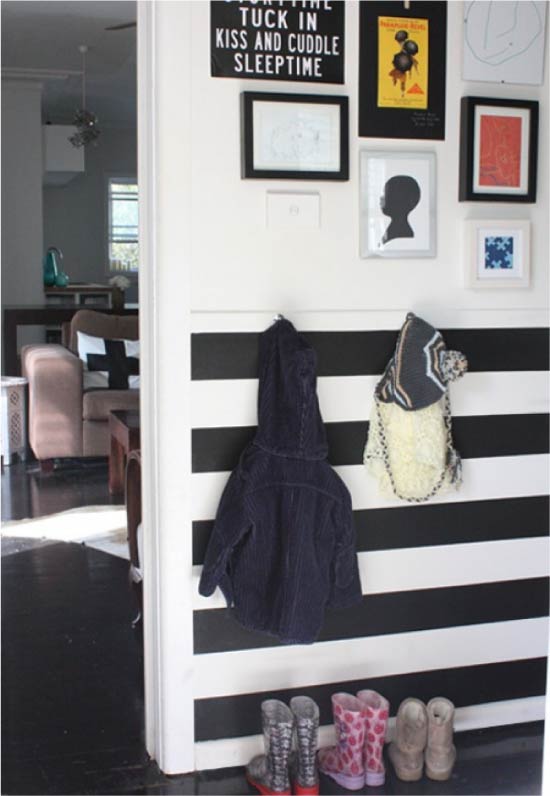
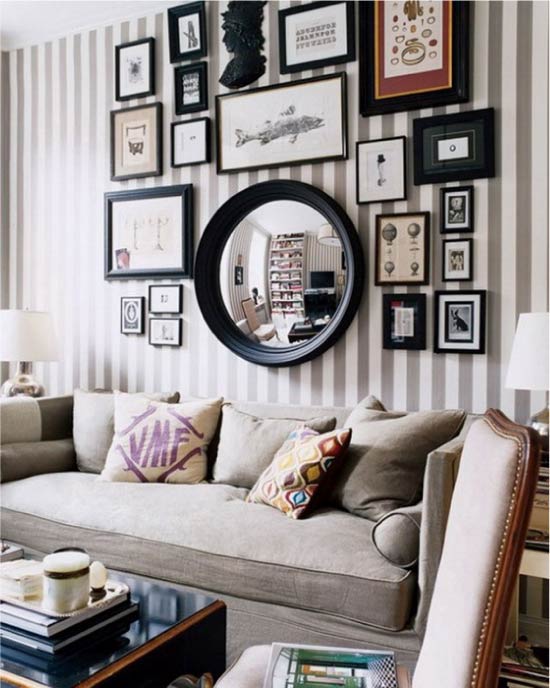
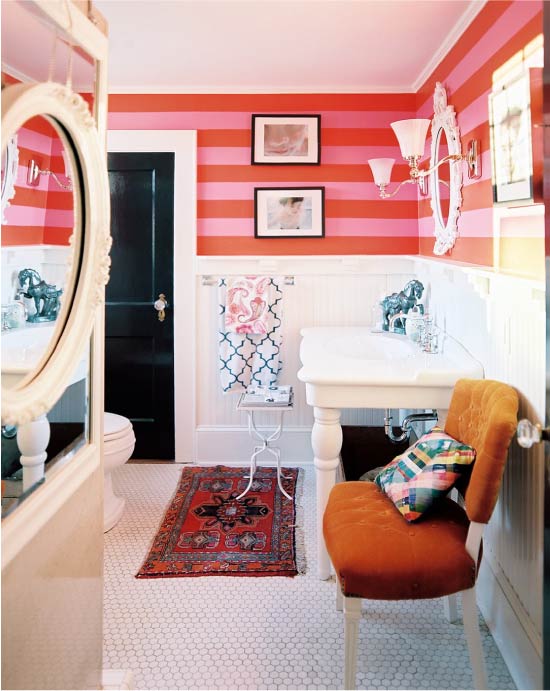
Idea 6. Striped wall
Striped walls not only look cool, but also visually correct the room’s faults. For example, vertical stripes “raise” low ceilings, while horizontal ones increase space and push walls apart.

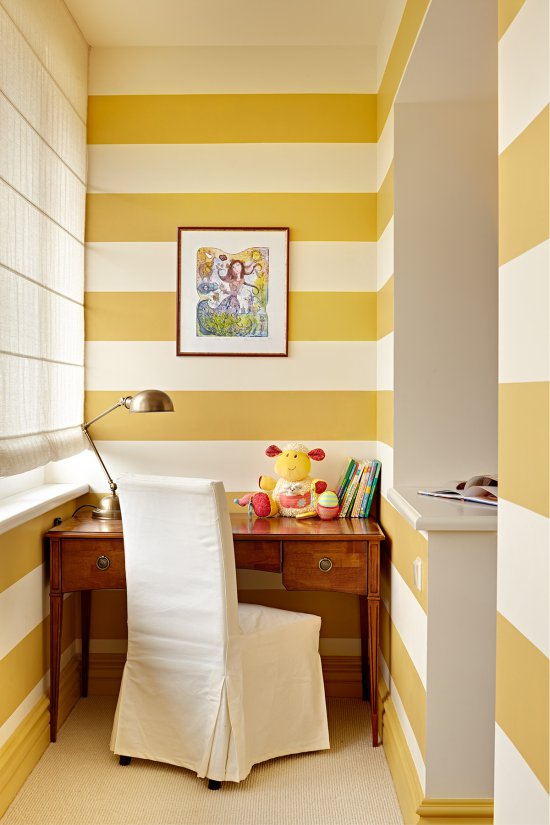
It is very simple to paint the walls with your own hands; the main thing here is to carefully glue the masking tape and correctly calculate the optimal width and number of strips.
- To find out the required number of strips of the same width, but alternating in color, you need to divide the height or width of the wall by the desired width of the strips. But there is one nuance - if the number of strips is even, then along the edges of the wall the strips will appear in different colors.To make the number of bands odd and the design of the wall turned out to be symmetrical, you can play a little with the width of the strips or simply divide the height or width of the wall by an odd number. For example, a 270 cm high wall can be decorated with 17 stripes 16 cm wide.
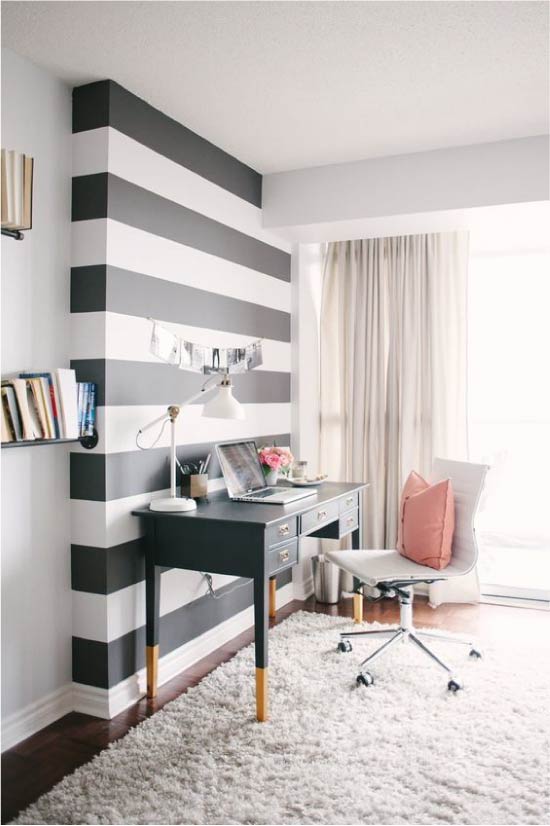
To have the same color under the ceiling and above the floor, they must be an odd number
- It is desirable that the strips have a width of 10-30 cm. Width less than 10 cm will be too narrow, and more than 30 cm - too wide and heavy.
- It is best to use blue masking tape for drawing stripes, which can be removed without a trace, without damaging the wall covering and marked “for clear lines”.
- To make the lines even and clear, and the paint does not flow under the masking tape, use a small brush to paint along the belt and a larger brush to paint the bulk of the strip. It is important to ensure that there are no excess paint on the brush. Movement of the brush should not be up and down along the tape, but to the right and left (across the tape).
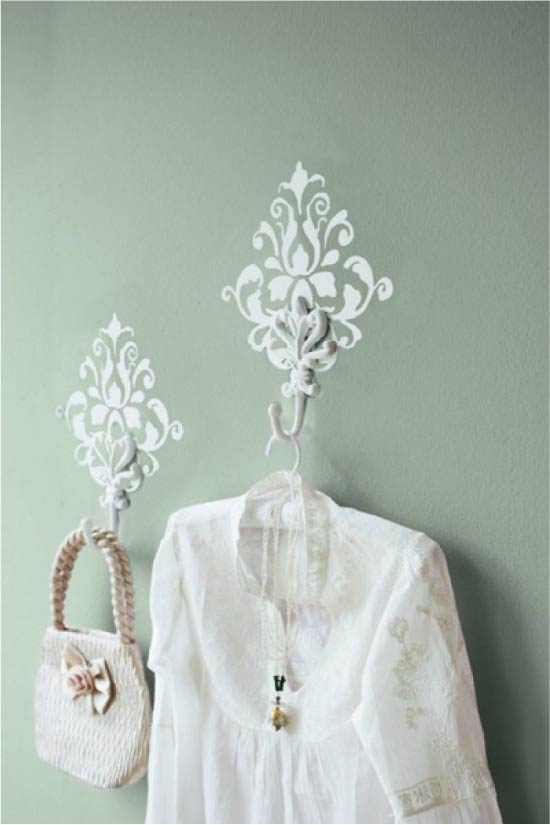
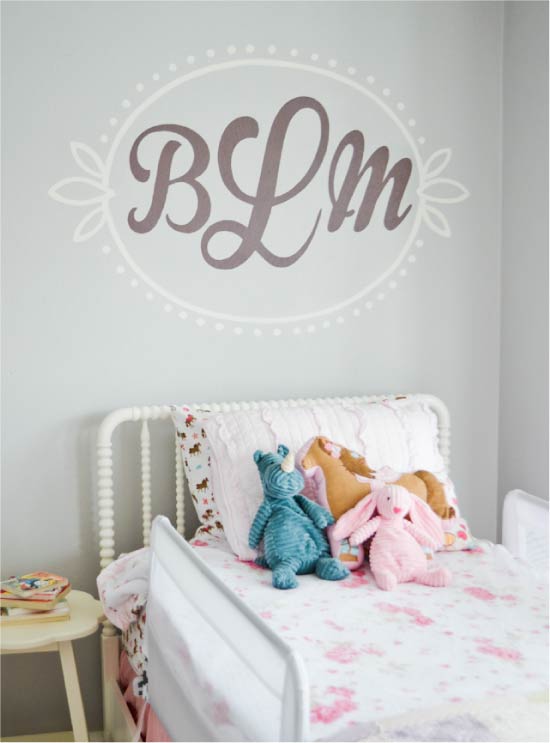
Idea 7. Decoration of the wall with vinyl stickers
Vinyl stickers are good because they are easily glued, peeled off, leaving no traces, are sold in a great variety of pictures and are quite inexpensive. With their help, the design of the wall can be changed as often as you want.
Text wall sticker in the interior
Vinyl stickers in the form of words in the bedroom
Vinyl stickers in the nursery
Vinyl sticker on the kitchen wall

- The largest number of decorative wall stickers can be found on Aliexpress, as well as good pictures can be searched in building hypermarkets and shops for creativity. If you wish, you can order the desired image in the size you need in the print shop.
- It is best to glue stickers on painted walls or on plain wallpaper.
- Before you glue the picture, you need to make a markup.

 (Rate the material! Already voted:38 average rating: 4,58 from 5)
- 10 tips to help decorate the kitchen with paintings
- 12 super ideas for home and kitchen
- Panels for the kitchen - ideas and instructions
- Potted flowers and plants for the kitchen
Very good article! Everything is described even for a person not
versed in this. Looking at the photos I wanted to make
such beauty in my kitchen. But from me the artist, to put it mildly, is useless, so I will use stencils. Good luck to all.
I tried to decorate the kitchen using decoupage technique. Chose napkins with yellow tulips. The walls are white and blue. On a dark blue background, my decoupage was completely lost, and on white it turned out perfectly.
Margaret, and thank you for your appreciation! Attach pictures that you get))
»
Drawing with chalk and lettering on a slate or chalkboard wallpaper - lettering also needs to be learned, but still not very complicated inscriptions can be mastered by the beginner;
This is understandable, there is one question ... Can I then process the slate with any composition like varnish, so that the picture remains forever, and so that it looks cool and does not distort the color. I drew it on a simple blackboard. If there is such an opportunity, please tell me how to do it. And in general, yes, a very good article, everything is so simply described.
Anna, you can cover the matte varnish. But why? After all, the beauty of the slate is that you can always update the interior with a new pattern or inscriptions.
I like airbrushing, I want to apply this method in the kitchen. I had been trained to paint a balcony in this way, it seemed to work out pretty well))
Thanks to the authors for an excellent article and a great selection of photos! I would like to share my experience on the design of the kitchen wall. Selecting options, we stopped at installation on the wall of fabric panels.The advantages are obvious: 1) if something does not work out in the process, then you can always take a new fabric; 2) if you wish, you can change the style and theme of the picture; 3) a lot of information on the Internet for painting fabrics - Batik. In a word, experiment, create coziness in the house and delight your loved ones
Tanya, thank you for your appreciation and your advice)
Great article, there is plenty to choose from for every taste, wallet and skill level. For the mural, perhaps, I will not take it, but the decoupage is quite capable. If you get carried away, at the same time and old kitchen cupboard decorated in the same style.
Marina, thank you for the appreciation of the material!
The idea is interesting, but done ugly - daub in school and on desks "where was Vasya." The only beautiful option, where a view of the sea (and the volume and color and genre), is especially interesting if it works like a "trump card", you can imagine:
You were invited to a dinner party, the guests who dressed up in the evening came to you, they sat down to drink tea, but it suddenly “turned on” and there the storm actually filled with water and mud like everyone else !!! ))))))))
Decoupage is done only on a white surface, in extreme cases, on a light one, but not on a dark one. Look in the internet a lot of info on this topic.
Thank. Very clear. Many good designs that stimulate inspiration. Success