L-shaped arrangement of furniture is appropriate in any area, and for small kitchens, it is absolutely indispensable. The corner set is the easiest to just buy, but you can make and assemble yourself. What for? The second method has significant advantages:
- A handmade kitchen will cost you 2-3 times less than a factory kitchen. On the market are presented facades, laminated chipboard, MDF, accessories for every taste, and cutting material can often be done in the same store;
- In addition, you can independently make a non-standard kitchen that will exactly match the room and your requirements for roominess and design;

- And if you do everything right, the appearance, ergonomics and durability of the kitchen cabinet will justify the time and effort spent. In addition, this work will be pleasant and interesting for you, and loved ones will be grateful and proud!
In one article, it is impossible to describe in detail all the nuances of work, if you are a beginner, then we advise you to get acquainted with the site of the famous furniture maker Andrey Lappo and look at Vitaly Luzhetsky's channel on Youtube. And we will describe the overall sequence, give tips, useful links, a selection of videos, as well as photo examples of work with cost estimates. Perhaps we will begin with them.
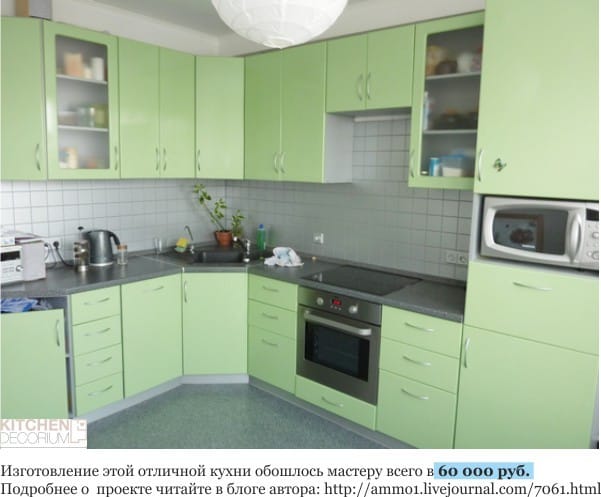
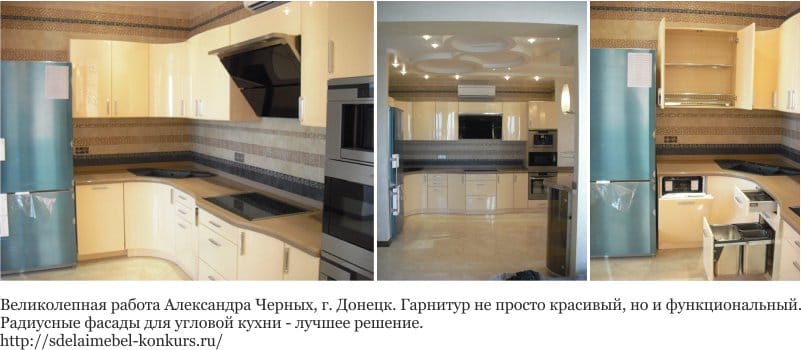
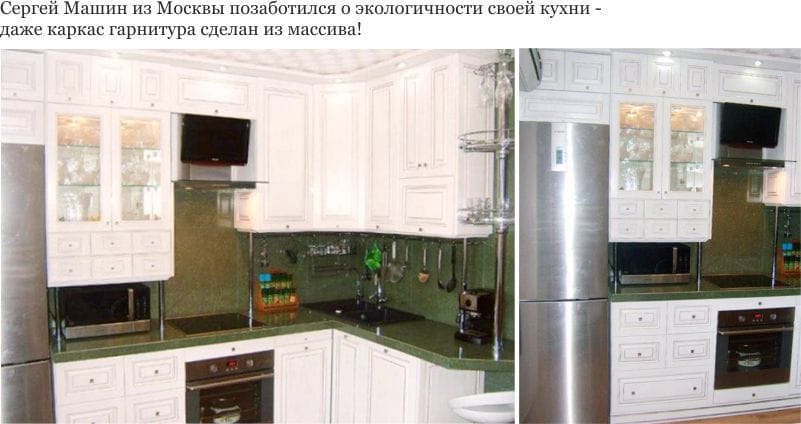


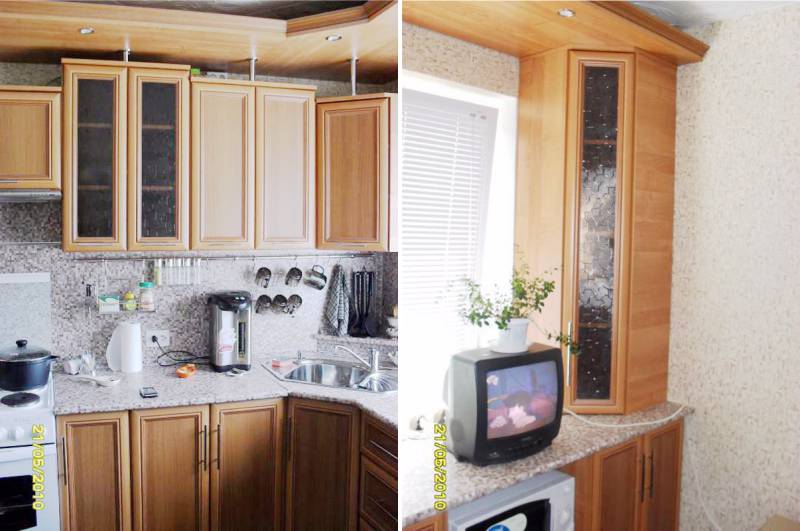

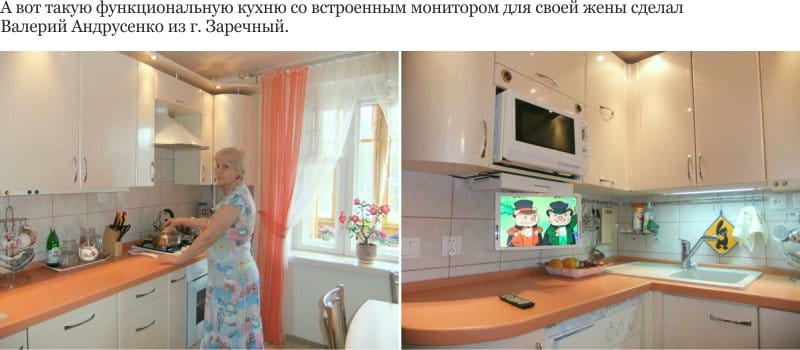

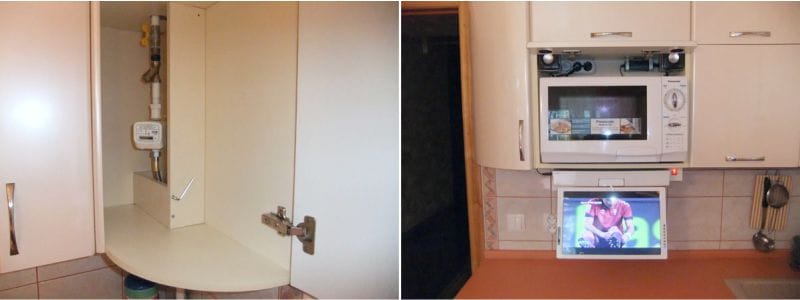


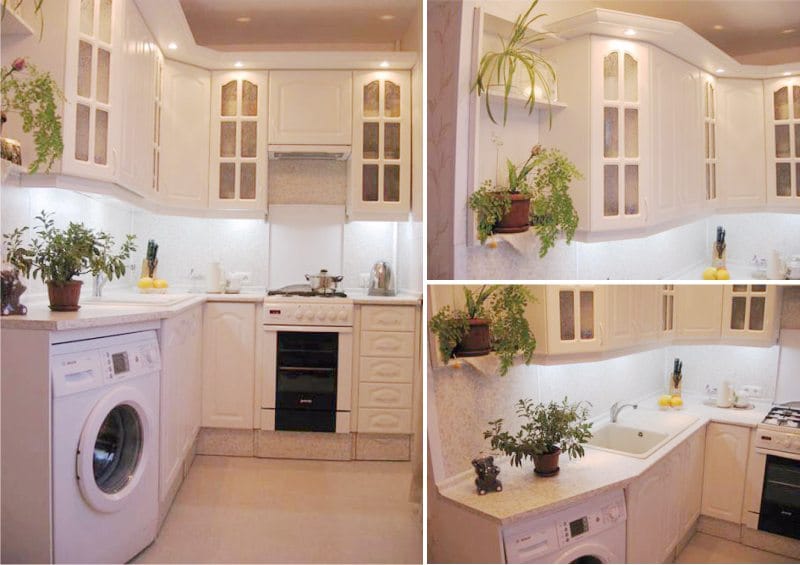
Stage 1. Planning - drawing up drawings, planning the design, measurements
So, suppose you have already planned the design, color, additional chips (like the same drawers in the bases) and the place for your future corner headset. Next you need to make measurements, and then with the data obtained to design a drawing.
Before taking measurements, it is necessary to determine the complete set of the angular kitchen set, which may include:
- Corner sink and cabinet under it;
- At least 2 cabinets to the left and to the right of the vanity unit. They can be niches for built-in washing machine, dishwasher, cooking surface, and can be just storage cabinets;
- Upper sections (2-5 and more than cabinet);
- Places for stationary equipment - the refrigerator, plate, etc.
Tip! Vertical measurements are necessarily carried out at three points - in the middle, along the plinth, under the ceiling. This will level the difference in measurements due to the curvature of the walls.
Design, execute elements and assemble a kitchen is real, even if you have only the simplest scheme drawn on graph paper or on a sheet of notebook in a cage, where, for example, 1 cell corresponds to 10 cm. But it is better to make a thoughtful drawing, that is, a full three-dimensional color project, using a special program, for example "PRO100".
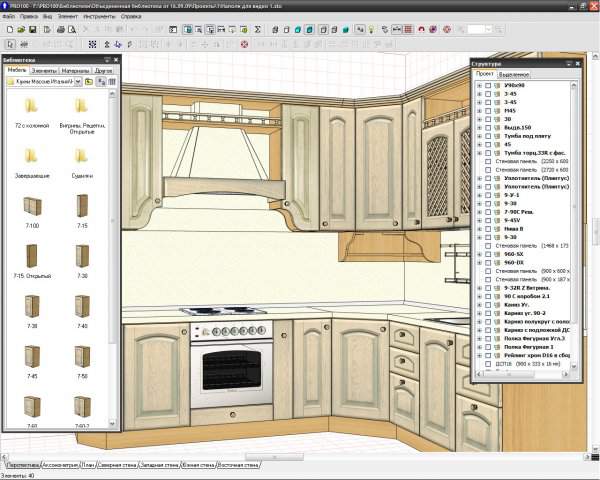

When drawing up a drawing, you will also need to consider the place where the gas pipe is tapped and the installation location of the hood (the passage of the airway).A diagram or drawing is created with maximum details, after which a cutting map is drawn up. And for her, in turn, requires a list of assembly parts for each module. As a rule, to assemble a cabinet, you will need:
- Top;
- 2 side walls;
- Bottom;
- Shelves;
- Facades;
- The back wall of light but durable chipboard;
- Edge (with a margin of 12%).
And, of course, the kitchen should have a countertop and an apron.
Stage 2. We buy materials, make a cutting card, detailing and order a cut
Now we need to purchase all the necessary materials, make a map of cutting and detailing, and then order a cut. The cut material will be ready in 2-3 business days.
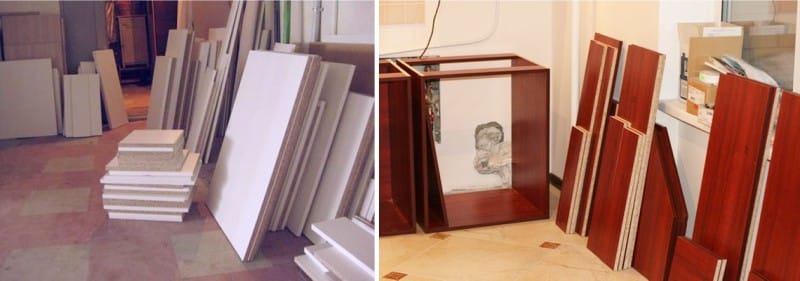
Tip! Sawing is better to order in the same store where you bought chipboard, and not in another place. It is much more convenient and cheaper - you will not need to order delivery 2 times.
The nesting map is documentation that reflects which parts need to be cut from chipboard. The card allows you to: see how you can lay out the parts on the sheet, how much residue you will get after cutting, and determine how much material you need to make a corner set with your own hands.
You can make a cutting card yourself in special programs, for example, in the Cutting program, or you can order it in the same store where you buy laminated chipboard.
The nuances when making a cut card are as follows:
- Hinged modules of frame furniture is better to make of chipboard 16 mm thick.
- For modules installed on the floor below, a chipboard of 18 mm is used.
- The width of the wall cabinets is selected from the standard model range - 200, 250, 300 mm and so on (dimensions are multiples of 50 millimeters).
- To make the back wall of fiberboard, you need to reduce its dimensions compared with the parameters of the module by 4 mm.
Also at this stage you need to purchase loops and suitable design pens.
Tip! Most craftsmen prefer BLUM brand fittings.
Stage 3. Preparation of surfaces and tools
Assembling the corner kitchen necessarily involves the preparatory stage. So, all the surfaces along which the furniture will be located must be made even, and the walls at the junction of the headset must converge at a right angle. In order to assemble the corner set, you need not only a detailed detailed scheme, but also an appropriate tool:
- Hammer;
- Pliers;
- Ruler-gon;
- Jigsaw and circular saw;
- Roulette;
- Knife, awl;
- Level;
- Screwdriver;
- Perforator;
- Hex key for fasteners;
- Drills with a diameter of 4.5 mm, 7 mm, 8 mm;
- Confirmates (50x7) or screws 3x16, 3x30;
- Hair dryer or iron for gluing the edge;
- Conductor (not necessarily, but very desirable! Assembly will be easy and high quality).
Tip! To install confirmatists in the parts to be joined, first holes are drilled and then fasteners are screwed in with a screwdriver.
Stage 4. We assemble the corner stand

When the drawing is fully prepared and refined, and all the elements for assembly are prepared, they begin the most crucial stage - the assembly of the corner cabinet with the sink. It is always collected first, and therefore the process is carried out with the utmost responsibility and thoroughness. Then, on the basis of the installed angular bollard, a ready-made set can be made by attaching the corresponding elements to it.
The main structural nuances of the corner stand are:
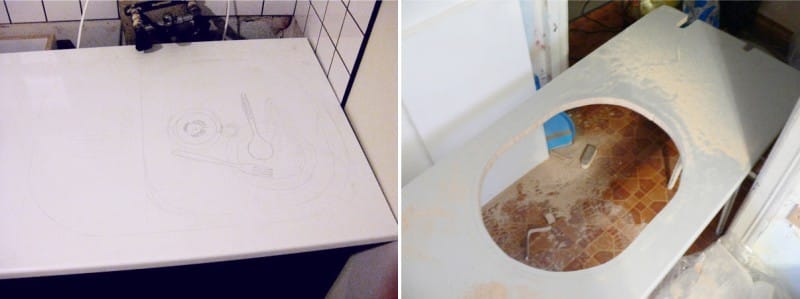
- The hole in the tabletop (almost always this stand is performed with a sink);
- Holes in the side or rear wall for the passage of pipelines that feed water to the sink, under the drain.
These holes are necessary if the corner cabinet with a sink has rear and side walls made of chipboard or fiberboard. But it is also possible and the option when the side walls in this element are not provided, and the rigidity is provided by special connecting racks.
Stage 5. We assemble the remaining elements of the kitchen set
After the corner stand has been assembled and installed, the remaining elements can be made using pre-made drawings.The sequence of actions in this case is as follows:
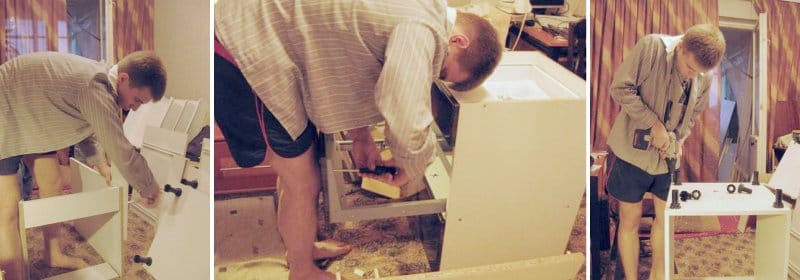
- To assemble the main box and side bollards, the necessary parts are sorted out and places for fasteners are outlined in them.

- The panels are fastened together, legs and rails for sliding systems are installed. To make easy assembly of the elements with retractable rails, you first need to assemble the three walls of the box, insert it into the bottom of the fiberboard, and then fix the facade through the eccentric coupler so that the sleeve in the side wall captures the screw head from the front panel. The rollers on the guides should be in the back - this is necessarily a drawing. An already assembled box is placed in the cabinet, inserting it there at a slight angle.
Tips:
- Wooden dowels, used as fasteners in blind holes, are recommended to be put on glue;
- The joints of the walls of the boxes can be processed with silicone so that the chipboard does not swell and does not crumble from moisture.

- Kromkovanie can be ordered from specializing companies along with the cut, and you can make yourself. Glue the edge of a suitable color to the visible ends of a chipboard, ironing it with an iron in the mode of ironing silk, that is, on 2K. Excess edges around the edges cut with a stationery knife.

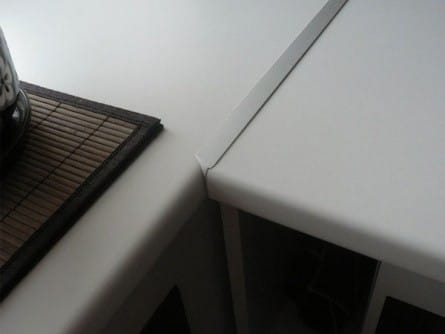
- They mark the countertop plate and cut it. The joints must be treated with sealant, and the ends - closed with a solid metal strap.
- Wall cabinets can be fixed with the help of a mounting plate - one of its parts is fixed on the wall, and the second one - from the back wall of the cabinet. However, the drawings may include the usual loop.
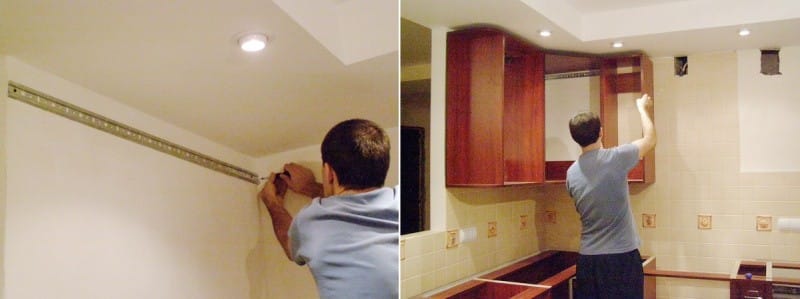
- Then you need to install the facades.

- Left bump sink and embed technique in niches.
- The final stage of assembly is the installation of decorative plugs for fasteners and plastic plinth that hides the gap between the wall and the table top.
- How to plan the perfect corner kitchen
- Corner kitchen sink - selection and installation
- Corner kitchen with breakfast bar
- Assembling a kitchen set with your own hands as a designer
- Home-made shelves for the kitchen - stylish, convenient, easy
- Guide to the selection and planning of kitchen furniture


 (Rate the material! Already voted:35 average rating: 4,60 from 5)
For a long time I worked as a furniture maker and I was surprised by the fact that the article was so well written. Of course, all the nuances can not be painted on one page, but for that they can be seen in the attached video. The quality is pretty good, almost indistinguishable from factory-made furniture. In general, for article 5.
From myself I can add the following:
1. PRO100 is really a very good program, but there are also more functional counterparts, such as K2 furniture.
2. For cutting, there are also special programs that will help you visually calculate material costs. (I use 2d place)
3. Of course it is pleasant to work with your hands, but I would advise you to entrust edgebanding tape to professionals, since There are certain difficulties with its processing.
And I would advise you, if you really get involved with the design and production,: send the wood chipboard (let it be three times L) and make everything from wood. In addition, the bathroom facades made by PROFESSIONALS were swollen - and the film did not help. Any waste (even paper, even chips, even dust) with glue is disgusting. And do not drink tea from bags - the same waste with additives.
furniture for the bathroom must be made of moisture-resistant chipboard (such material is impregnated to protect it from moisture). It is more expensive, but nothing will swell.