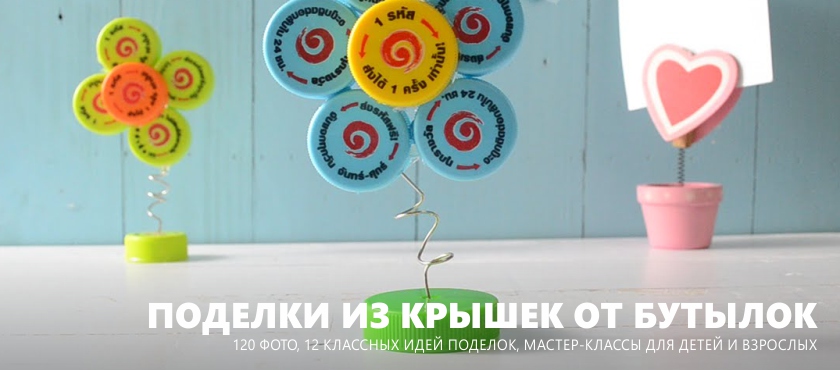
Covers made of plastic or tin are super versatile material for making home decorations, children's handicrafts and even garden furniture. In this article, we presented 120 inspirational photos and 12 cool ideas for deco-processing of plastic and glass bottle caps with tips and workshops.
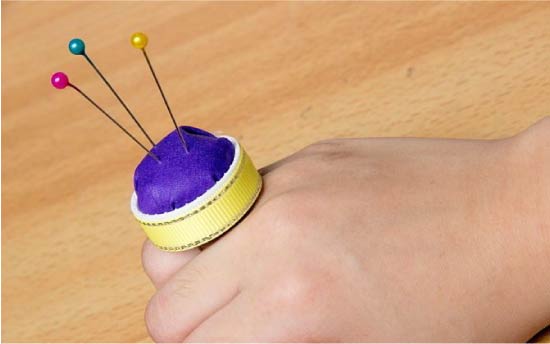
Idea 1. Stands for dishes (+ master class)
Let's start, perhaps, with practice and tell you how to make such cute cup holders out of ordinary plastic lids.

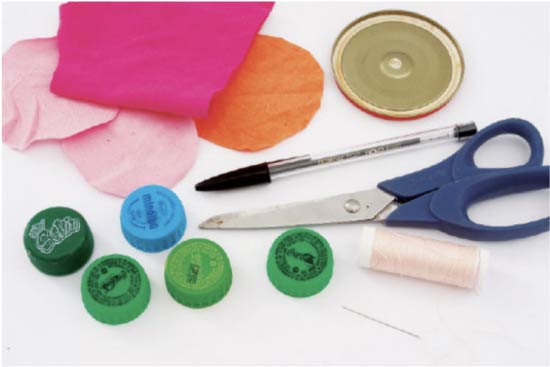
Materials and tools:
- Plastic bottle caps (7 caps are needed for one cup holder, and 28 caps are needed for making a large stand);
- Fabric in two shades of pink, as well as a piece of orange or coral matter;
- Any glass, can or lid with a diameter of about 7 mm;
- Pencil;
- Needle and thread;
- Scissors.
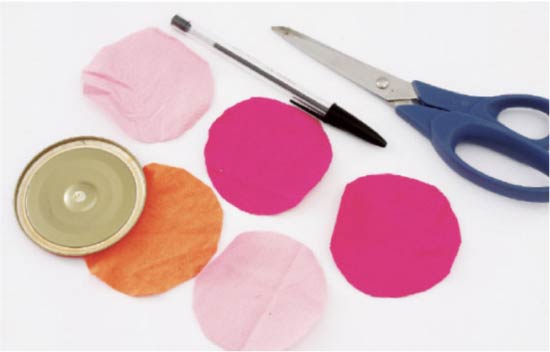
Instruction:
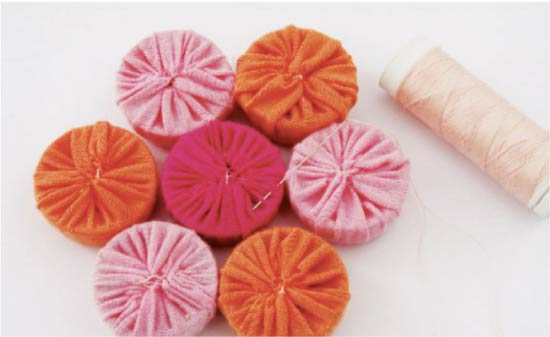
Step 1. On existing patches of fabric, draw 7 circles, circling the tin lid along the contour, and then cut them out.
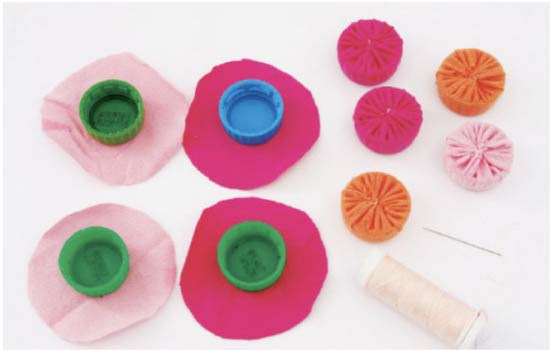
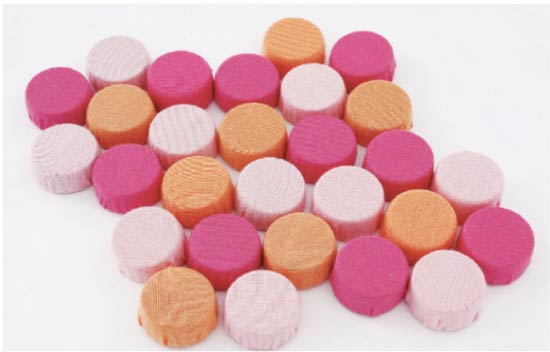
Step 2. Now we need to cover each cap with a cloth. This is done simply: go through large stitches around the entire circumference of the patch, put a cover in the center of the workpiece, then pull the thread and fix the resulting “cover” with a pair of seams.
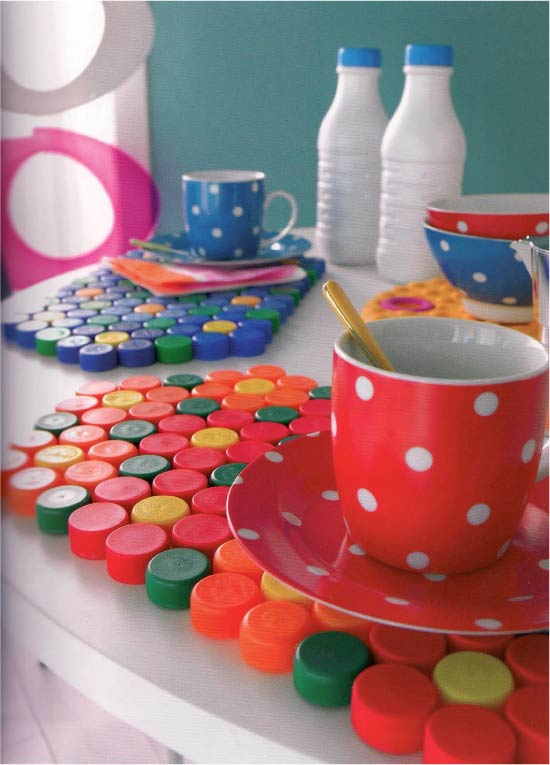
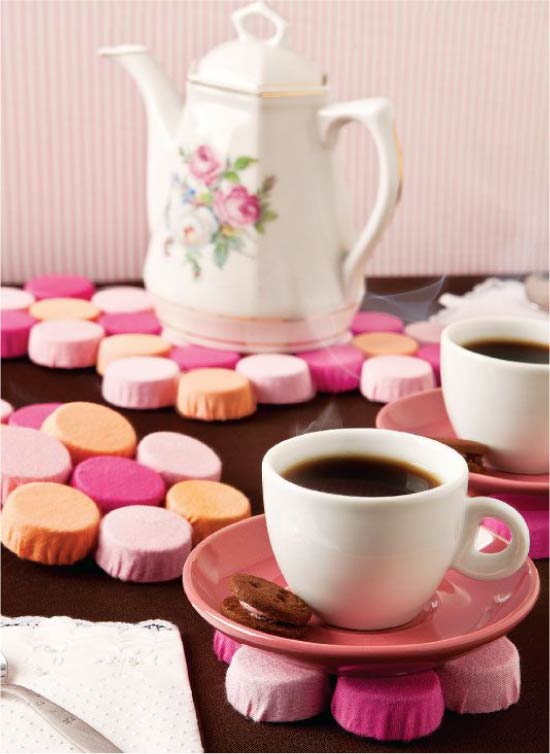
Step 3. Now connect all the caps one by one to make a chain. Note that the connecting seams should be as inconspicuous as possible. Next, roll the resulting chain into a flower (pictured) and fix it, sweeping away all the details with each other. Hooray, the first coaster of the covers is ready!
Step 4. If you want to make a stand under the kettle, then you just need to connect 4 cupholders together.
This collection presents other ideas of coasters for dishes from plastic and tin lids.
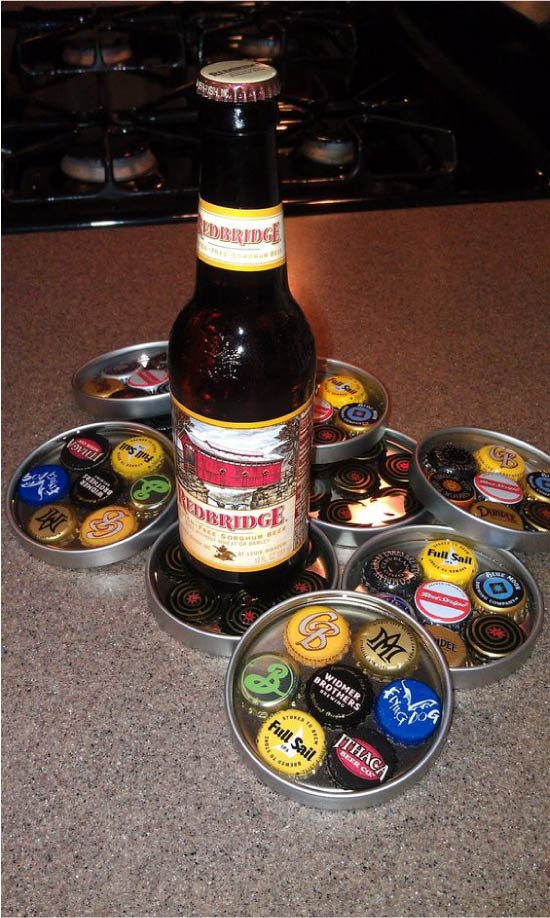
Stands for beer stoppers and epoxy resin cups
Idea 2. Children's toys (+ master class)
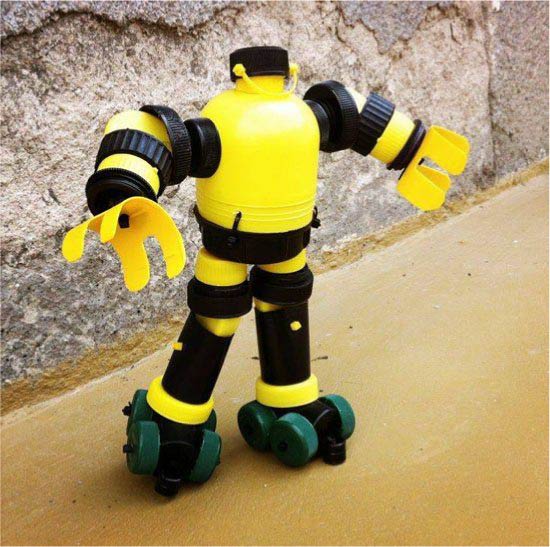
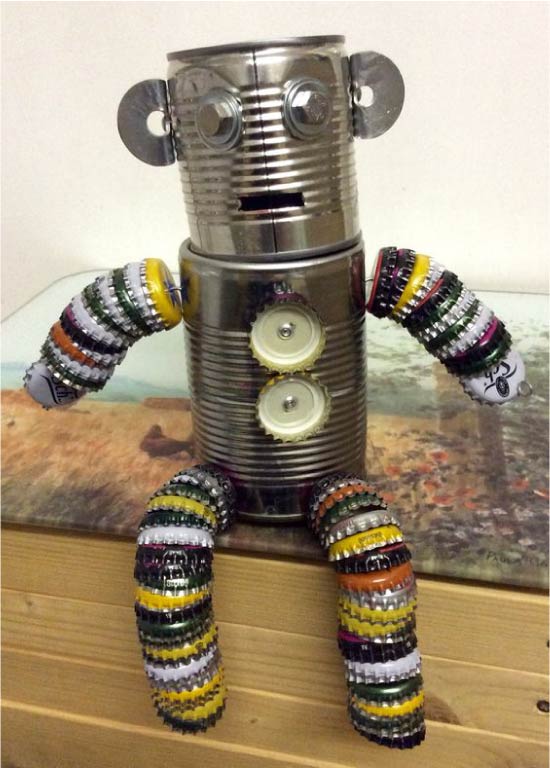
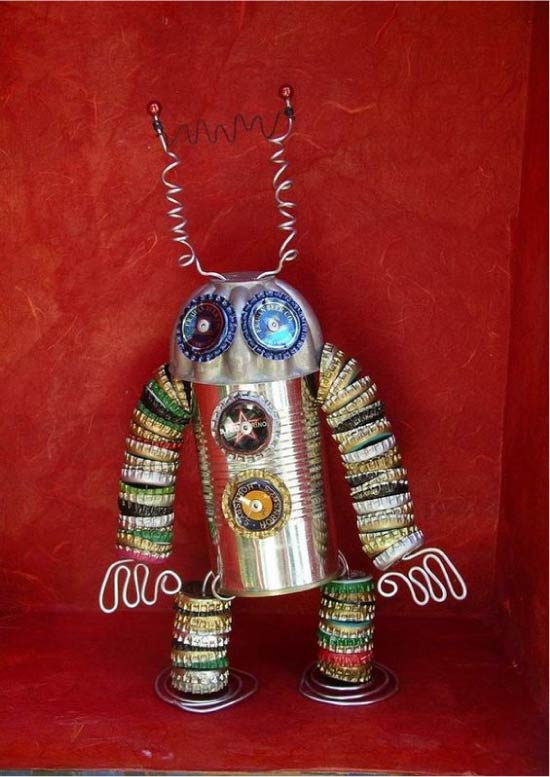
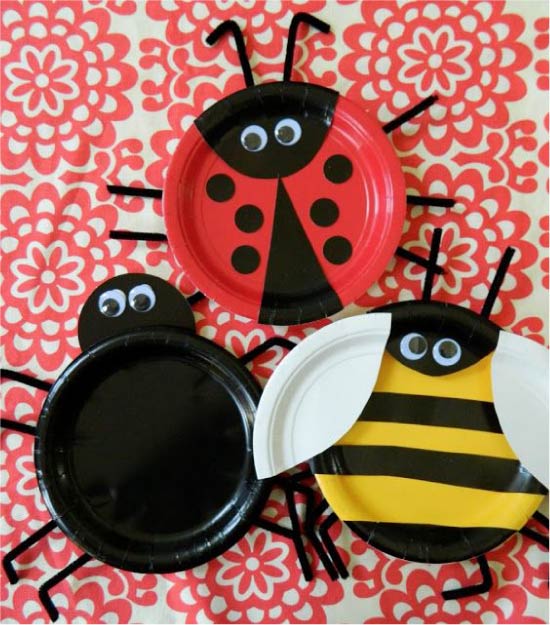
Both plastic and tin bottle caps make cool children's toys - robots, transformers, astronauts, iron men and animal figurines.
Here is a selection of photo ideas from plastic bottle caps.


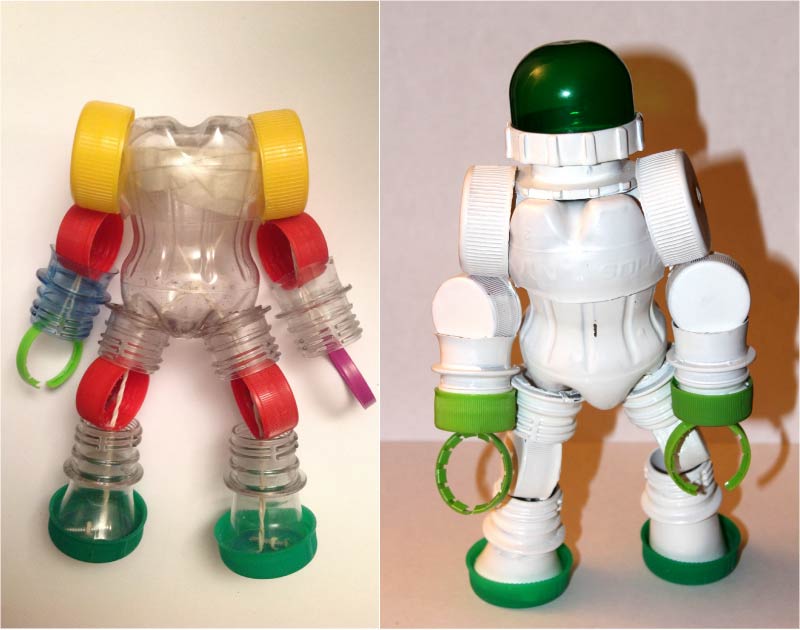
In this photo you can see the design of the astronaut
Here are examples of handicrafts made from metal caps.
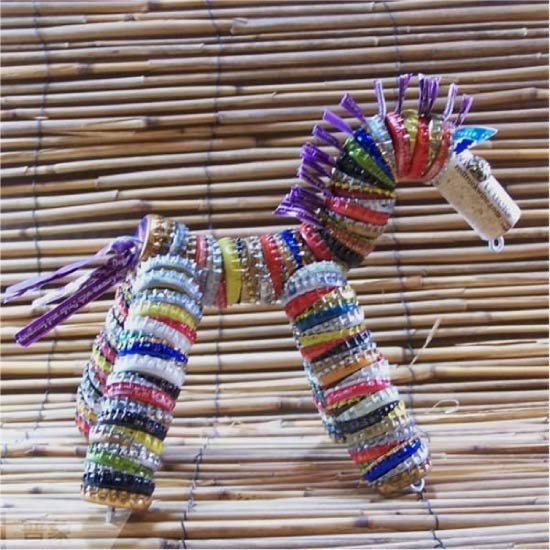

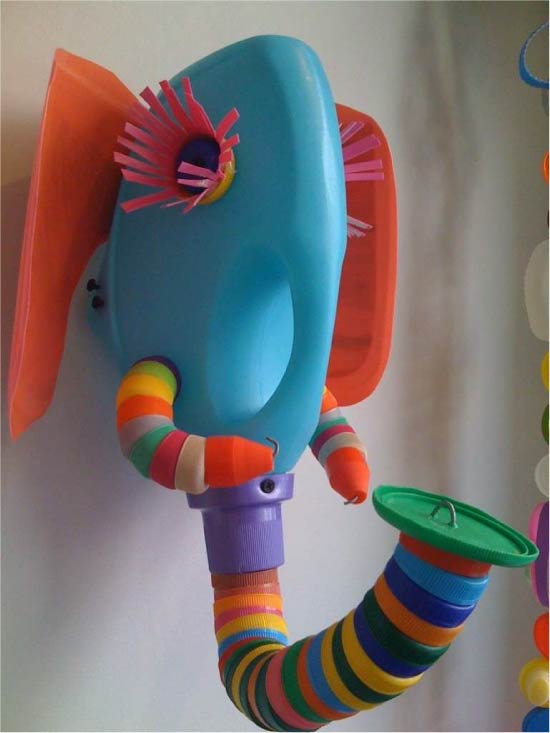
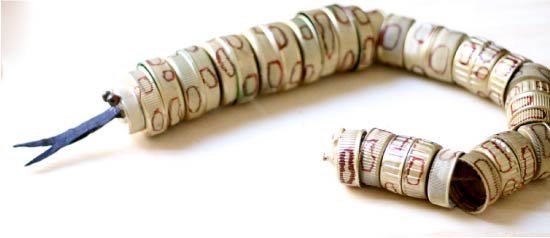
And now we will tell you how to make such a rattlesnake with your own hands from plastic caps that will rattle in the literal sense of the word!

Craft bottle caps
Materials and tools:
- Caps for bottles of different sizes (in this master class, 33 caps were taken to create a snake);
- Soldering iron or awl;
- Gold spray paint or ordinary acrylic paint (it is a little longer to work with it, but you can take a child with painting);
- Twine;
- Hot glue gun;
- 2 dark beads (for eyes);
- Brown permanent marker (optional).
How to make a rattlesnake out of plastic caps:
Step 1. Collect bottle caps of different sizes and sort them by size.
Step 2. Using an awl or a soldering iron, make a hole in the center of each cover. Of course, this stage of work must be done by the parent.
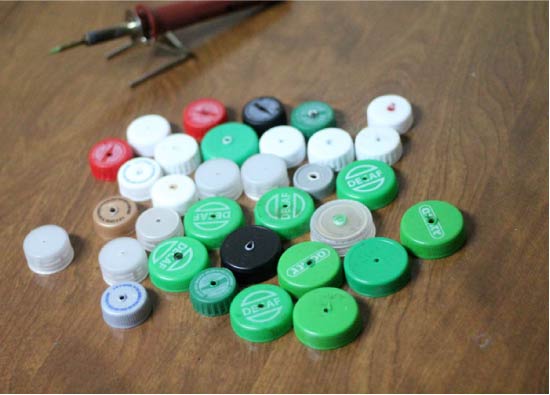
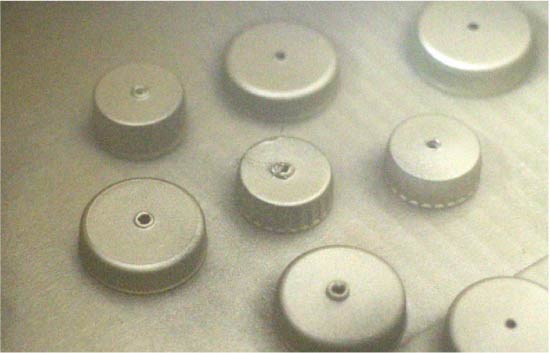
Step 3. Spray paint on the lids or paint them with a brush.
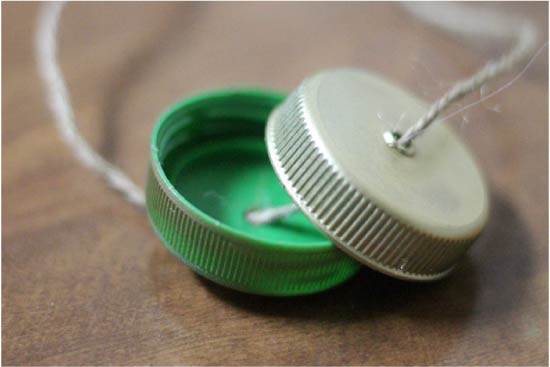
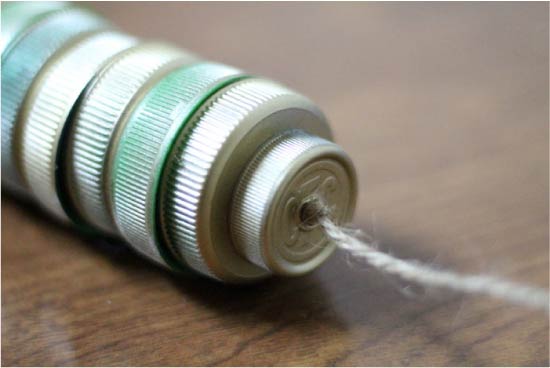
Step 4. Begin stringing the covers onto the twine in pairs and the open side to each other (see photo below) starting with pairs of large covers and ending with pairs of small covers. Finally, when all pairs of caps are strung, make a snake's muzzle — put the smallest cap on the beginning of the workpiece (that is, on the first pair of large covers). Note that the inside of the face-cap should face the outside of the first large cover. By the way, this stage can and should be done together with the children.
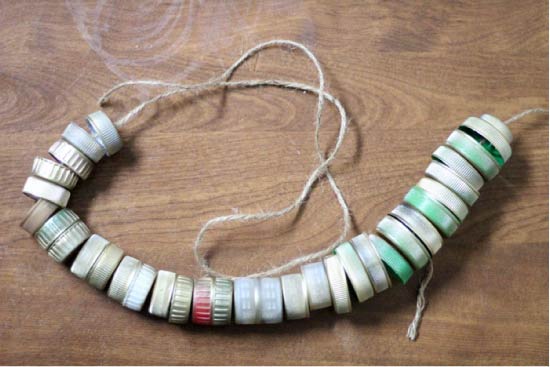
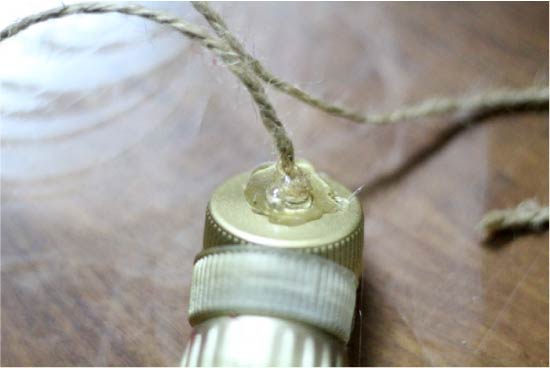
Step 5. Align the snake and tie the knots tightly at both ends. On the tail, the tip of the twine should be completely cut off and filled with hot glue (see photo below), and leave a tip of about 1.5 cm on the face.
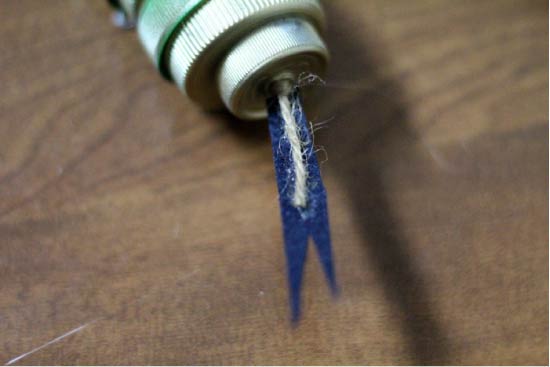
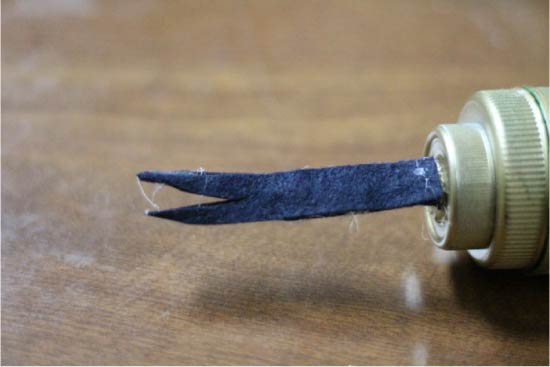
Step 6. Now you need to make a snake tongue. To do this, cut two identical small and narrow strips of black felt, then cut a sharp triangle at one end of each strip. This stage of work can be entrusted to the child.
Step 7. Glue the two parts of the tongue around the tip of the twine, remaining on the cover-muzzle (preferably while hiding between the strips of felt and the knot).
Step 8. Glue two beads-eyes.
Step 9. The craft is ready, it remains only to bring it to perfection by drawing small spots on the body of a snake with a marker or paint.
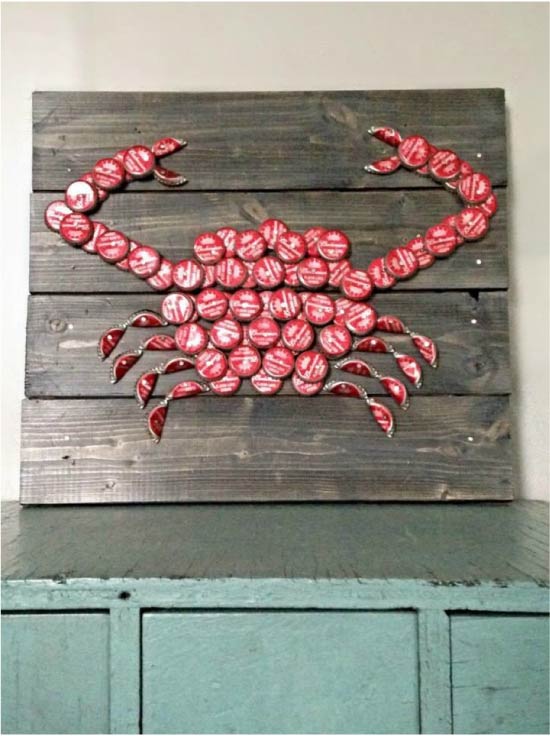
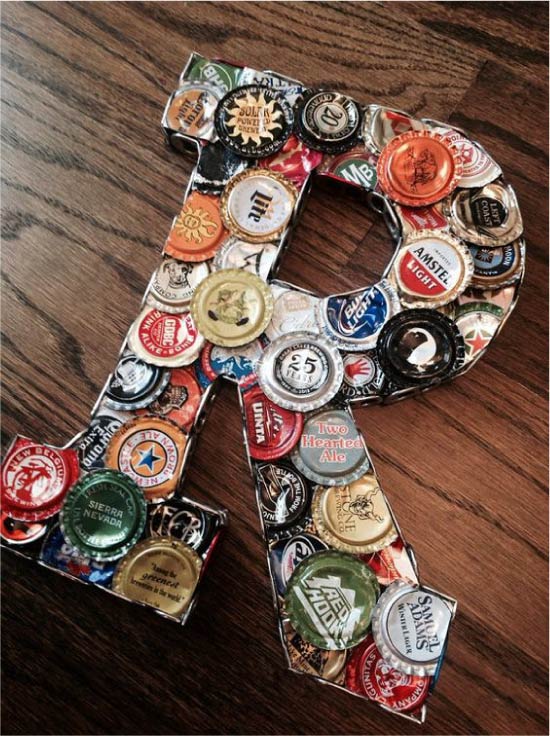
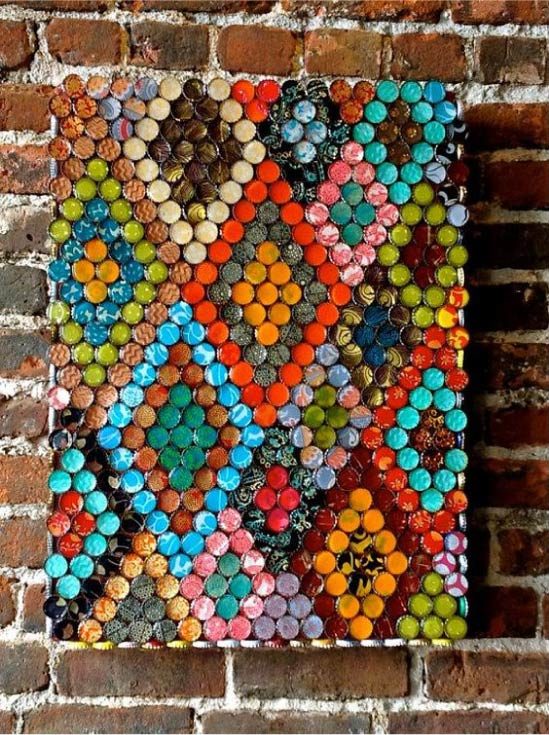
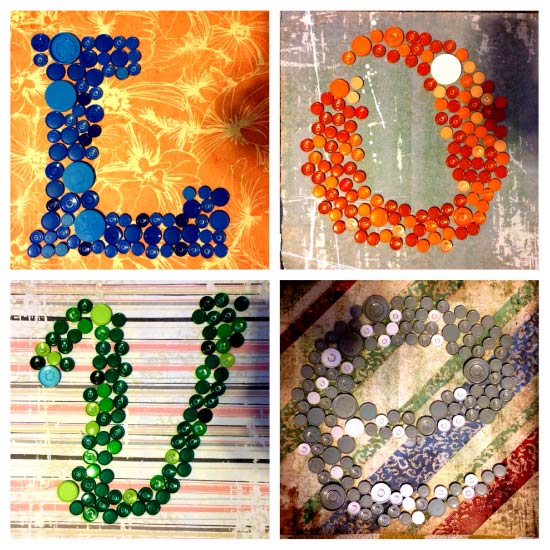
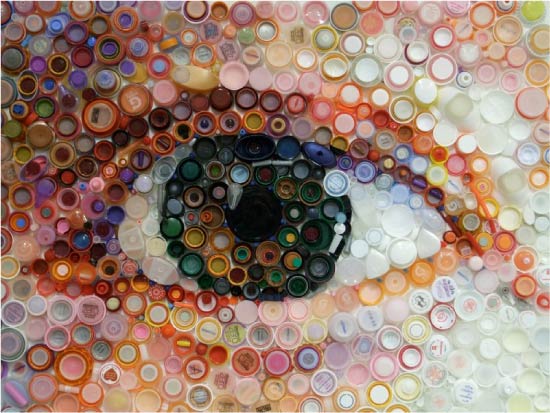
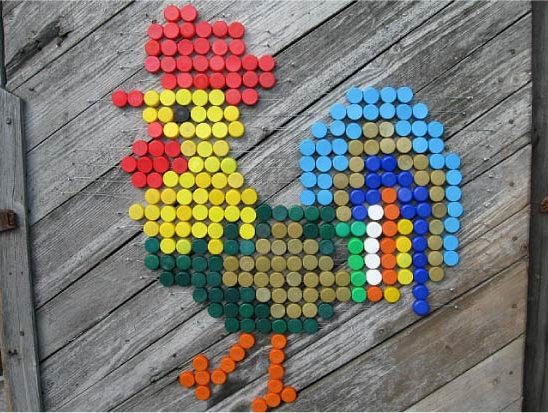
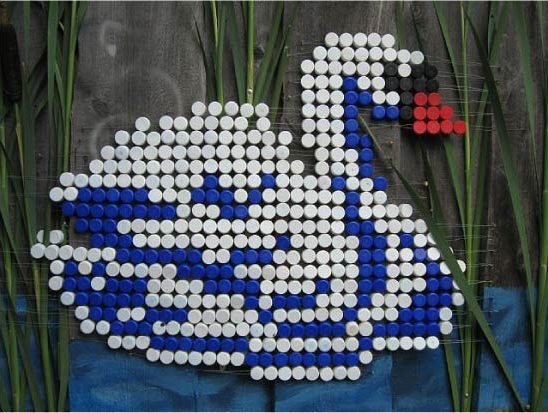
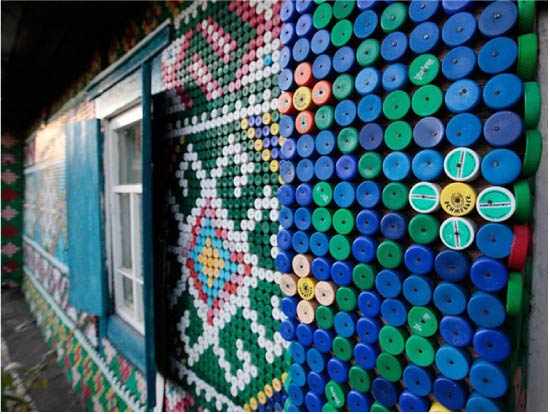
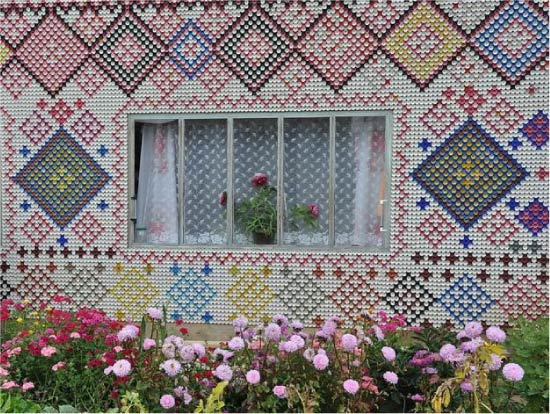
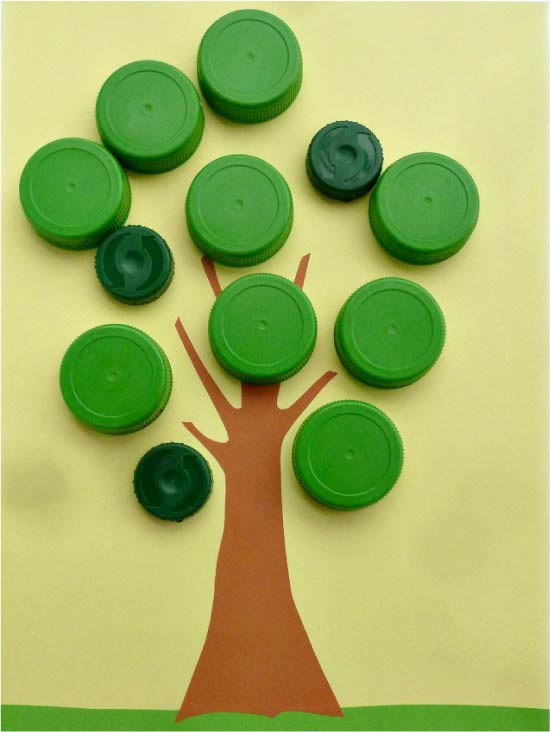
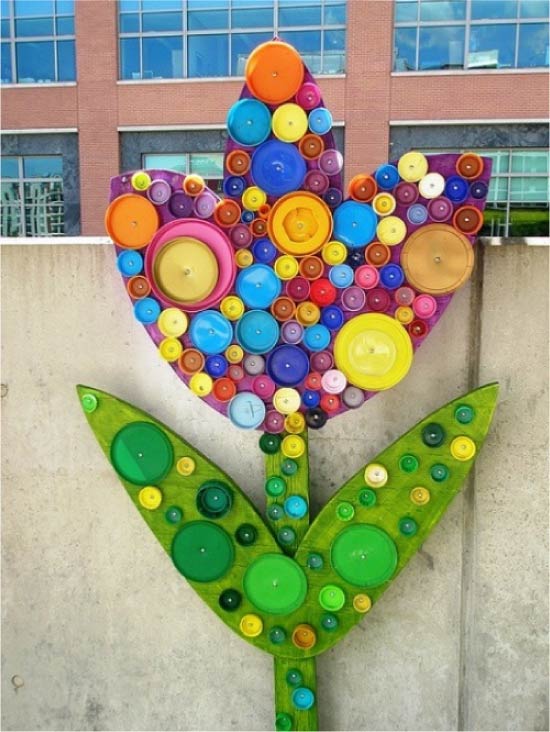
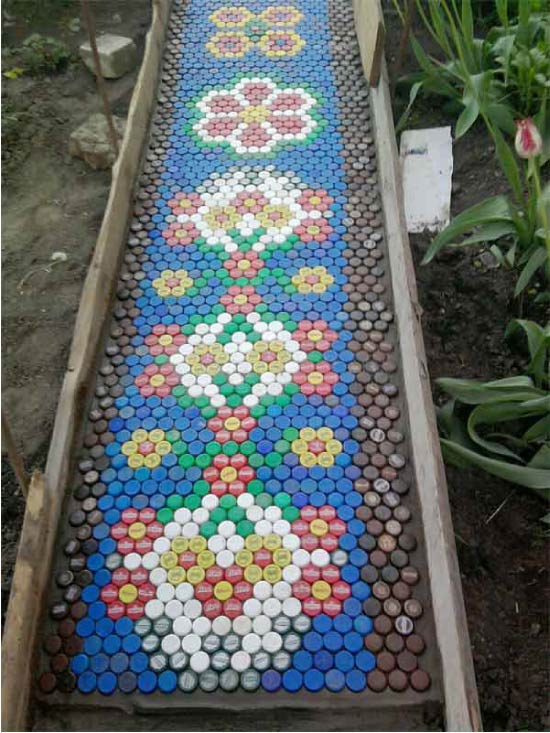
Idea 3. Wall panels and paintings
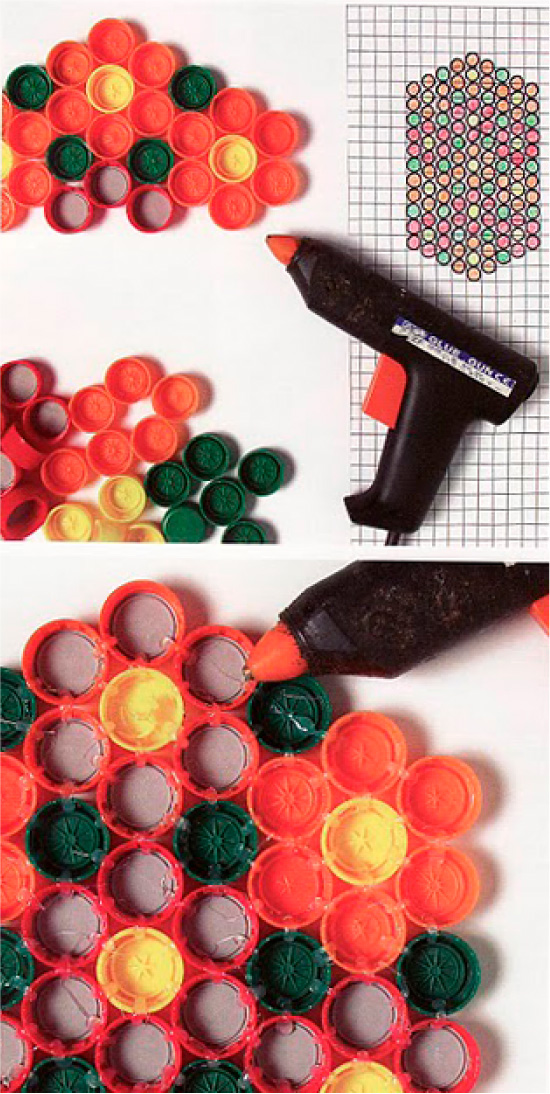
Since tin and plastic bottle and can lids are similar to mosaic details, you can make one of them wall panels and even completely finish the walls. The principle of making wall panels is simple: first, on a checkered paper a color scheme of a drawing is made, then the covers are sorted and painted in the right colors and in the right amount. Next, the markup is applied to the base and then the covers are glued to hot glue or superglue according to the scheme.
- As a scheme for the panel of covers, you can use the scheme for beadwork, embroidery or mosaic.
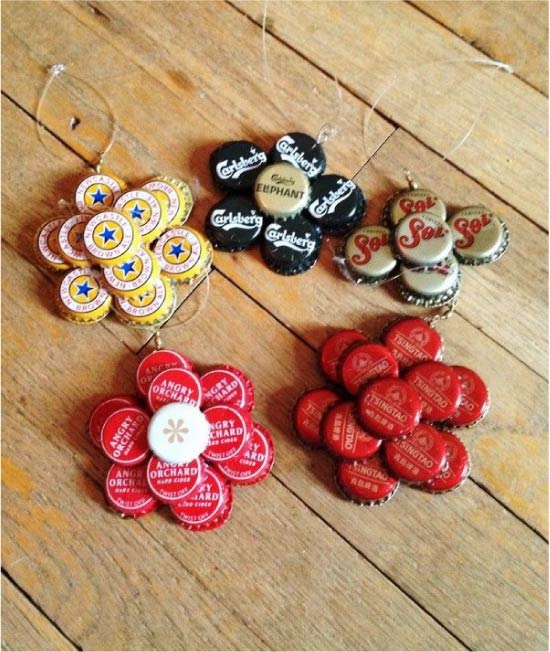
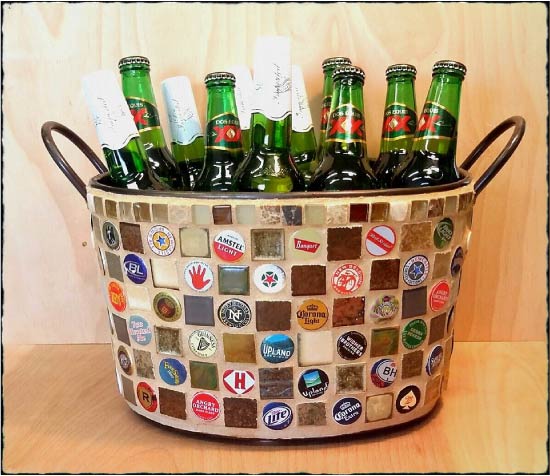
Below are the photo ideas of crafts from beer caps.
 Panel of glass bottle caps

Panel with plug-in beer caps
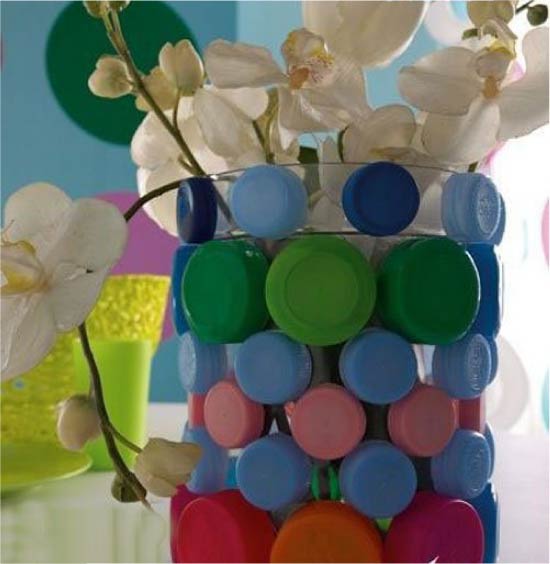
Plastic caps in the preparation of the panel allow you to play not only with their color, but also with the size, as well as combinations of covers stacked on top of each other (see photo).
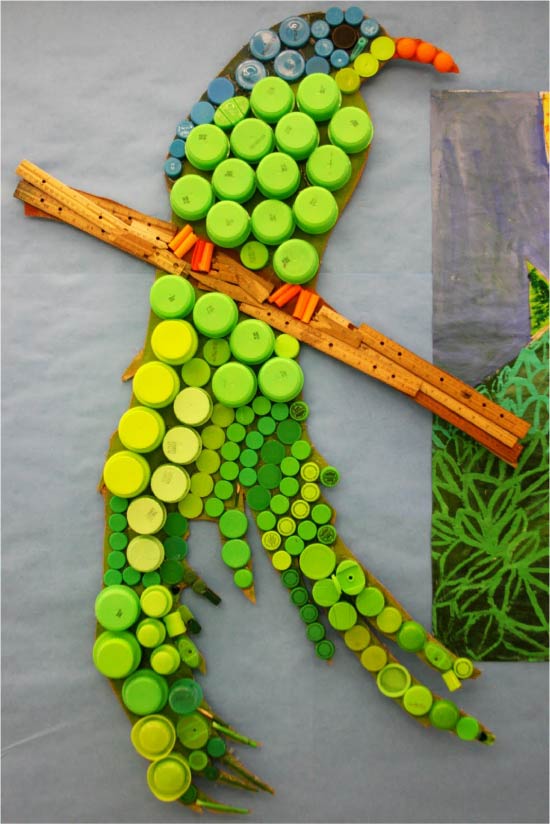
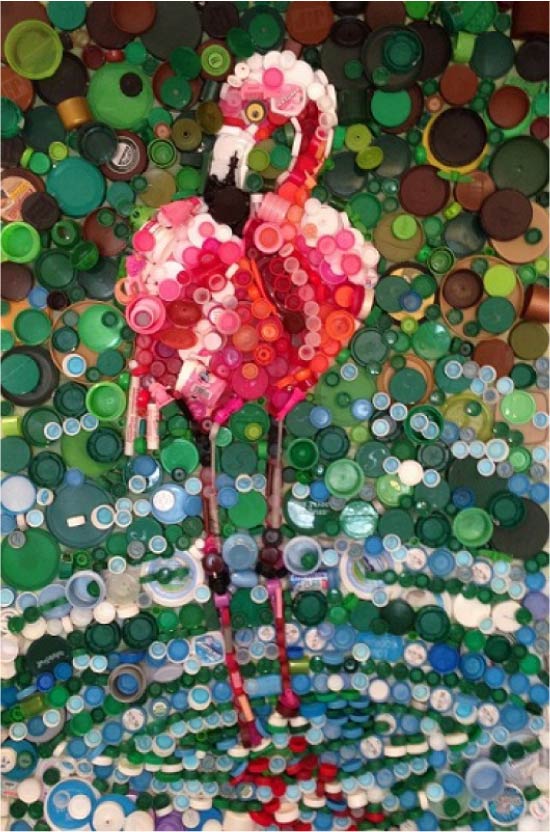
Picture of plastic covers
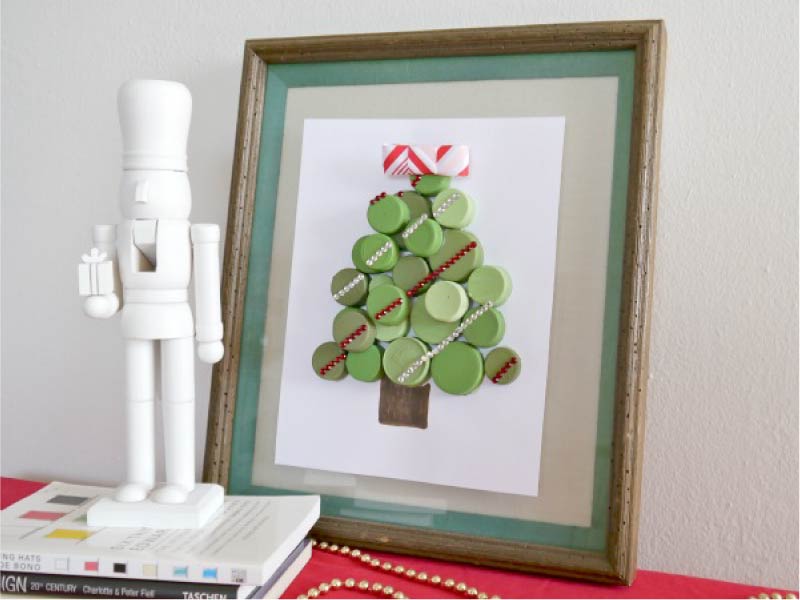
New Year's panel from covers from plastic bottles
And here are examples of exterior decoration and decoration of the walls of the lids of plastic bottles.
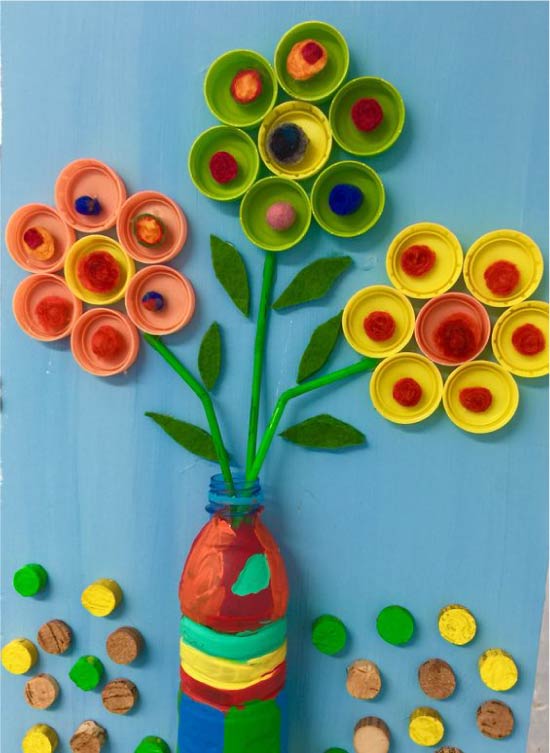
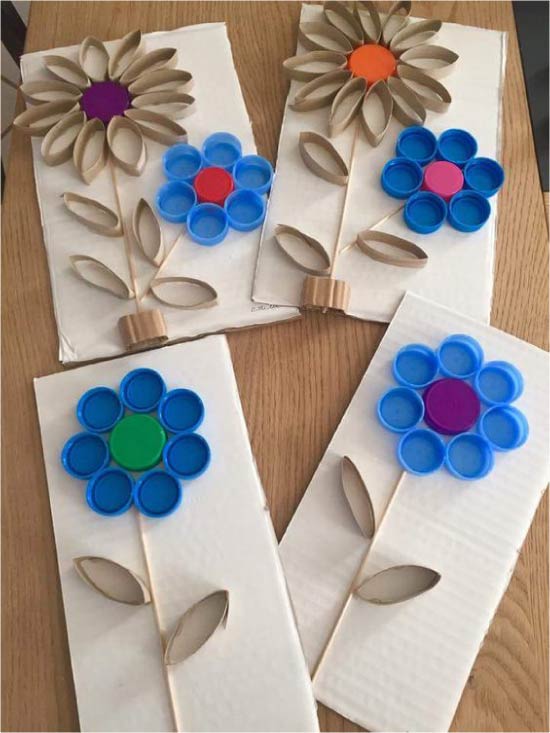
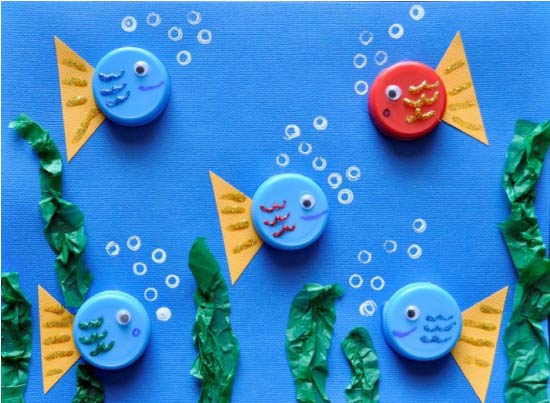
And finally, examples of children's hand-made applications from plastic covers.

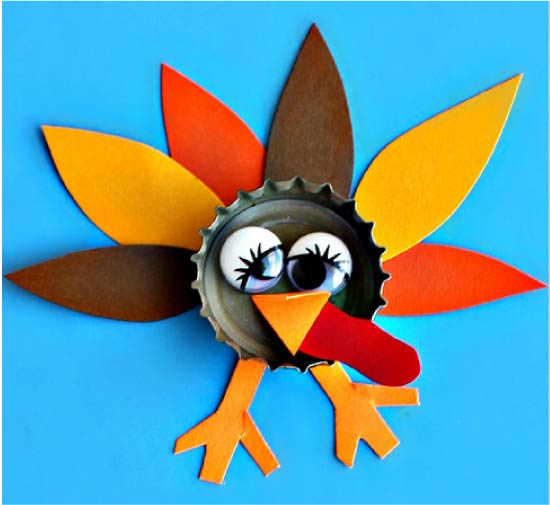

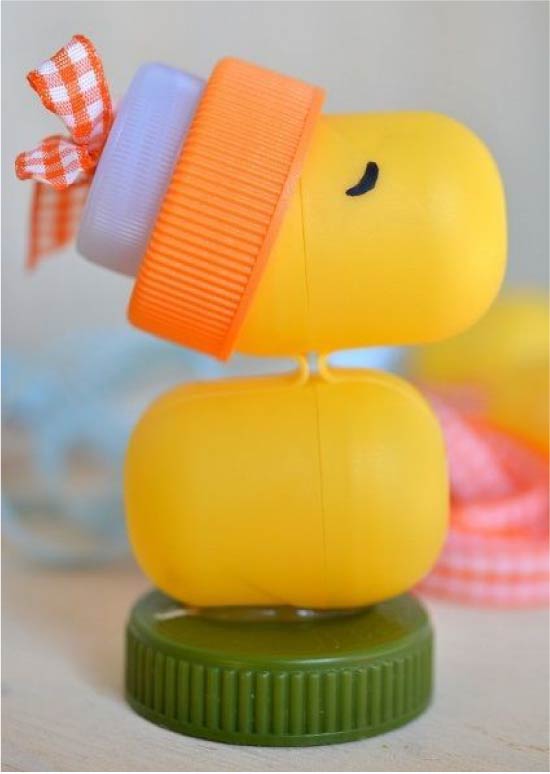
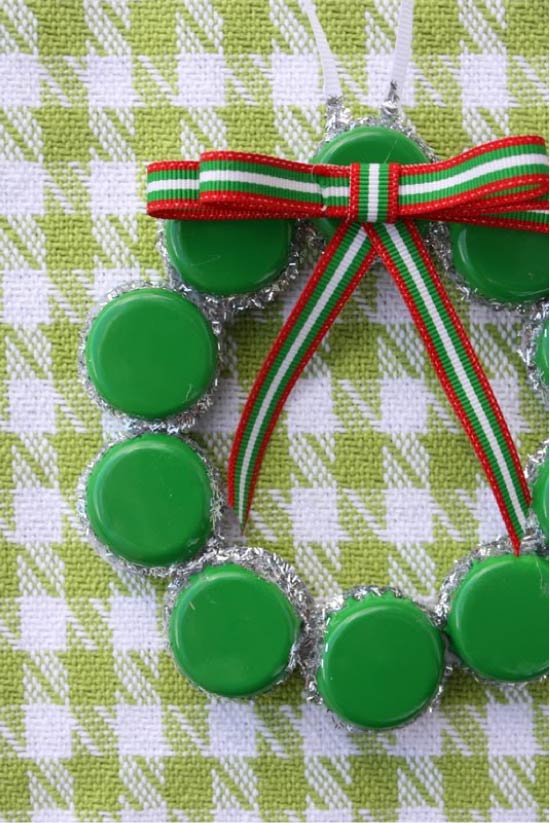
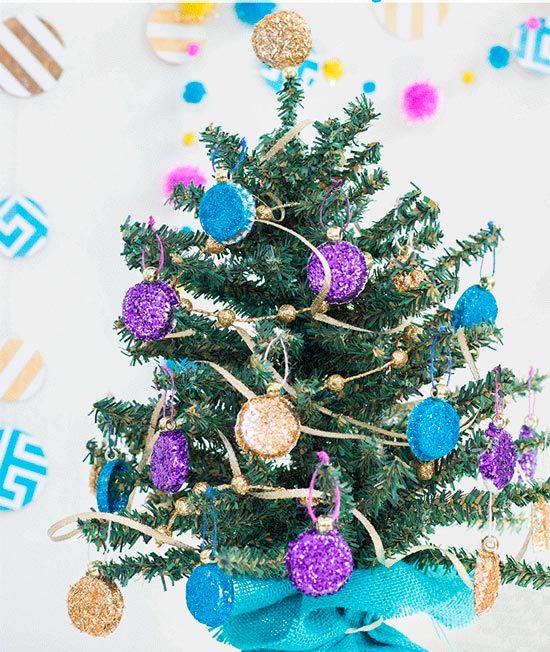
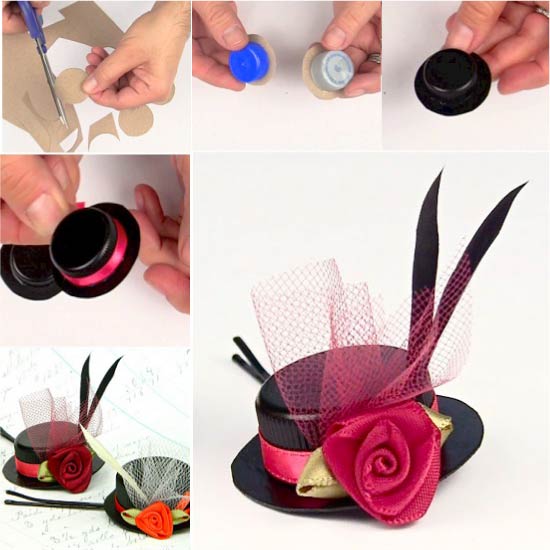
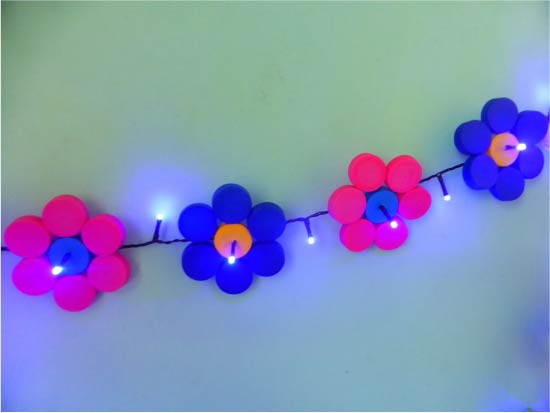
Idea 4. Christmas crafts (+ master class)
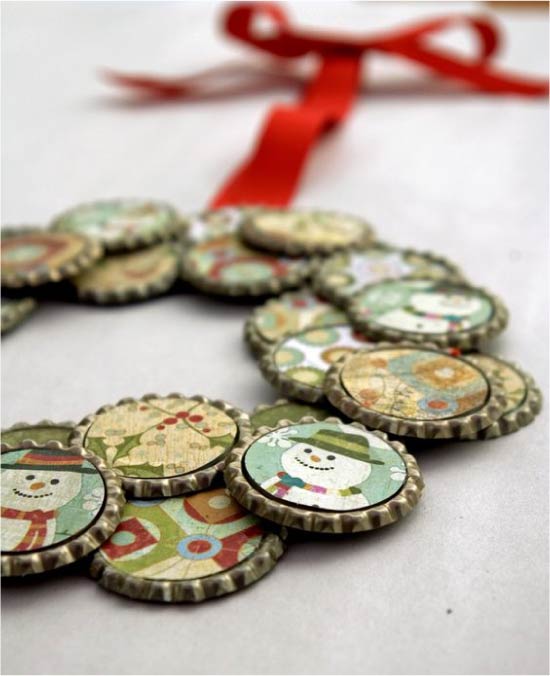
Tin and plastic bottle caps make beautiful Christmas crafts: wreaths, mini-Christmas trees, garlands, gift tags and, of course, Christmas tree decorations.
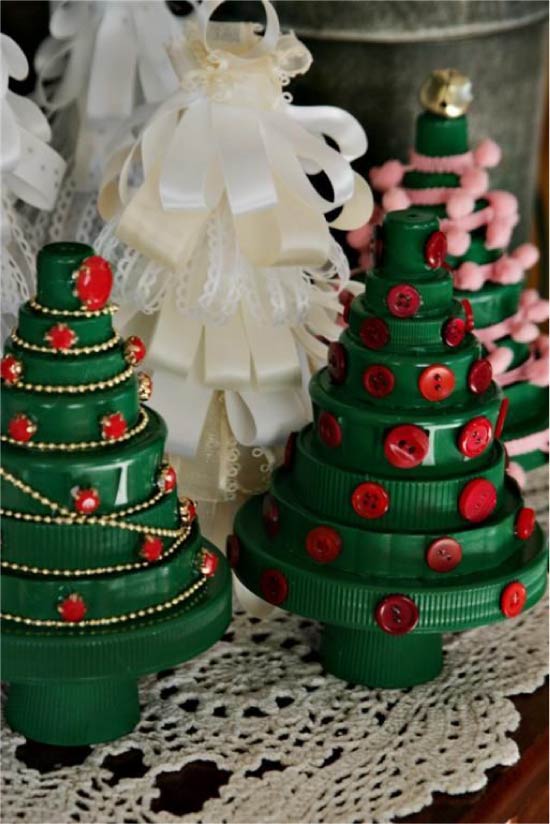
Christmas crafts from plastic caps
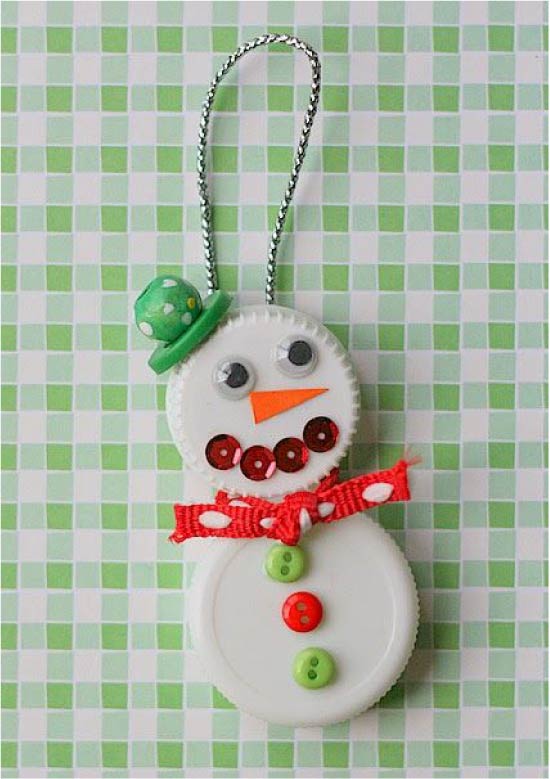
Christmas tree toy snowman from plastic caps
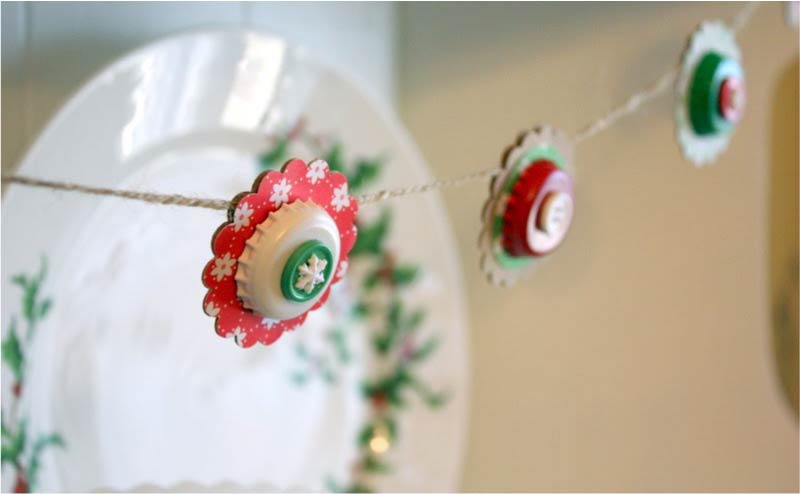
Christmas crafts from the covers
Christmas crafts from the covers
 Christmas decorations of the covers
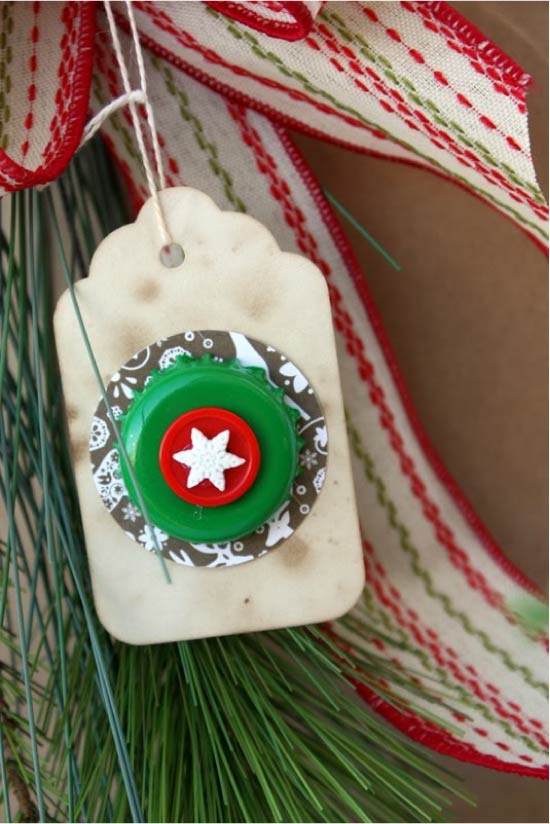
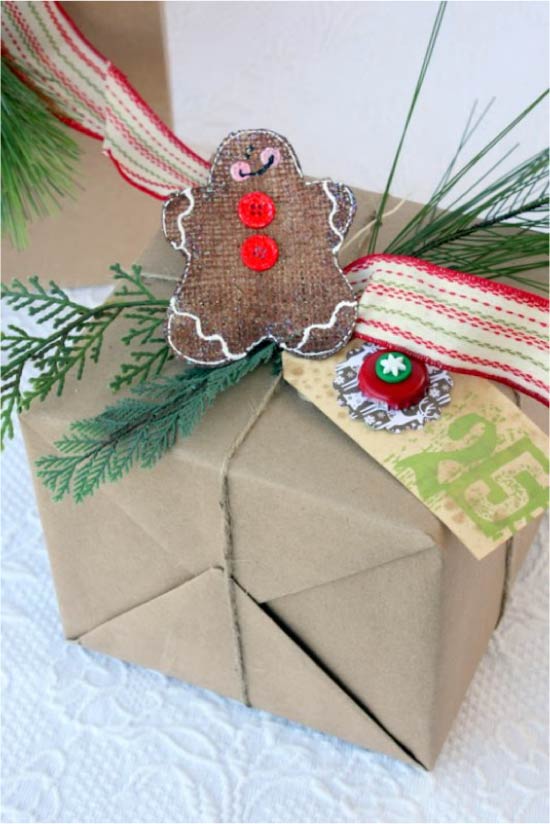 Label for a gift from the beer cap
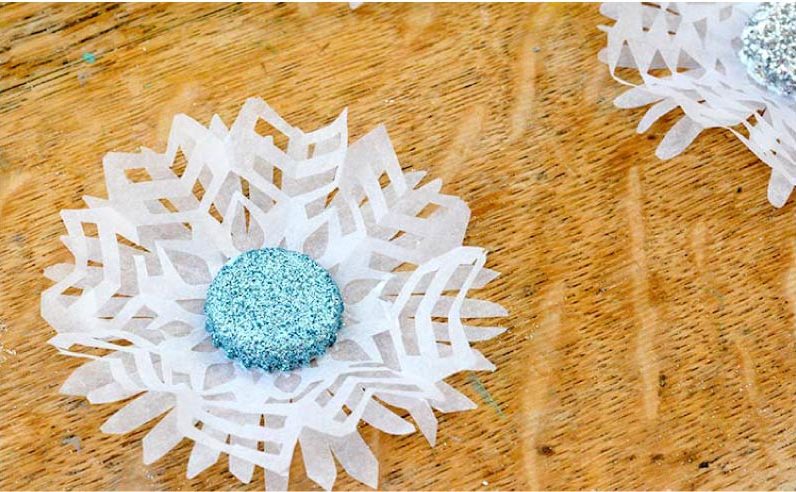
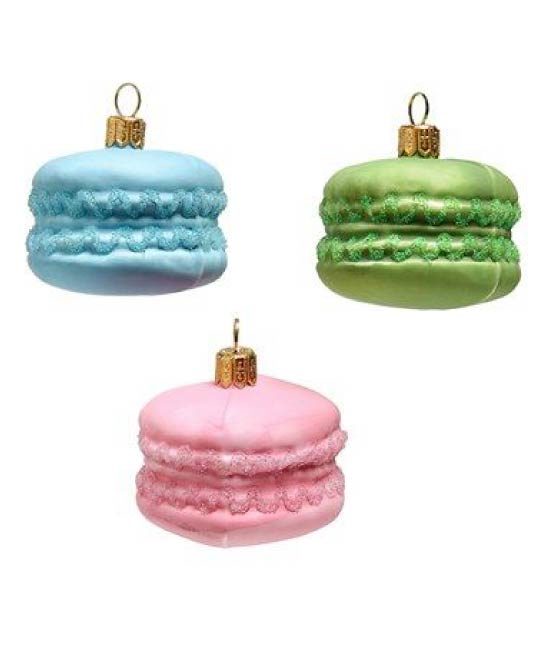
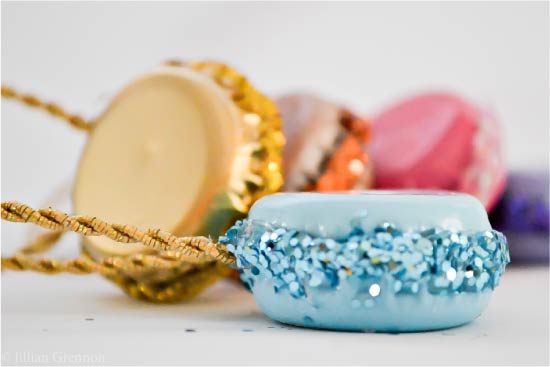
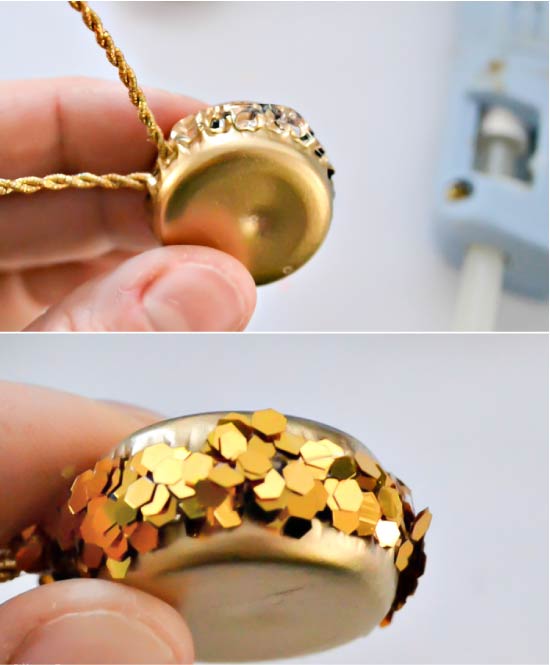
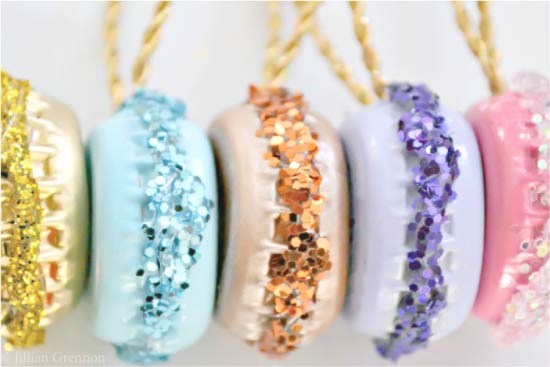
Now we propose to move on to practice and make crafts using lids from glass bottles in the form of such macaroni.
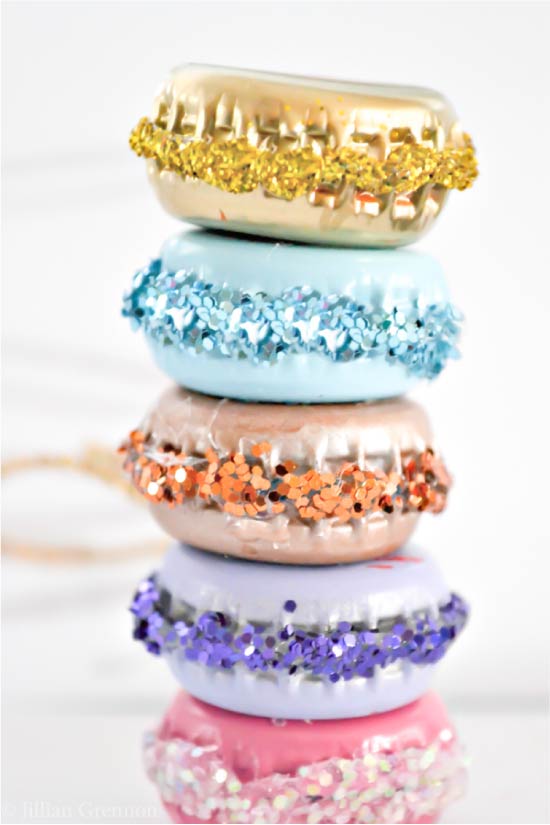
Crafts from caps from glass bottles in the form of pasta
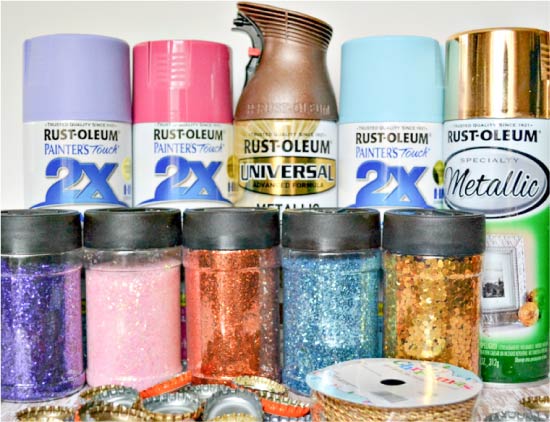
Materials and tools:
- Pastel colored spray cans (can be used in cans);
- Gold cord or braid;
- Hot glue gun;
- Tin covers (ideally, flat covers are best, but also slightly bent will also work);
- Glitter.
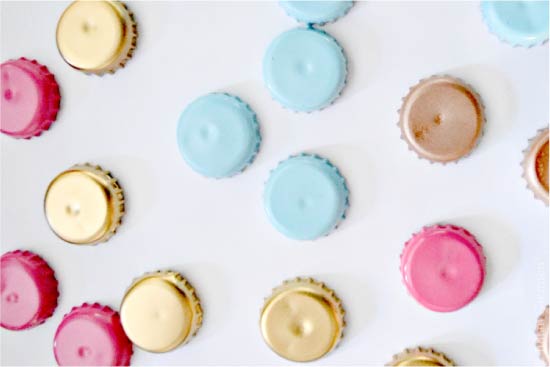
Step 1. The first thing you need to do is to divide the caps into groups with an even number of caps, and then paint each group in the desired colors.
Step 2. Once all the plugs are dry, proceed to the manufacture of the first suspension. To do this, tie a small piece of cord into the loop, then glue its base to the inside of the cover and, finally, glue the second cover from above (see photo). Be careful not to put too much glue in order to avoid its excess between the covers.
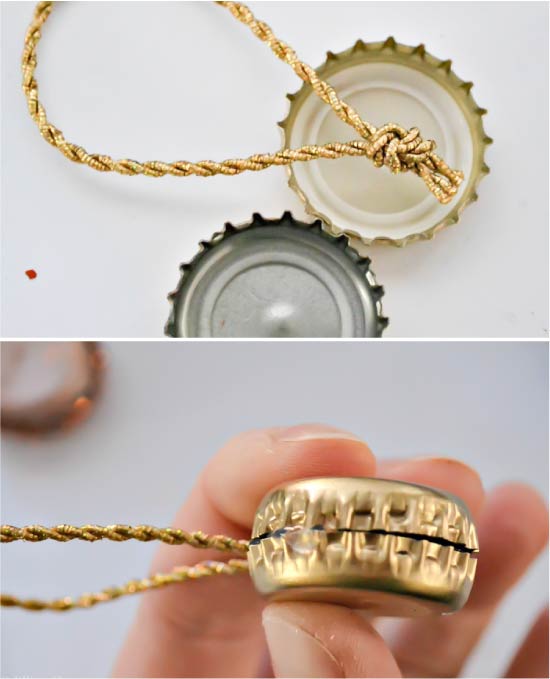
Step 3. This stage will require hand speed and accuracy, as hot glue hardens very quickly. Take your workpiece and apply some glue to the place of the junction of the covers, then quickly lower it into the jar with sparkles. Continue to cover the middle of the macaroni with glue and glitter gradually until you finish. Voila! The first pasta is ready, now you have to finish the rest of the cake, and then hang them on the Christmas tree. However, these crafts are quite versatile. For example, one can make a garland or fridge magnets, and you can also pack them in a box like real macaroni and present them to the lover of sweets.
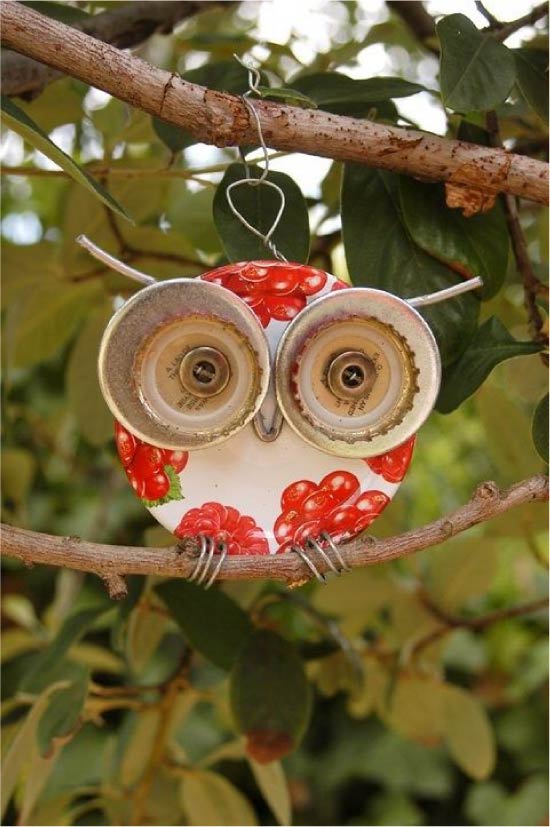
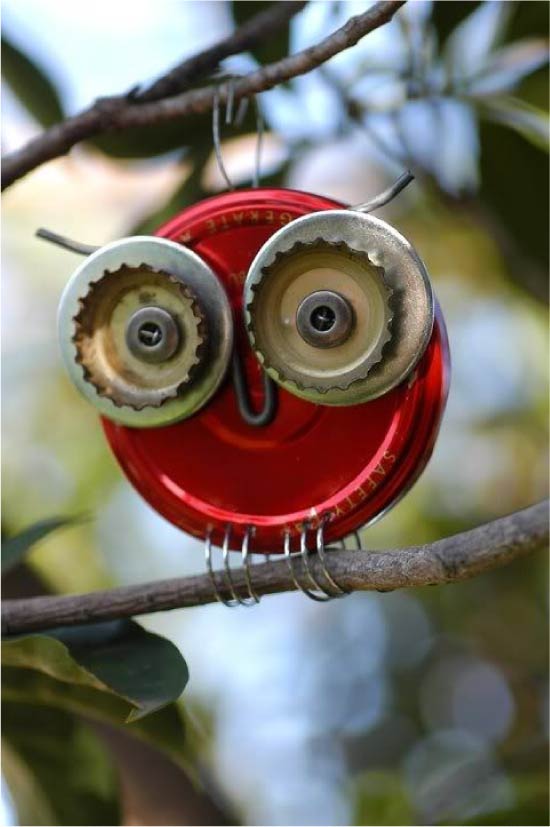
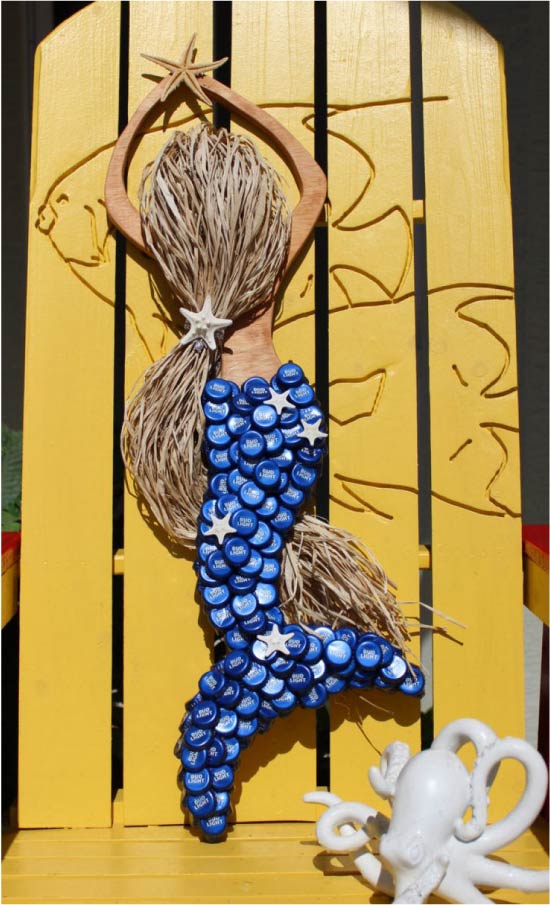
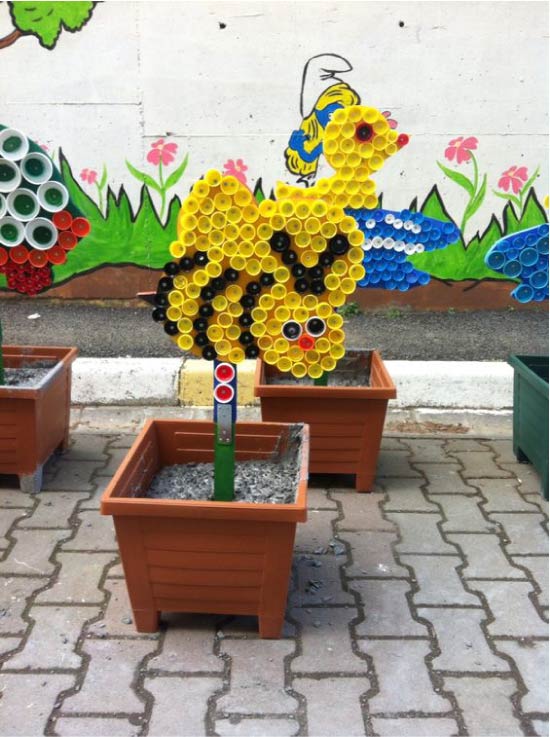
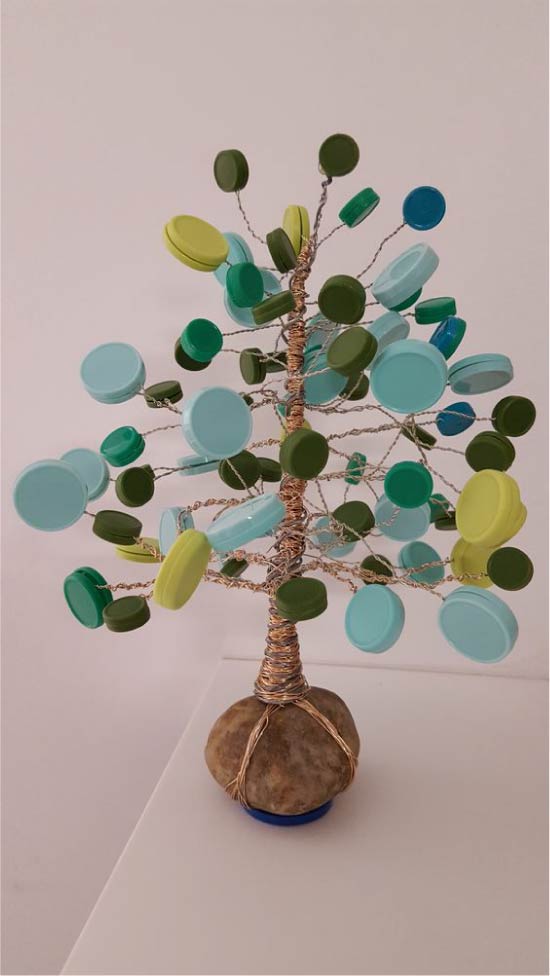
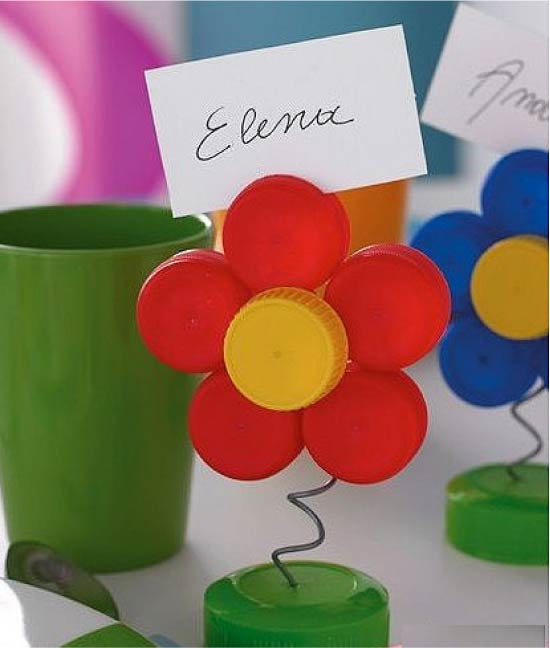
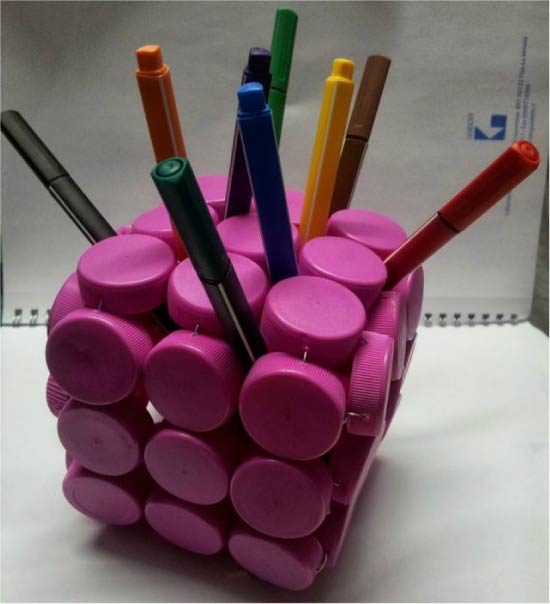
Idea 5. Ornaments for the garden
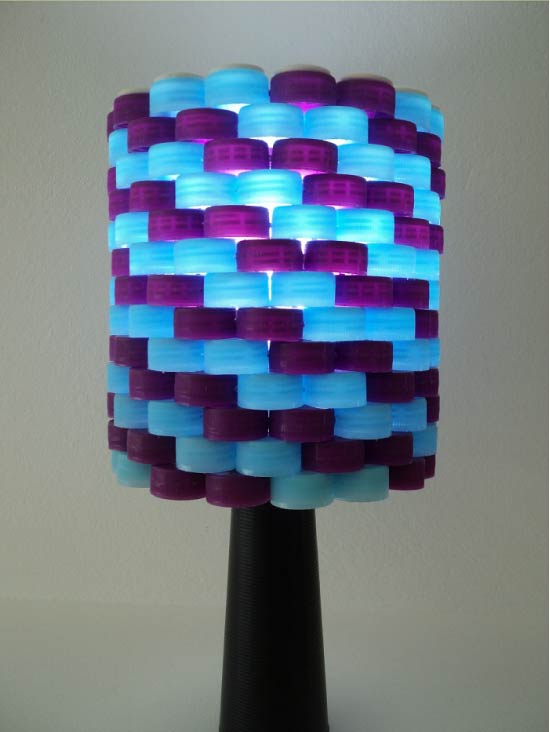
Complementing the crafts out of the covers with a stick, you get a cool landscape gardening decor to give or just a decoration for a flower pot.
Handicrafts from the covers for the garden
Handicrafts from the covers for the garden
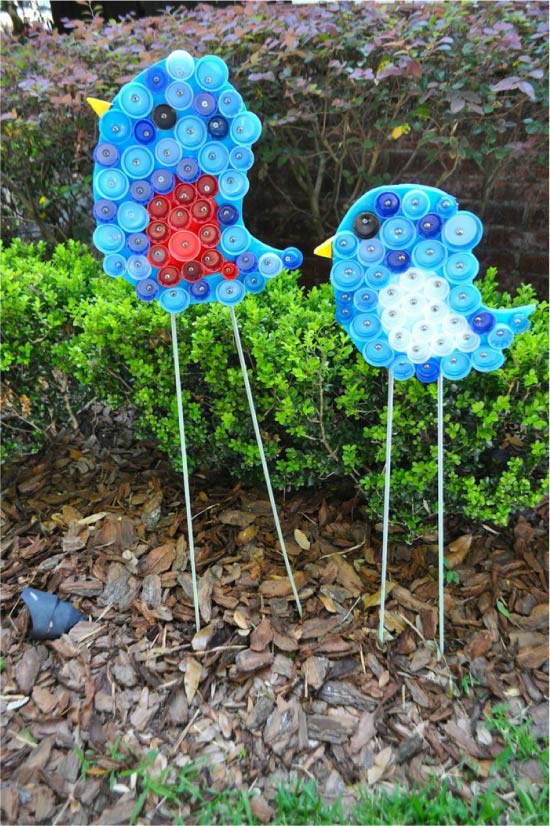
Handicrafts from the covers for the garden
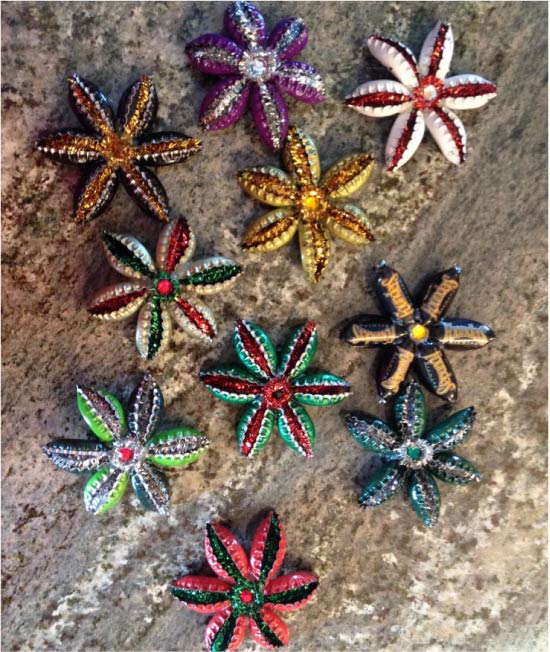
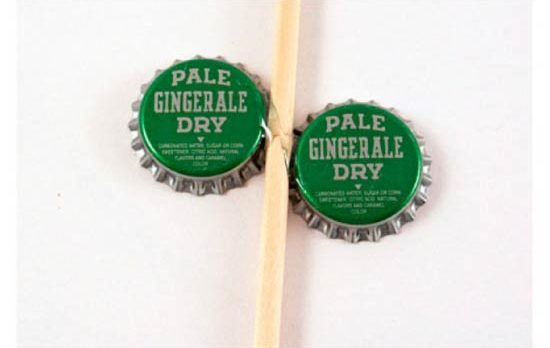
From metal covers excellent flowers turn out.
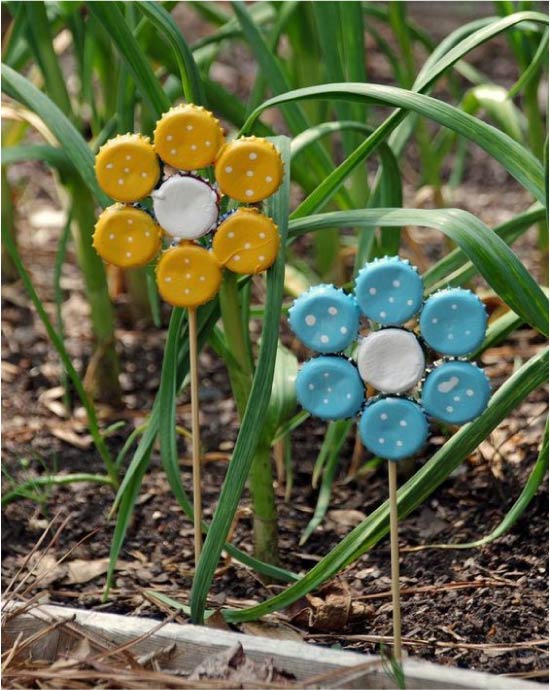
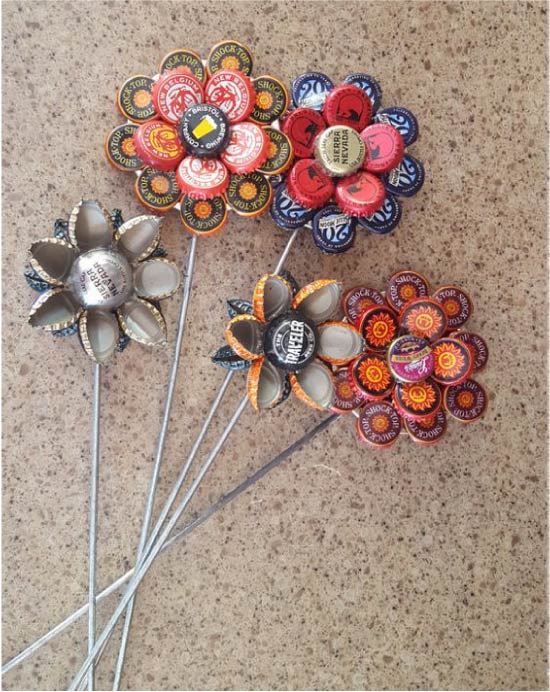
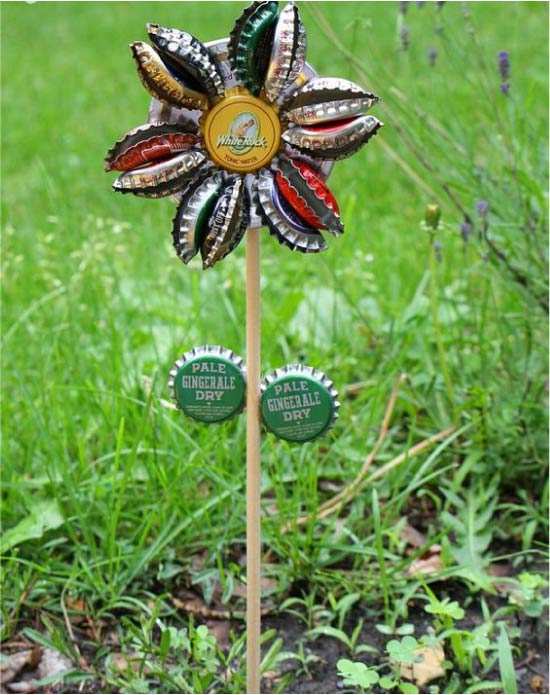
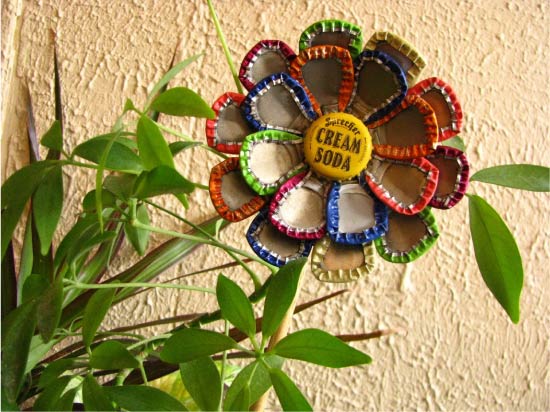
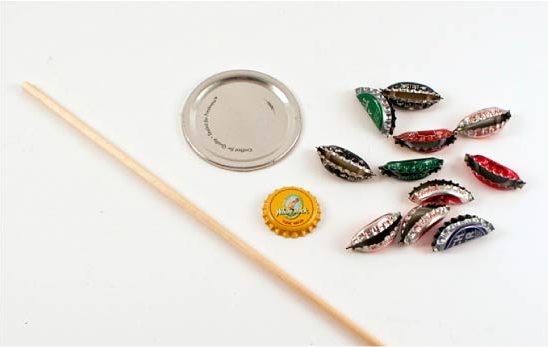
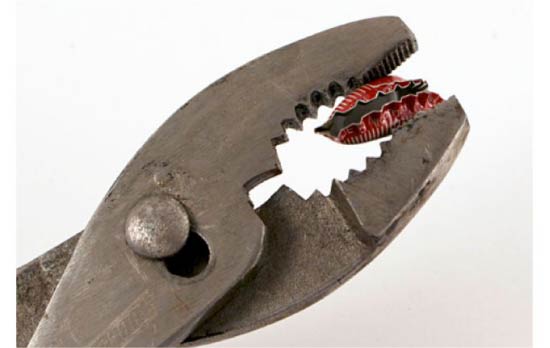
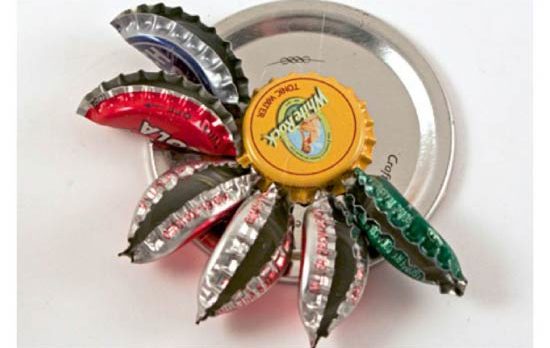
It is very easy to make such flowers with your own hands: the lids are clamped with pliers, then glued to the base (for example, to the lid from under the can) and finally the stem (wooden skewer or other stick) is glued to the craft. If desired, a pair of petals of green caps can be glued to the stem.
 1
1
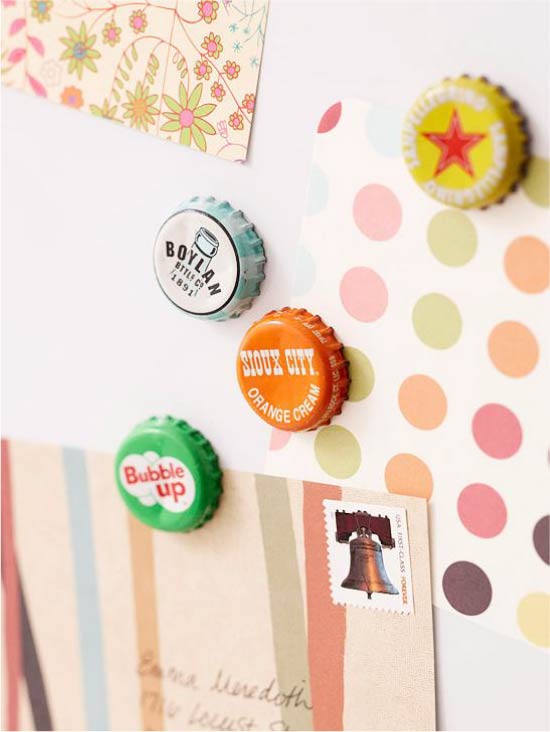
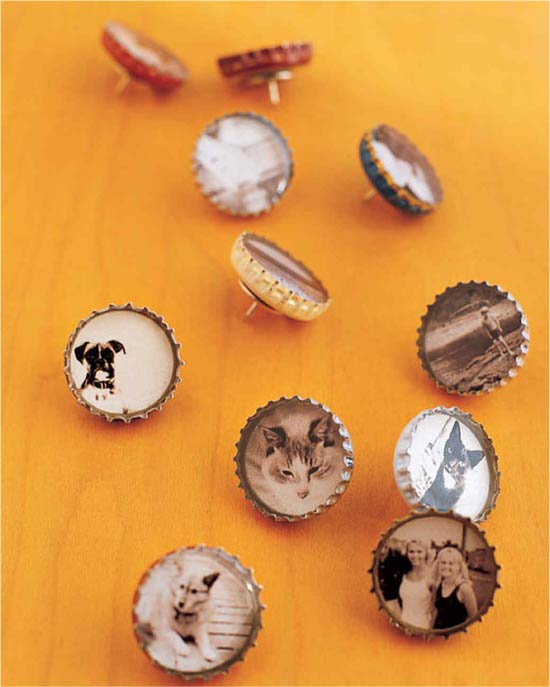
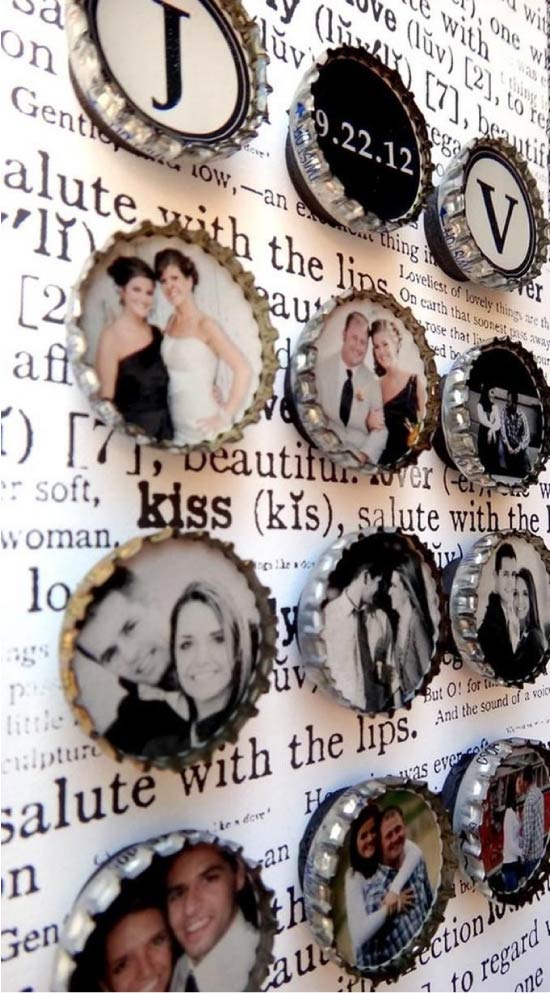
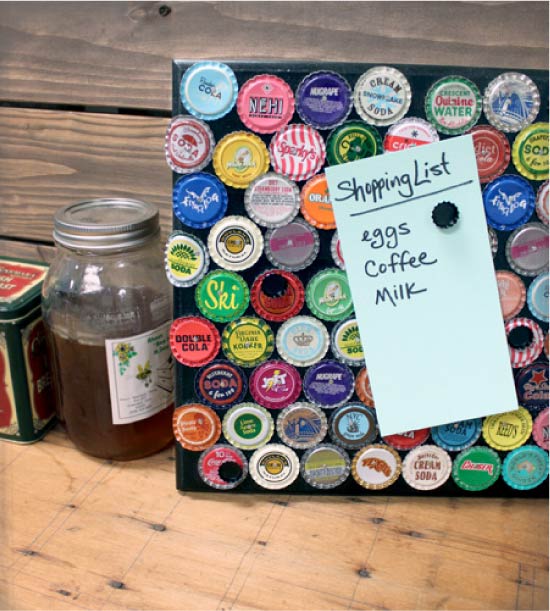
Idea 6. Magnets
To learn how to make fridge magnets from the covers with your own hands, take a look at article with detailed instructions.
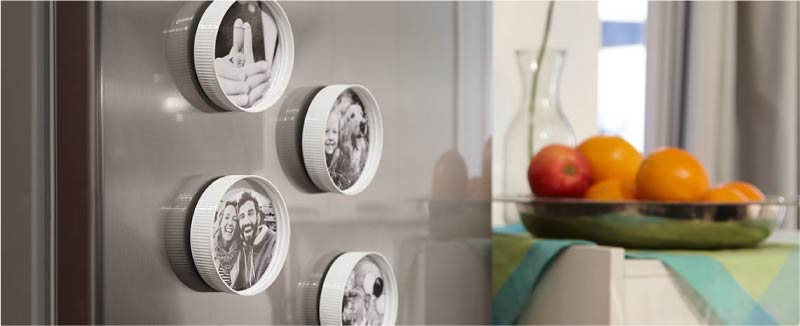
These photo frame magnets are made from Nutella covers.
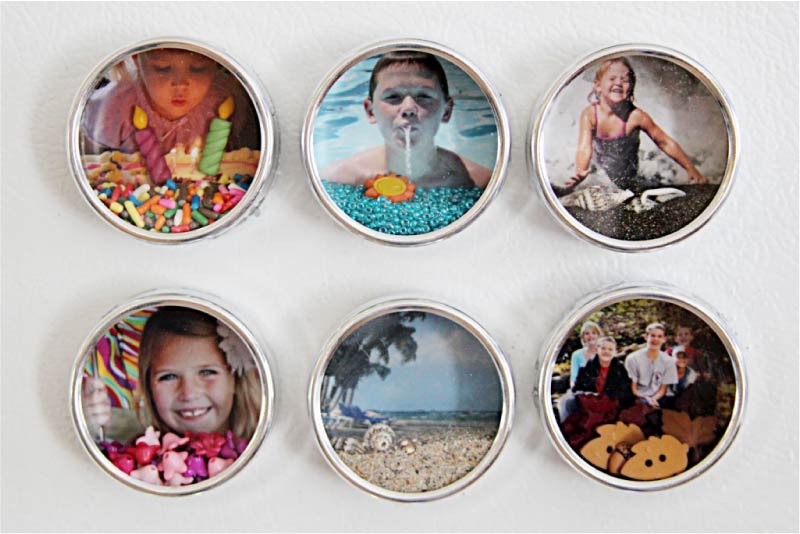
These crafts are made of lids from under the jars of baby food.

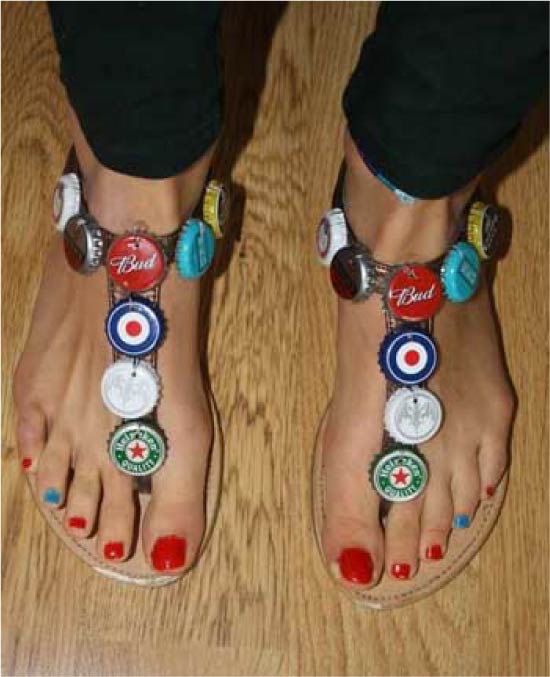
Idea 7. Jewelry and accessories
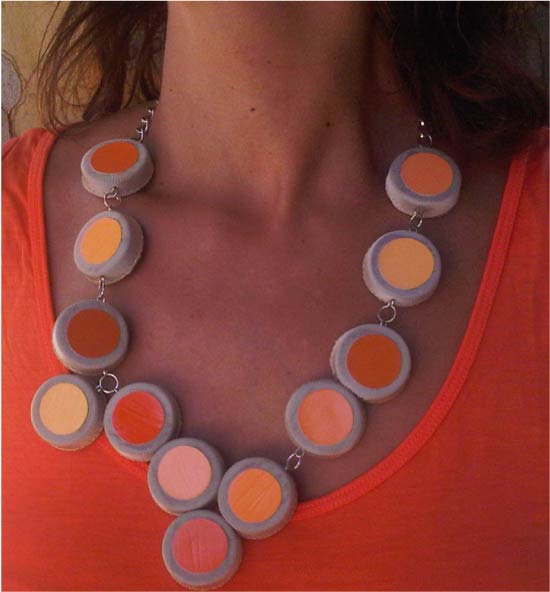
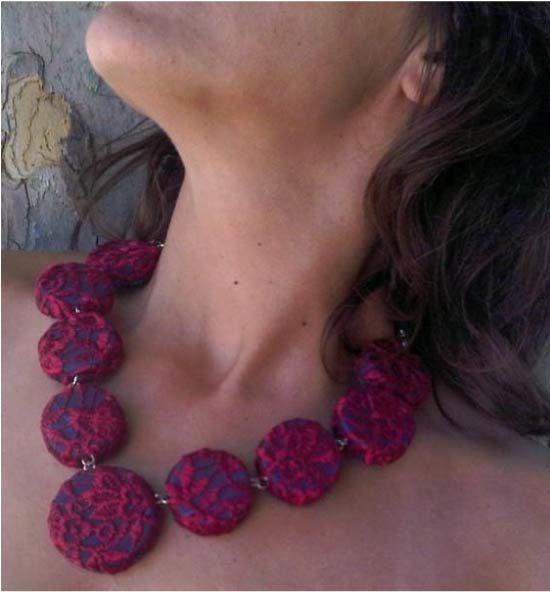
You can make beautiful necklaces and brooches out of plastic covers upholstered in soft but dense fabric.
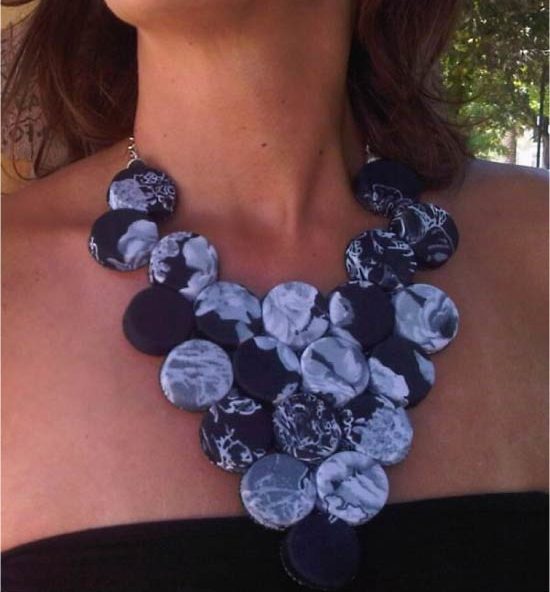 Necklace of caps from plastic bottles
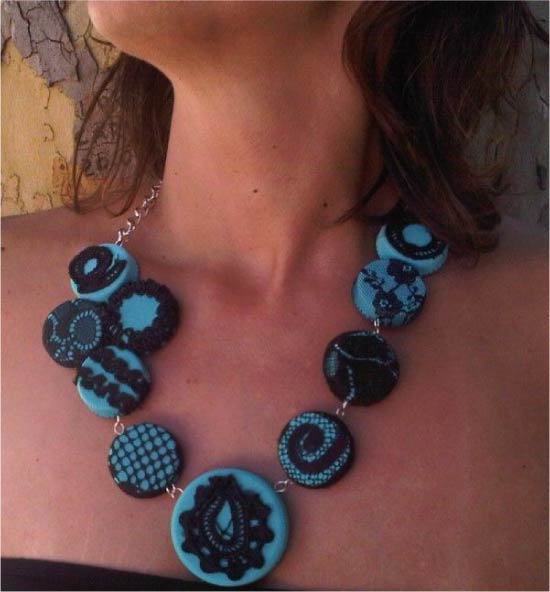
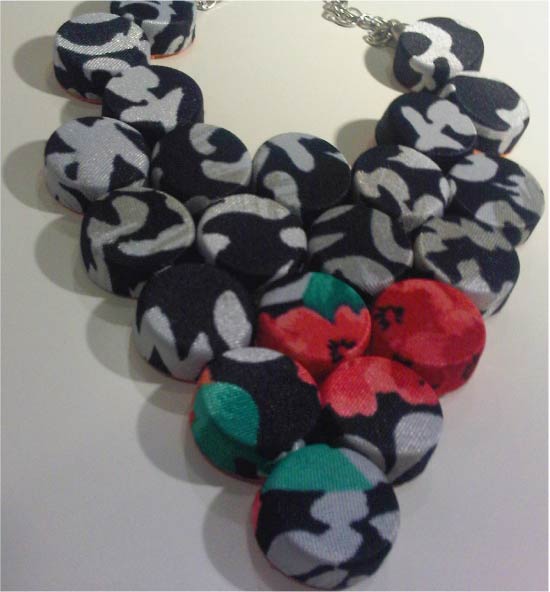

The reverse side of the necklace of caps
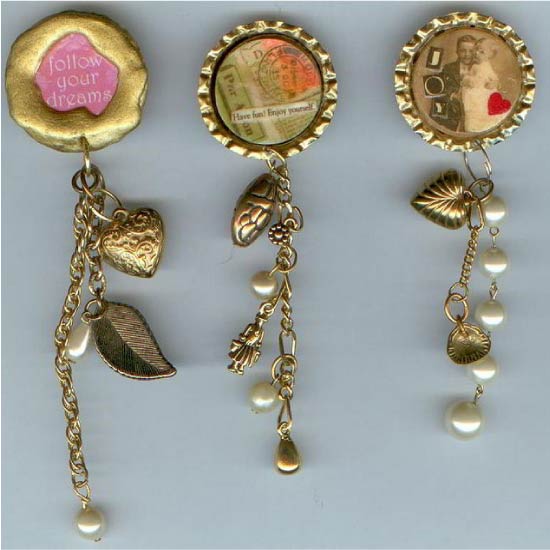
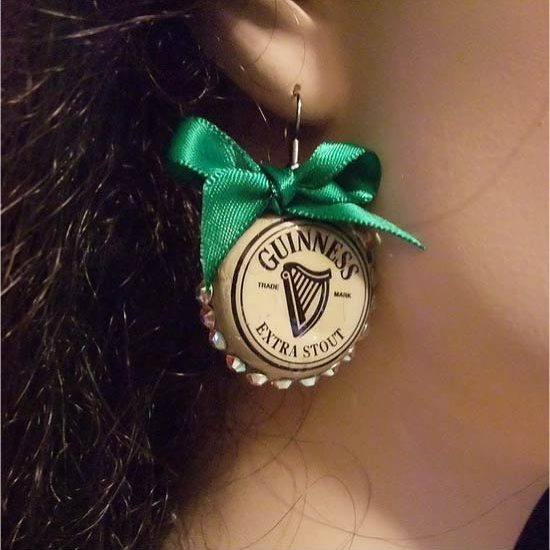
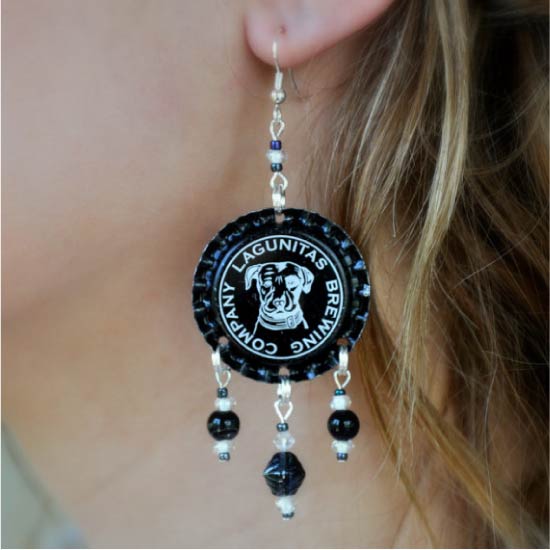
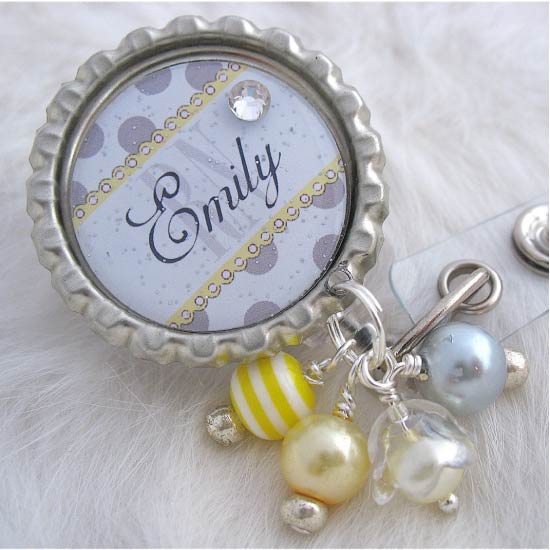
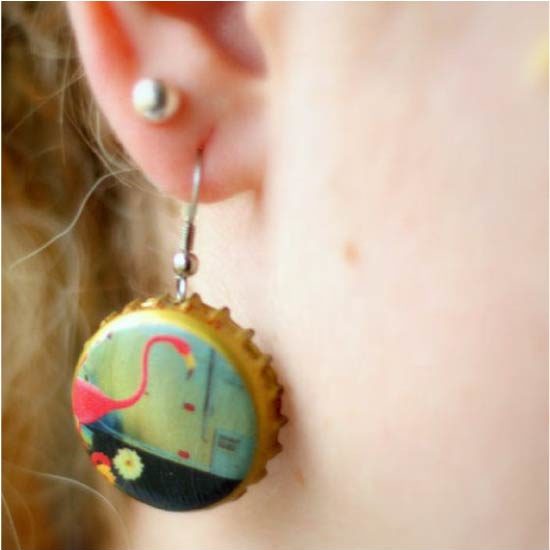
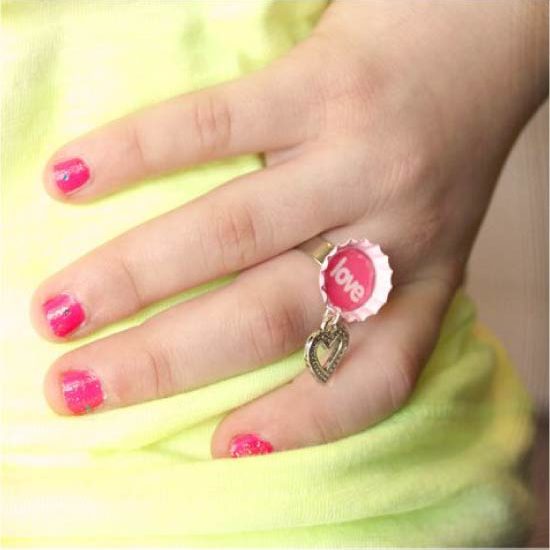
Tin lids make beautiful earrings, medallions, necklaces, key rings, brooches and even rings.
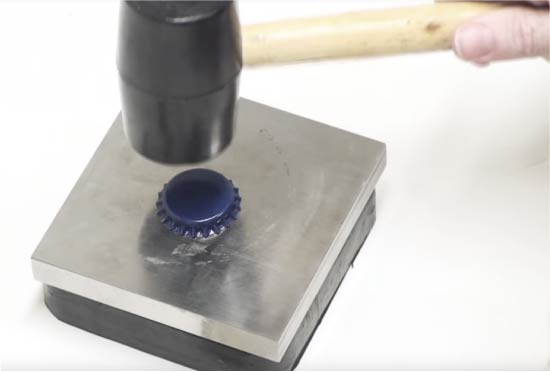
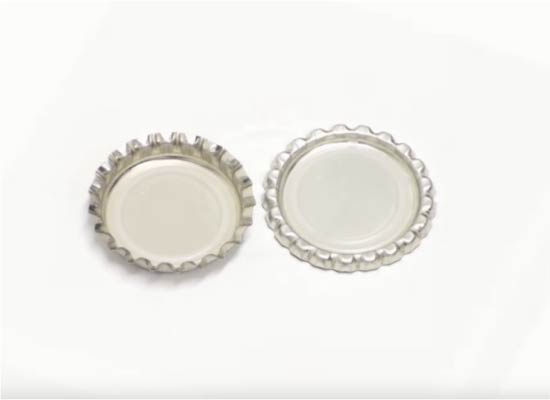
Noticed that on some photos of the cover look a little different - do not have a sharp "crown", but have a recess inside? It is very easy to modify the covers in this way with just a rubber hammer and a solid platform. Put the lid on the platform face up, now hit the center of the lid with a hammer.
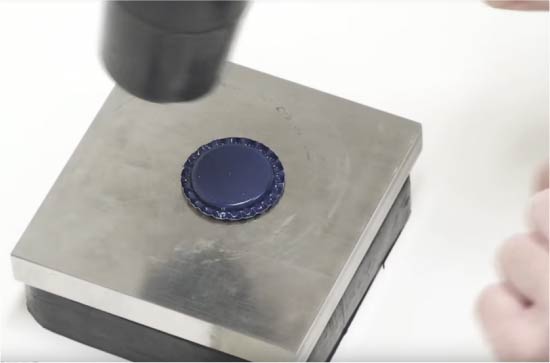
Then continue to beat the hammer in the center of the cork, periodically turning it to bend the metal evenly. Finally turn the cork over and see what happened.
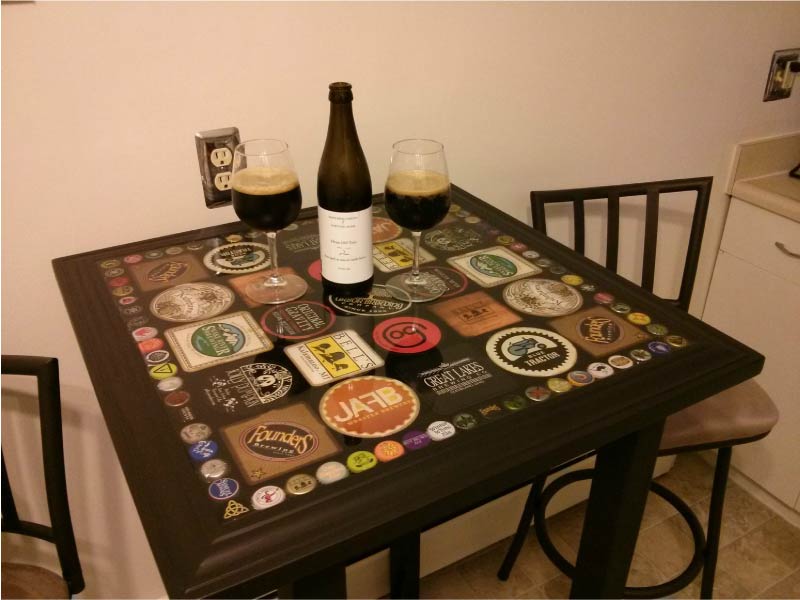
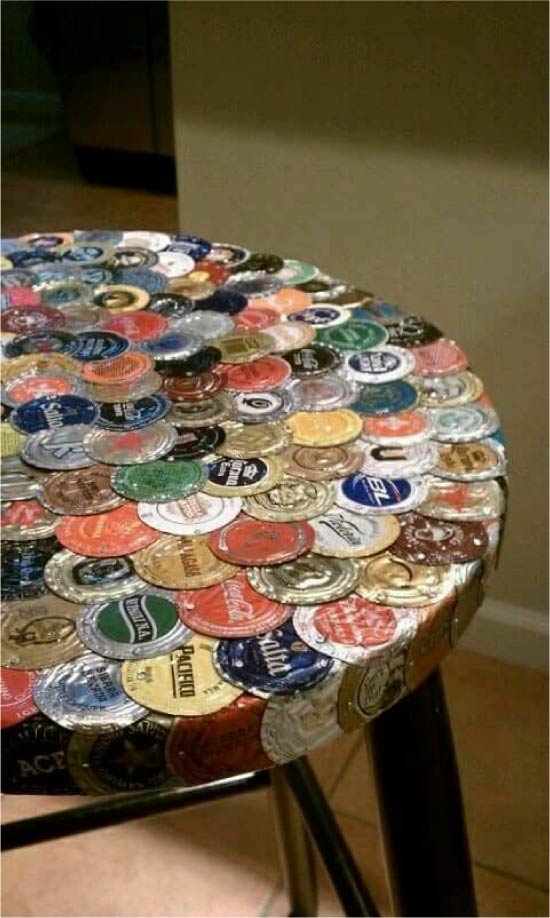
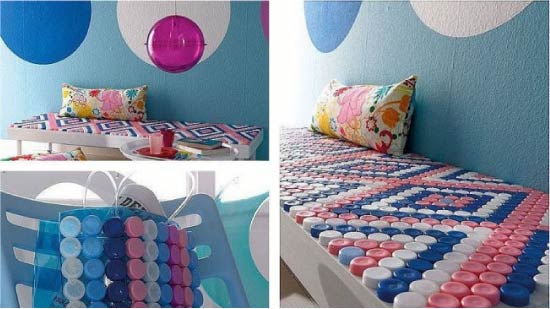
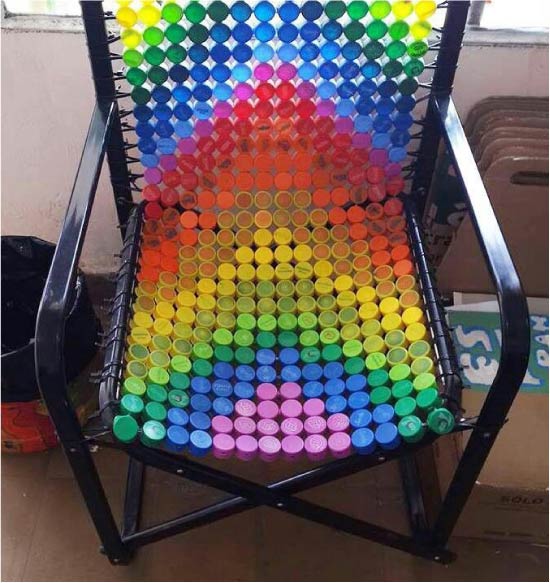
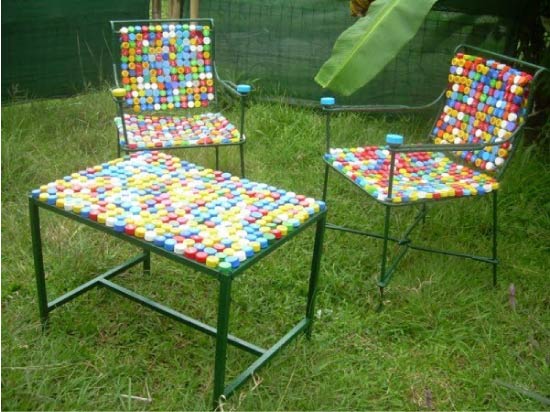
Idea 8. Furniture
Almost any piece of furniture can be revetted with tin covers.
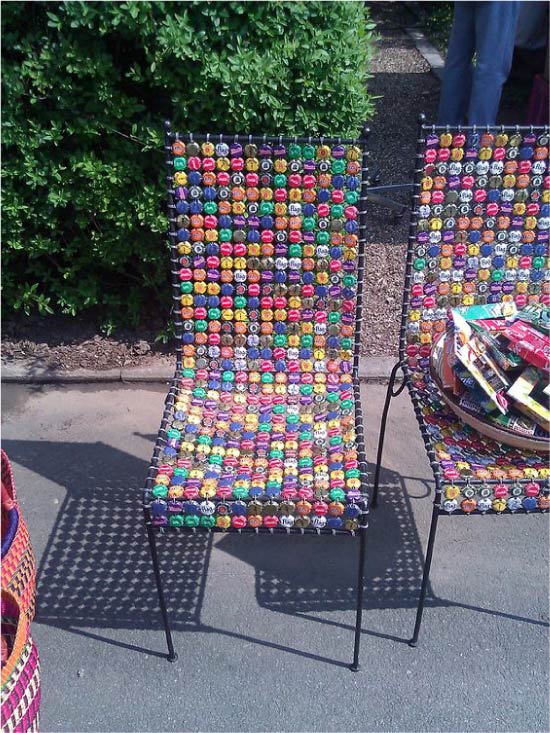
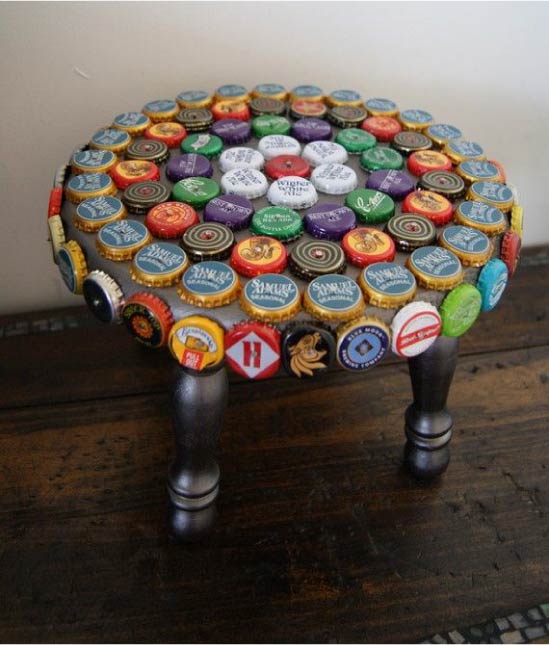
From plastic covers can turn out excellent garden chairs, tables, benches.
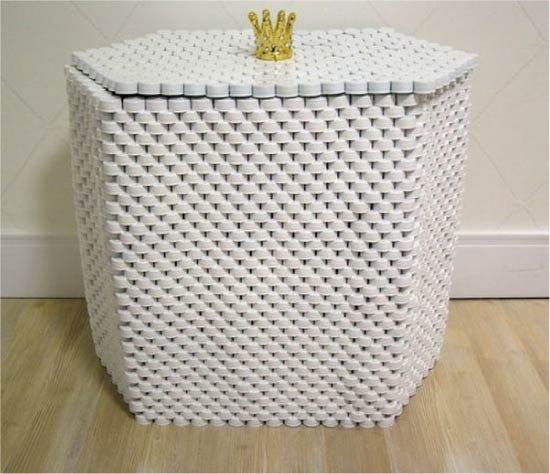
And even plastic storage can be made from plastic covers.
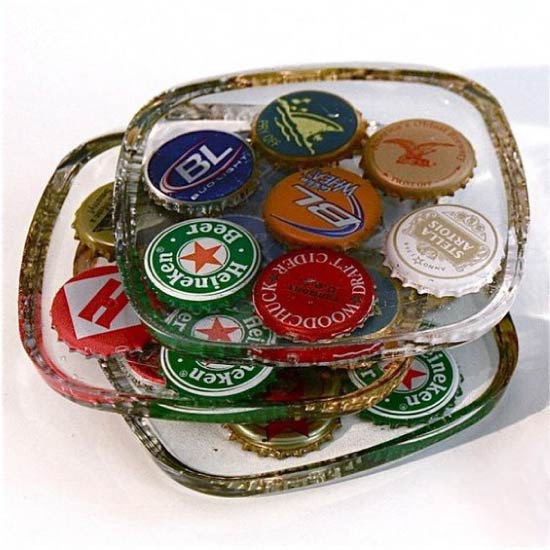
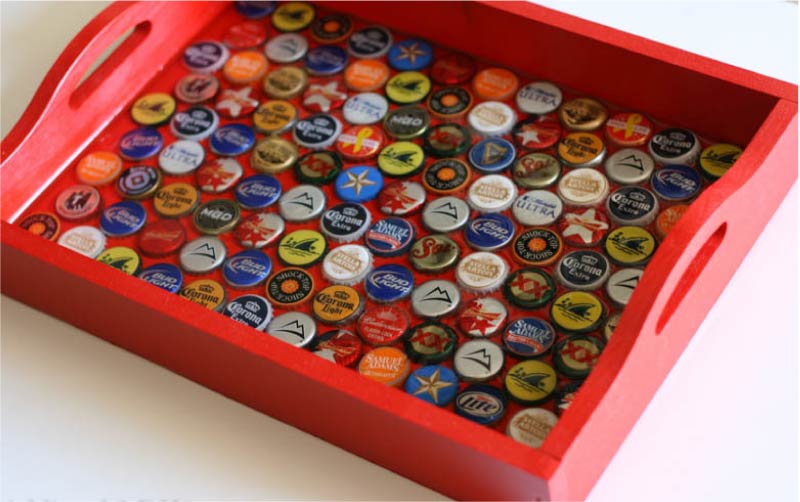
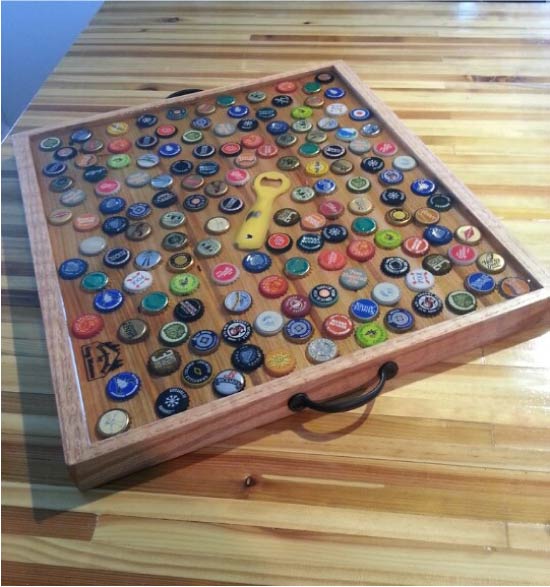
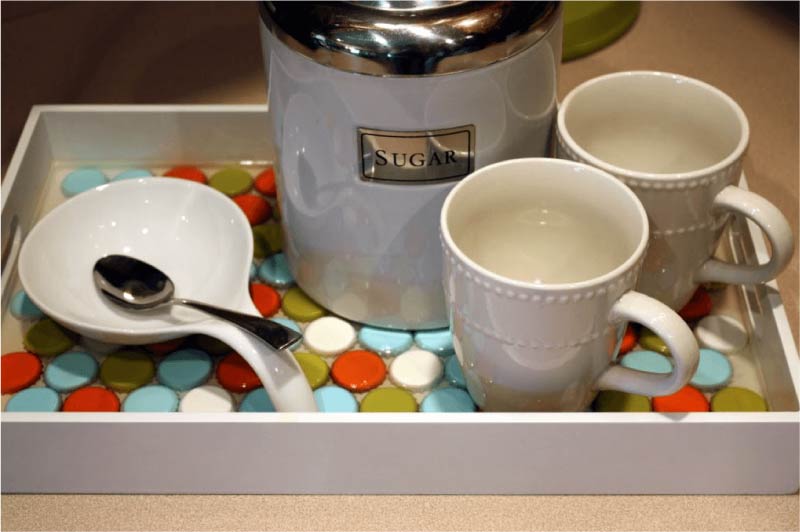
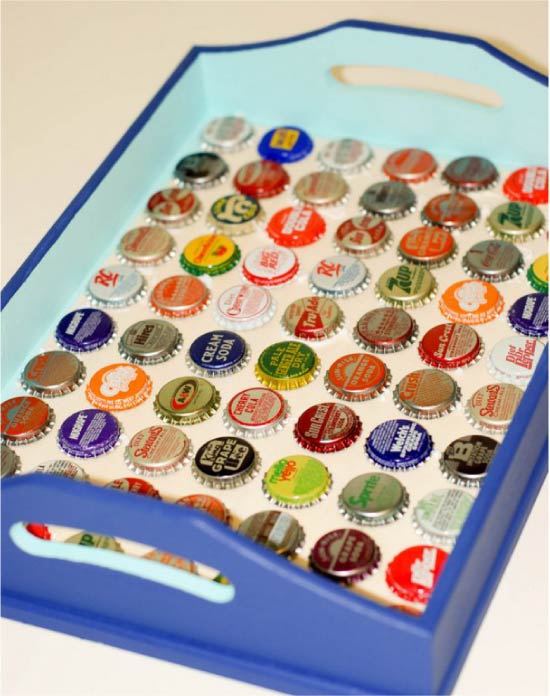
Idea 9. Serving Tray
Decorating a boring serving tray with lids is very simple: carefully put all the plugs on the bottom, then pour them with a layer of epoxy resin and let the craft dry for at least a day. The main thing here is to mix the resin with the hardener according to the manufacturer's instructions (up to a gram!) And pour it slowly, avoiding the formation of bubbles.If you want the resin layer to be perfectly transparent, use liquid epoxy resin for decorative rather than construction work.
See also: DIY serving tray - ideas and workshops
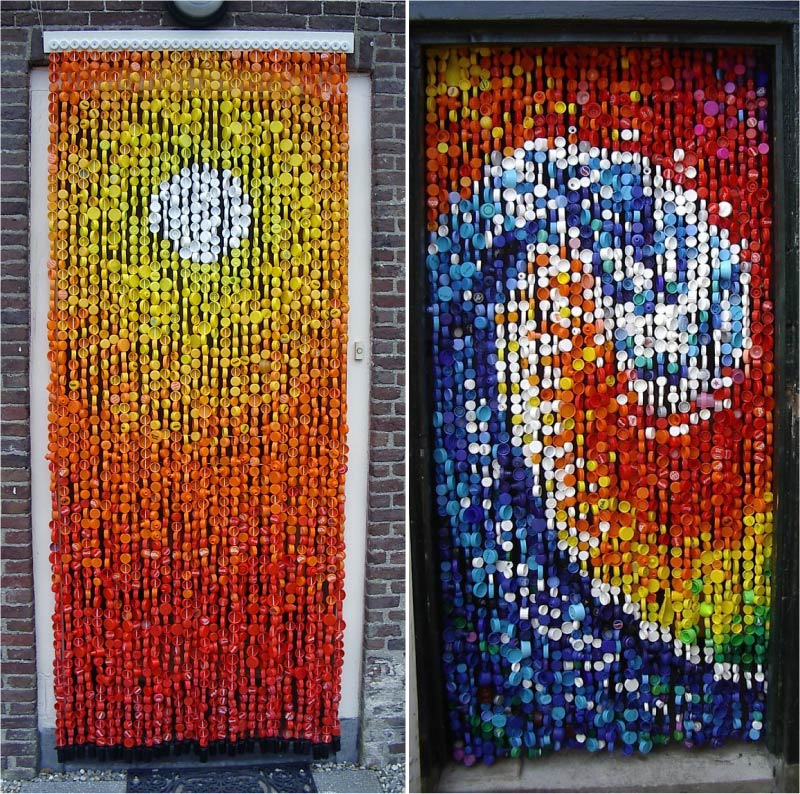
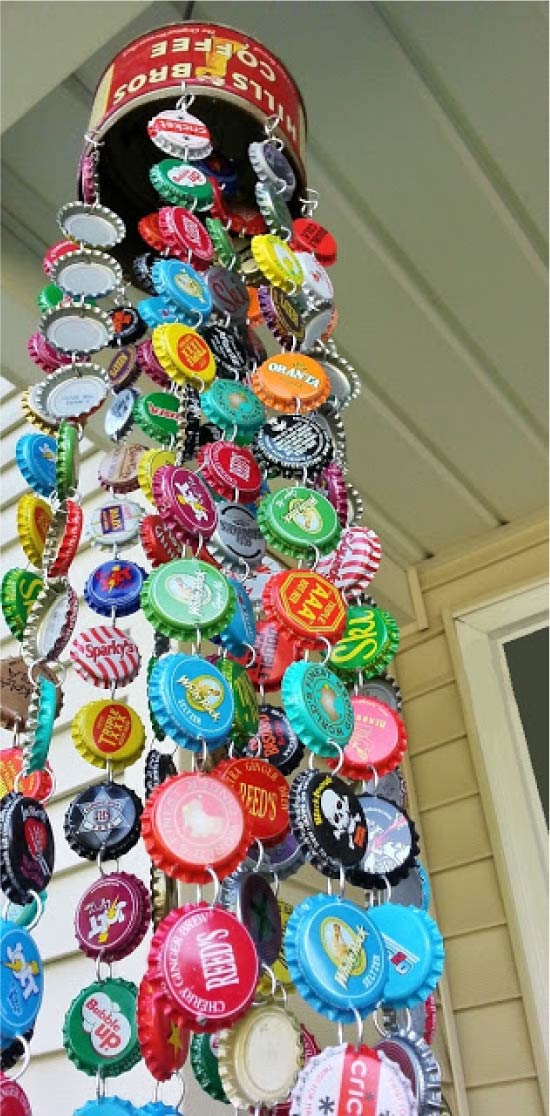
Idea 10. Door curtain
If you have accumulated a lot of plastic covers, you can "sew" the door curtain from them to give. The easiest way is to string the caps of different sizes and colors on the thread in a chaotic manner (see photo).
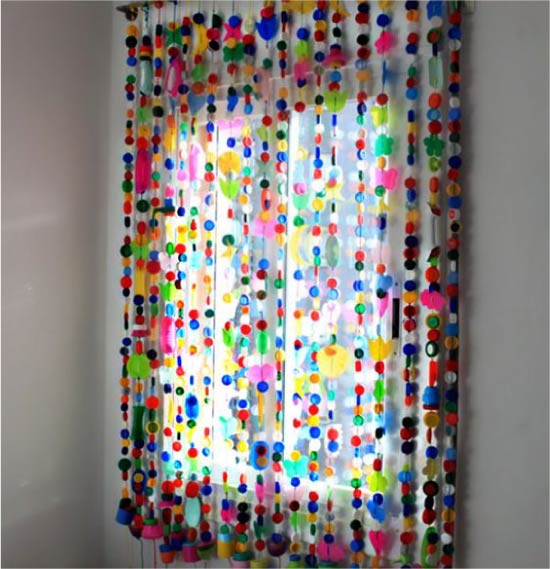
If you want the curtain to have a pattern, then you need to search the Internet for schemes for making bead curtains.

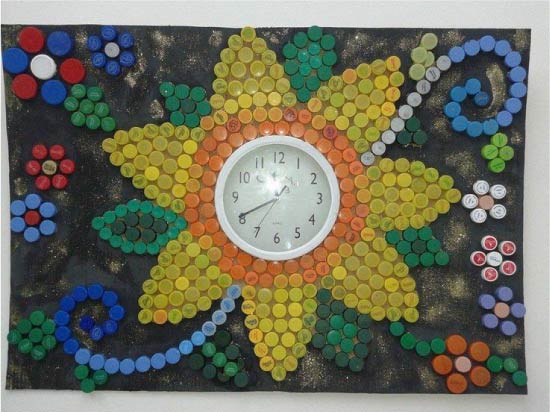
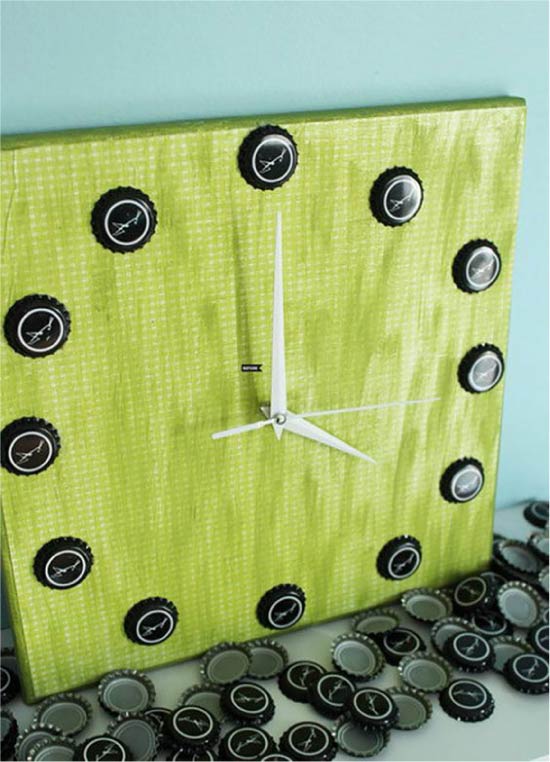
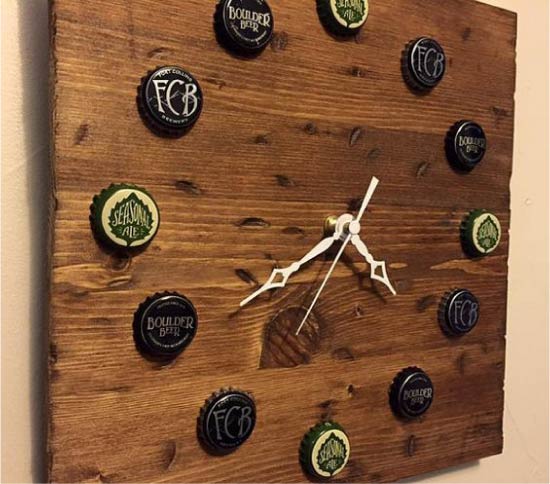
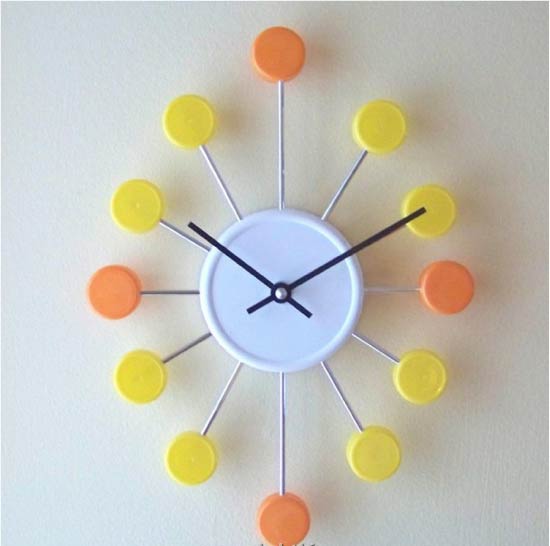
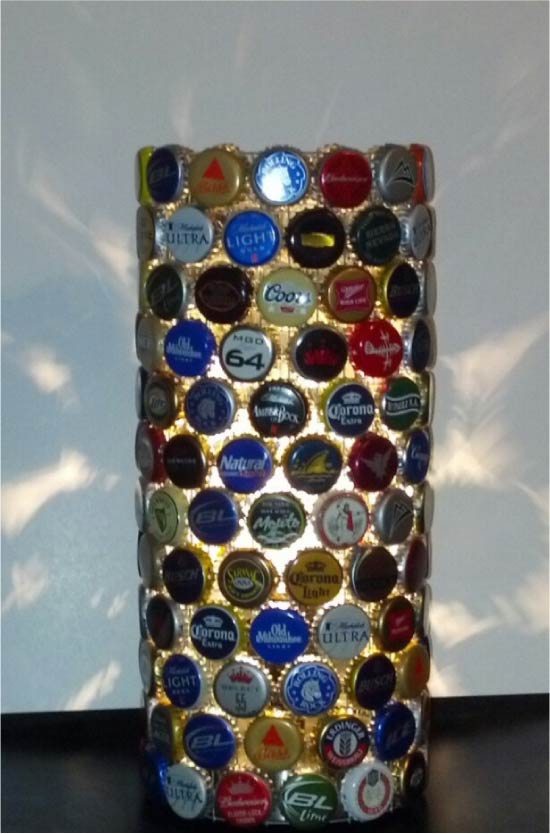
Idea 11. Wall clock
Both tin and plastic covers can replace numbers on a wall clock. All you need is a clock mechanism (can be removed from the old clock), a base, 12 covers and our step-by-step instruction, how to make a clock with your own hands.
Here are some photo examples of how homemade watches from the covers can look like.
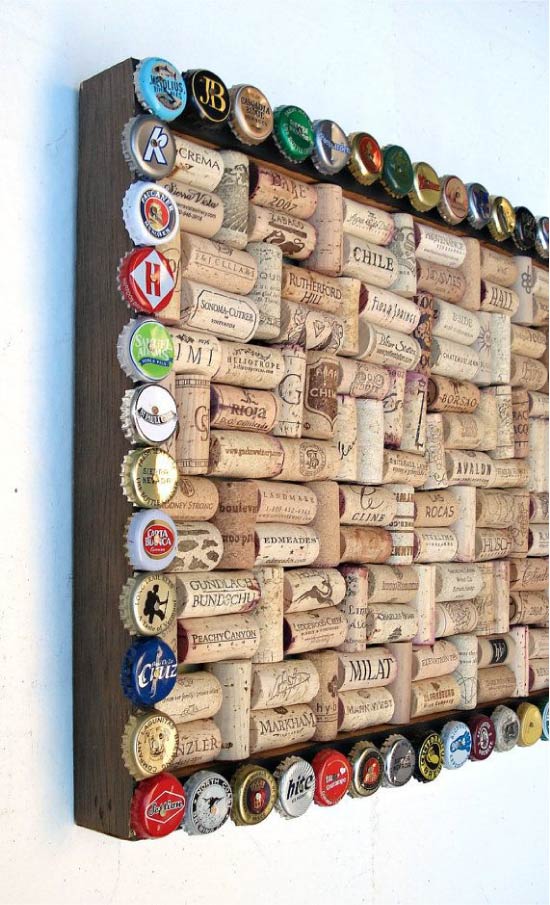
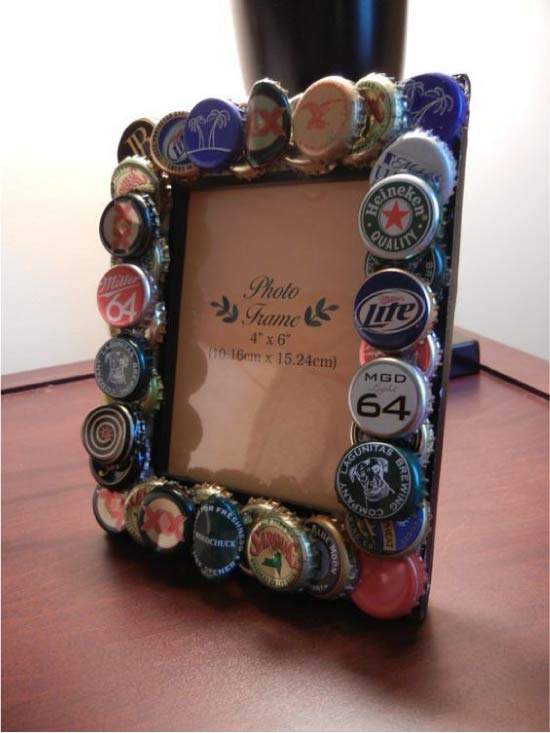
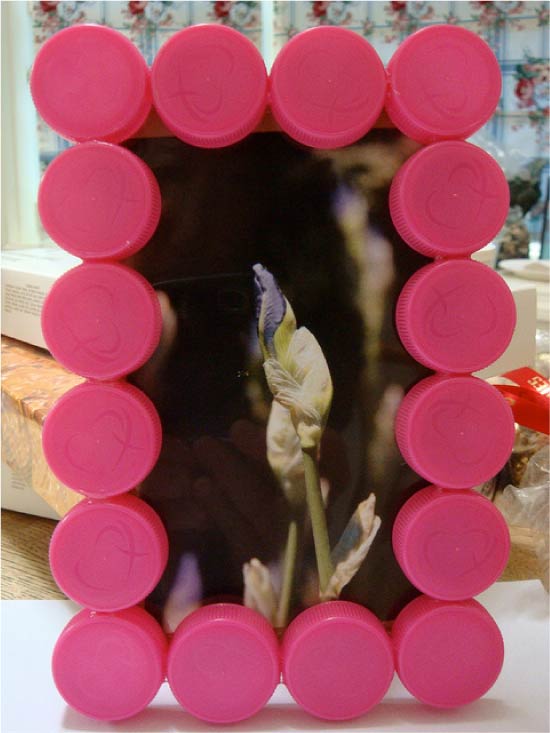
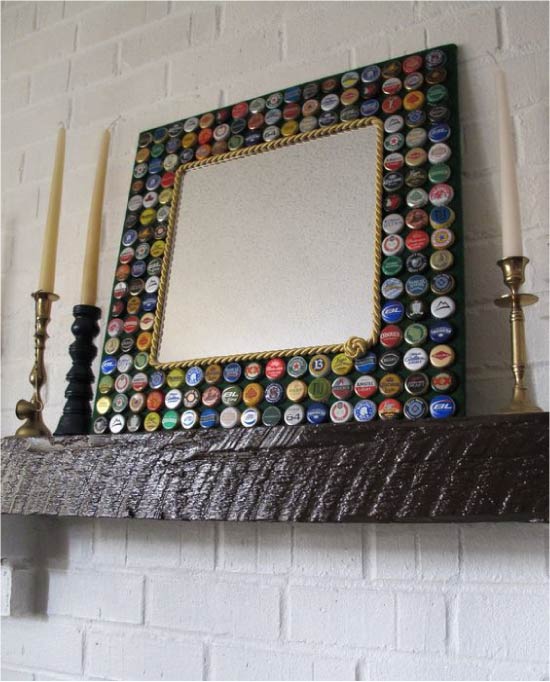
Idea 12. Frames for photos or mirrors
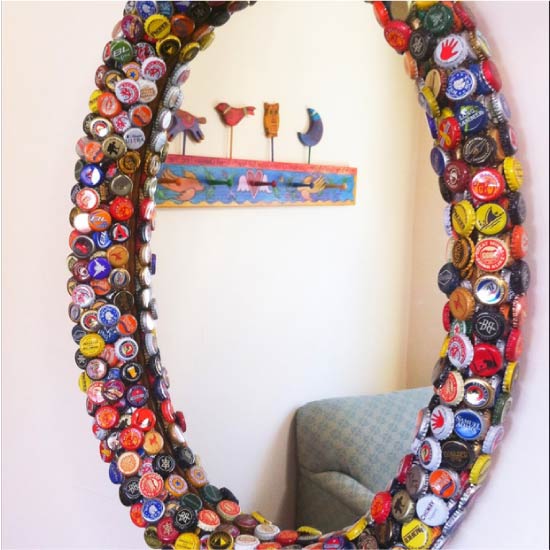
For decoration of mirrors and photo frames are best beer caps.
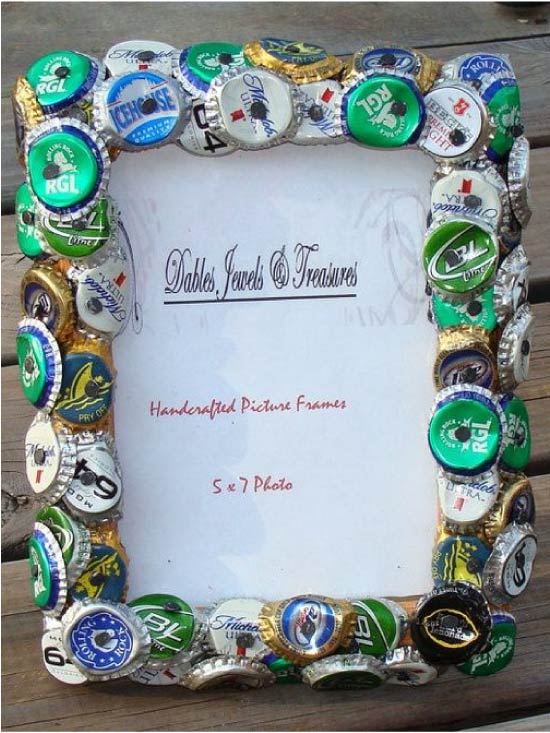
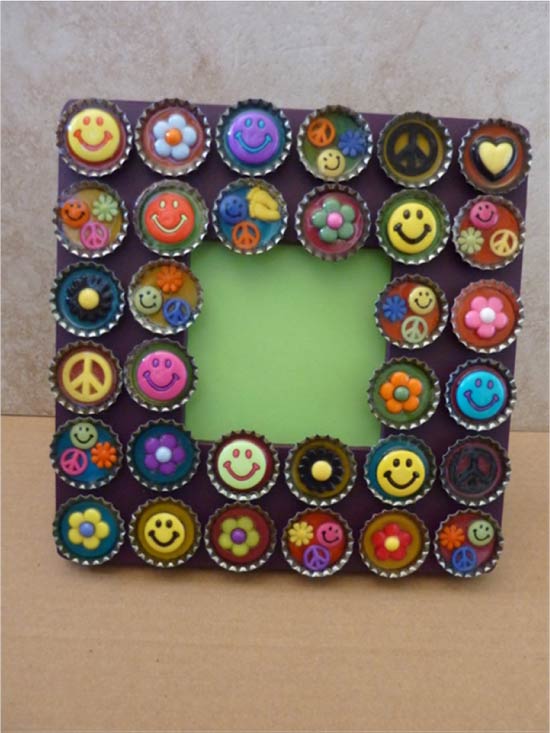
If the mirror does not have a frame, then it can be decorated with assorted beer caps.
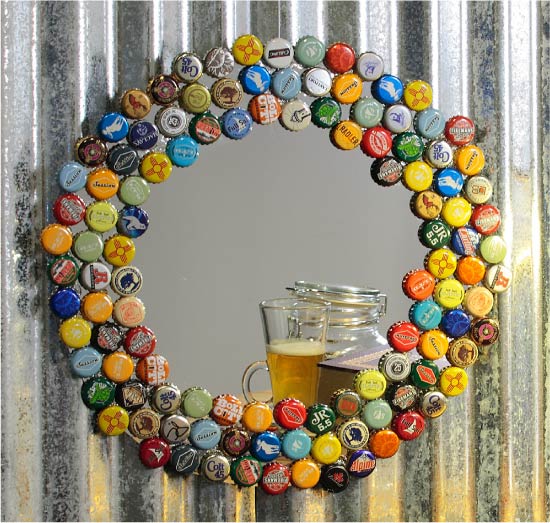
If desired, the cover can be painted and glued to the base of the outer side.
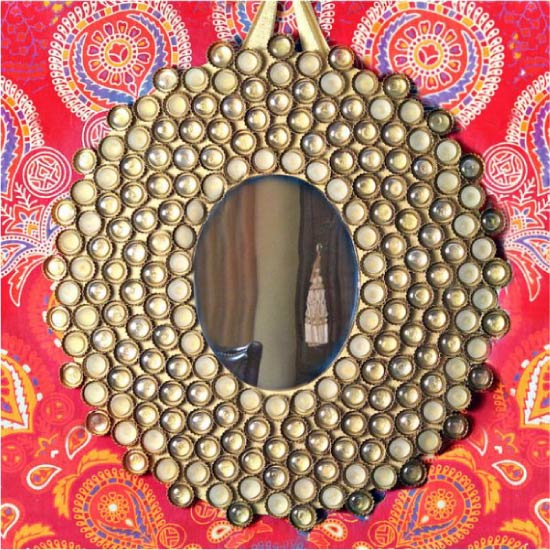
Photo gallery of ideas


 (Rate the material! Already voted:7 average rating: 4,71 from 5)
- How to make a topiary with your own hands - 4 instructions for beginners and not only
- 10 ideas crafts from cereals for children and adults
- 8 ways to decorate the refrigerator
- Crafts from pasta - 15 ideas for adults and children
- 10 wall decoration ideas for the kitchen
- Panels for the kitchen - ideas and instructions